Dog with a flaw
There once was a dog with a flaw
Who e'er kept a brew in her paw
She was not a witch
Just a basic bitch
Her favorite drink was White Claw
- Read more about Dog with a flaw
- Log in to post comments
There once was a dog with a flaw
Who e'er kept a brew in her paw
She was not a witch
Just a basic bitch
Her favorite drink was White Claw
A nice collection of essays or short stories, pretty funny throughout. The last one about smoking drags on for a while but is still good.

From Cocoa Beach we (Aaron plus two other boats) left at first light. At some point in the morning the wind went around enough for a close hauled sail so all three boats put some sails in the air. The wind became pretty brisk so I reefed both sails heavily but both Fruit Bat and Walkabout in their heavy Pearson 424s were able to keep full sails flying, even Walkabout's 150% genoa. After a few hours the ICW became more winding so everyone put in their sails, but they both had roller furler jams so had to spend a few minutes figuring those situations out.
They carried on for about ten more miles as I pulled off to stop at the Vero Beach City Marina. I waited for about 15 minutes for the fuel dock to open up and then fueled and arranged for a mooring ball. They assigned me to raft up on ball five with another boat so I prepared the lines and fenders, motored over to my new neighbor, approached nice and slow, and had a successful "docking". I took Louise for a walk to the very nice dog park (and every evening after that!).
I believe the next day was the Monday gathering at Mr. Manatee's for the Seven Seas Cruising Association. I went and mostly talked boats with some people and had a very good burger. I had snacked that afternoon so didn't go for the Colossal Woodrow Burger which is one pound of hamburger plus lots of other things. If you eat it you get a T-shirt, which makes the $19 price a little more worth it. I was still in Vero Beach a week later so went again and did earn the shirt. I should not have also had two one liter beers, as I was in quite some misery for an hour afterwards.
I spent the week there doing some boat projects (clean the brown stains off the hull with lemon juice, coat the hull with wax, put away the remainder of all our goodies from Costco, sew some rips in the mainsail cover, replaced the microwave) and going to a few social events. Also I ordered some miscellaneous things and the supplies for a big project: a replacement bimini + spray dodger + full enclosure. In order to know what to order I had to understand what I was going to be doing so I spent about four hours watching Sailrite how to videos on YouTube. After several more hours of thinking, measuring, and double-checking I placed the order, getting a nice Cyber Monday discount. Just that small part of the project felt like a huge accomplishment!
I also looked around for a used paddleboard. A shop nearby had some used models but they seemed a bit fancy. We ended up buying one from a guy on Facebook Marketplace and he delivered it to the marina.
Anna returned from Minnesota. She flew to Orlando where her aunt and uncle were at a dog show, and her uncle was nice enough to drive her a couple hours down to Vero Beach. I think it was two nights later that we left to go to Stuart.

I left our Honda EU2200i generator out in the rain and it wouldn't start. This wasn't a crazy torrential rain and the outlets were on the leeward side so I thought it would be OK with the extensive plastic shrouding but I guess not and I will try to keep it mostly dry in the future.
To troubleshoot I took of the big side panel (for oil changing and air cleaner access) and things looked pretty dry in there. I also suspected the kill switch so managed to get my multimeter probes on the contacts there and it made and broke contact appropriately. A peek in at the spark plug showed it was all dry (didn't actually pull the spark plug). I pulled off the end panel on the outlet side and there was water pooled on a few components there...probably the problem even though many things are potted. I blew into all of the various outlets. Removal of the outlet plate itself showed very minimal water inside of there.
But still it wouldn't start. Twice it sputtered for one second to taunt me.
Then I tried slamming the whole unit into the floor from 2-3 inches up. It has pretty good shock absorbing feet so this didn't even jostle the generator that hard, but it fired right up after that! So I guess a few drops were shorting out something (likely in the kill switch circuit) and the abrupt movement shook them loose.
BTW when we run the generator there the exhaust gasses can swirl around behind the dodger so we keep the companionway fully closed. And there are some small cracks there but our dorades and the overall suction on the back of the dodger should keep air flowing outwards through those cracks, plus we would not sleep with it running.
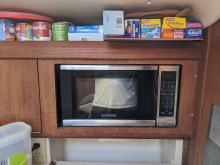
Our presumably stock microwave bit the dust a while back. I delayed replacing it for a week or two as I was intimidated by the task of doing the job without irreversibly damaging the cabinetry. I removed a screw that went up into the bottom of the microwave and was able to move the unit around a fair amount, but it looked like the microwave was just a little to big to slide out without more disassembly. I would later find out that the microwave was screwed to a big board anyways...no way was it coming out!
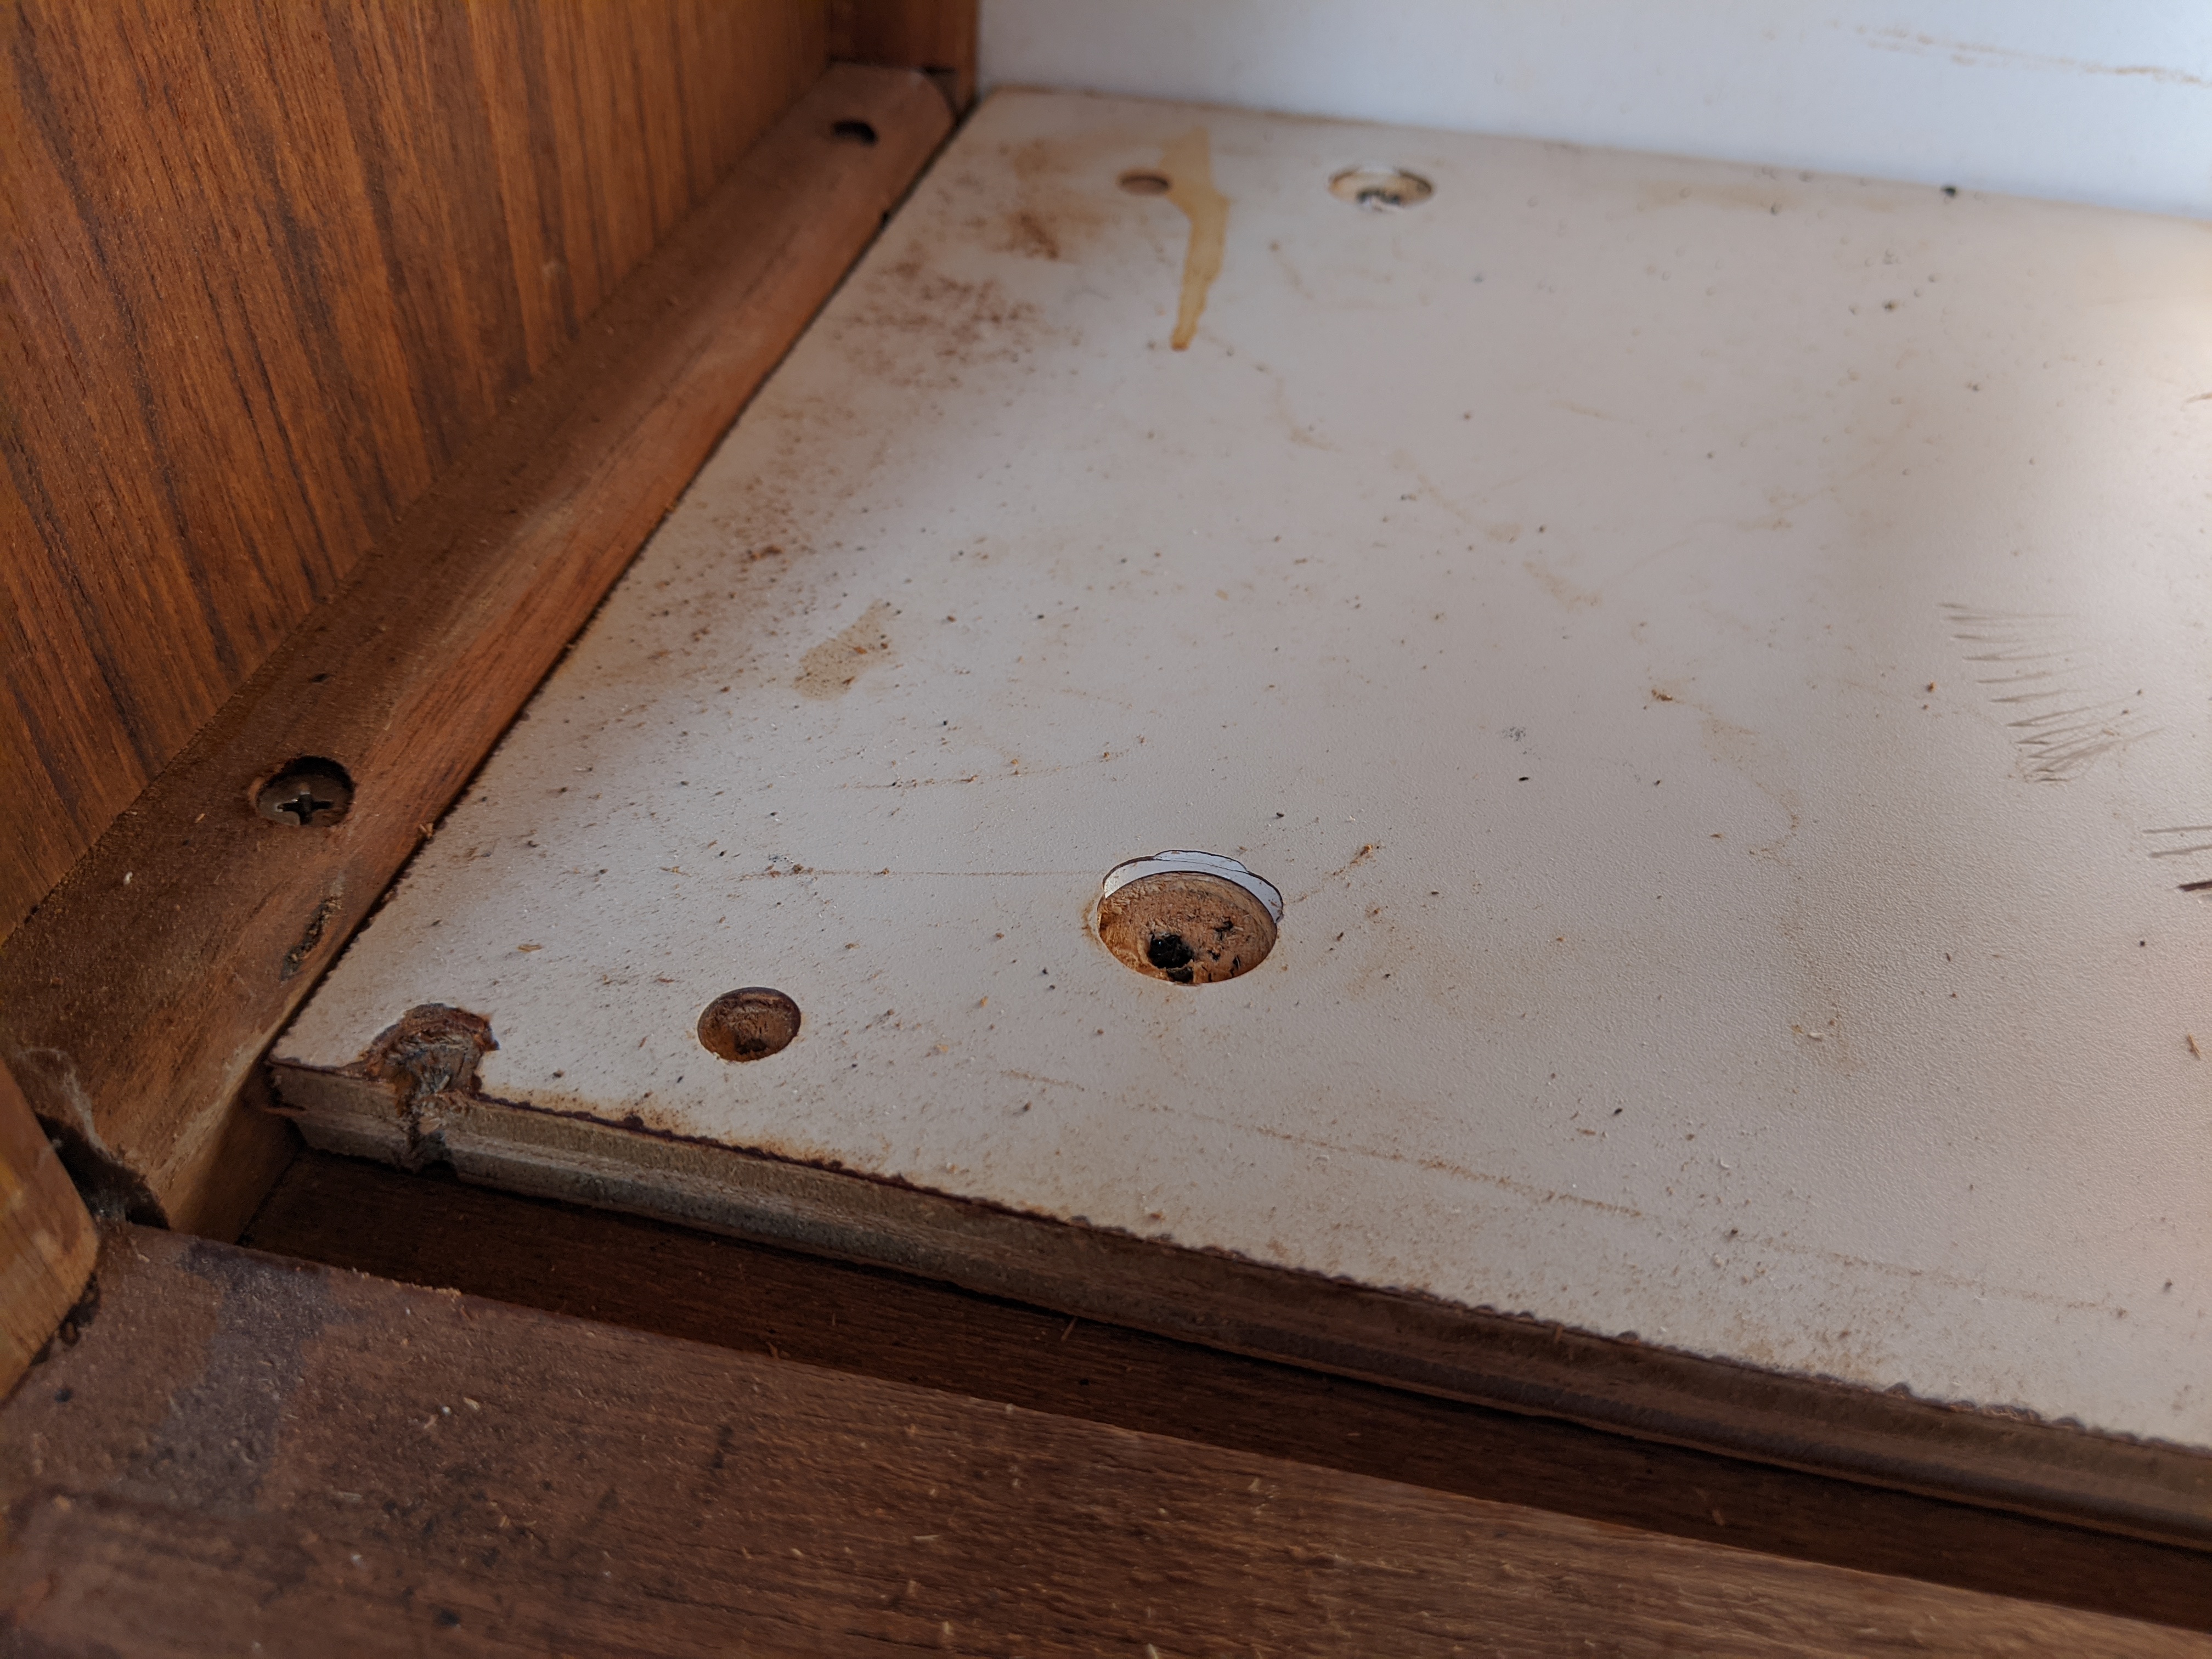
Eventually I got out the tools and drilled out a few of the screw-hiding plugs on the face plate. Some hid screws and some didn't. It turned out that only three screws needed to be removed to pull the face plate off--the one in the middle on the left and two on the right. I was then just barely able to wedge the face plate out. It would come out significantly easier if the swing-down cabinet door next to the microwave was removed, but I did not do that.
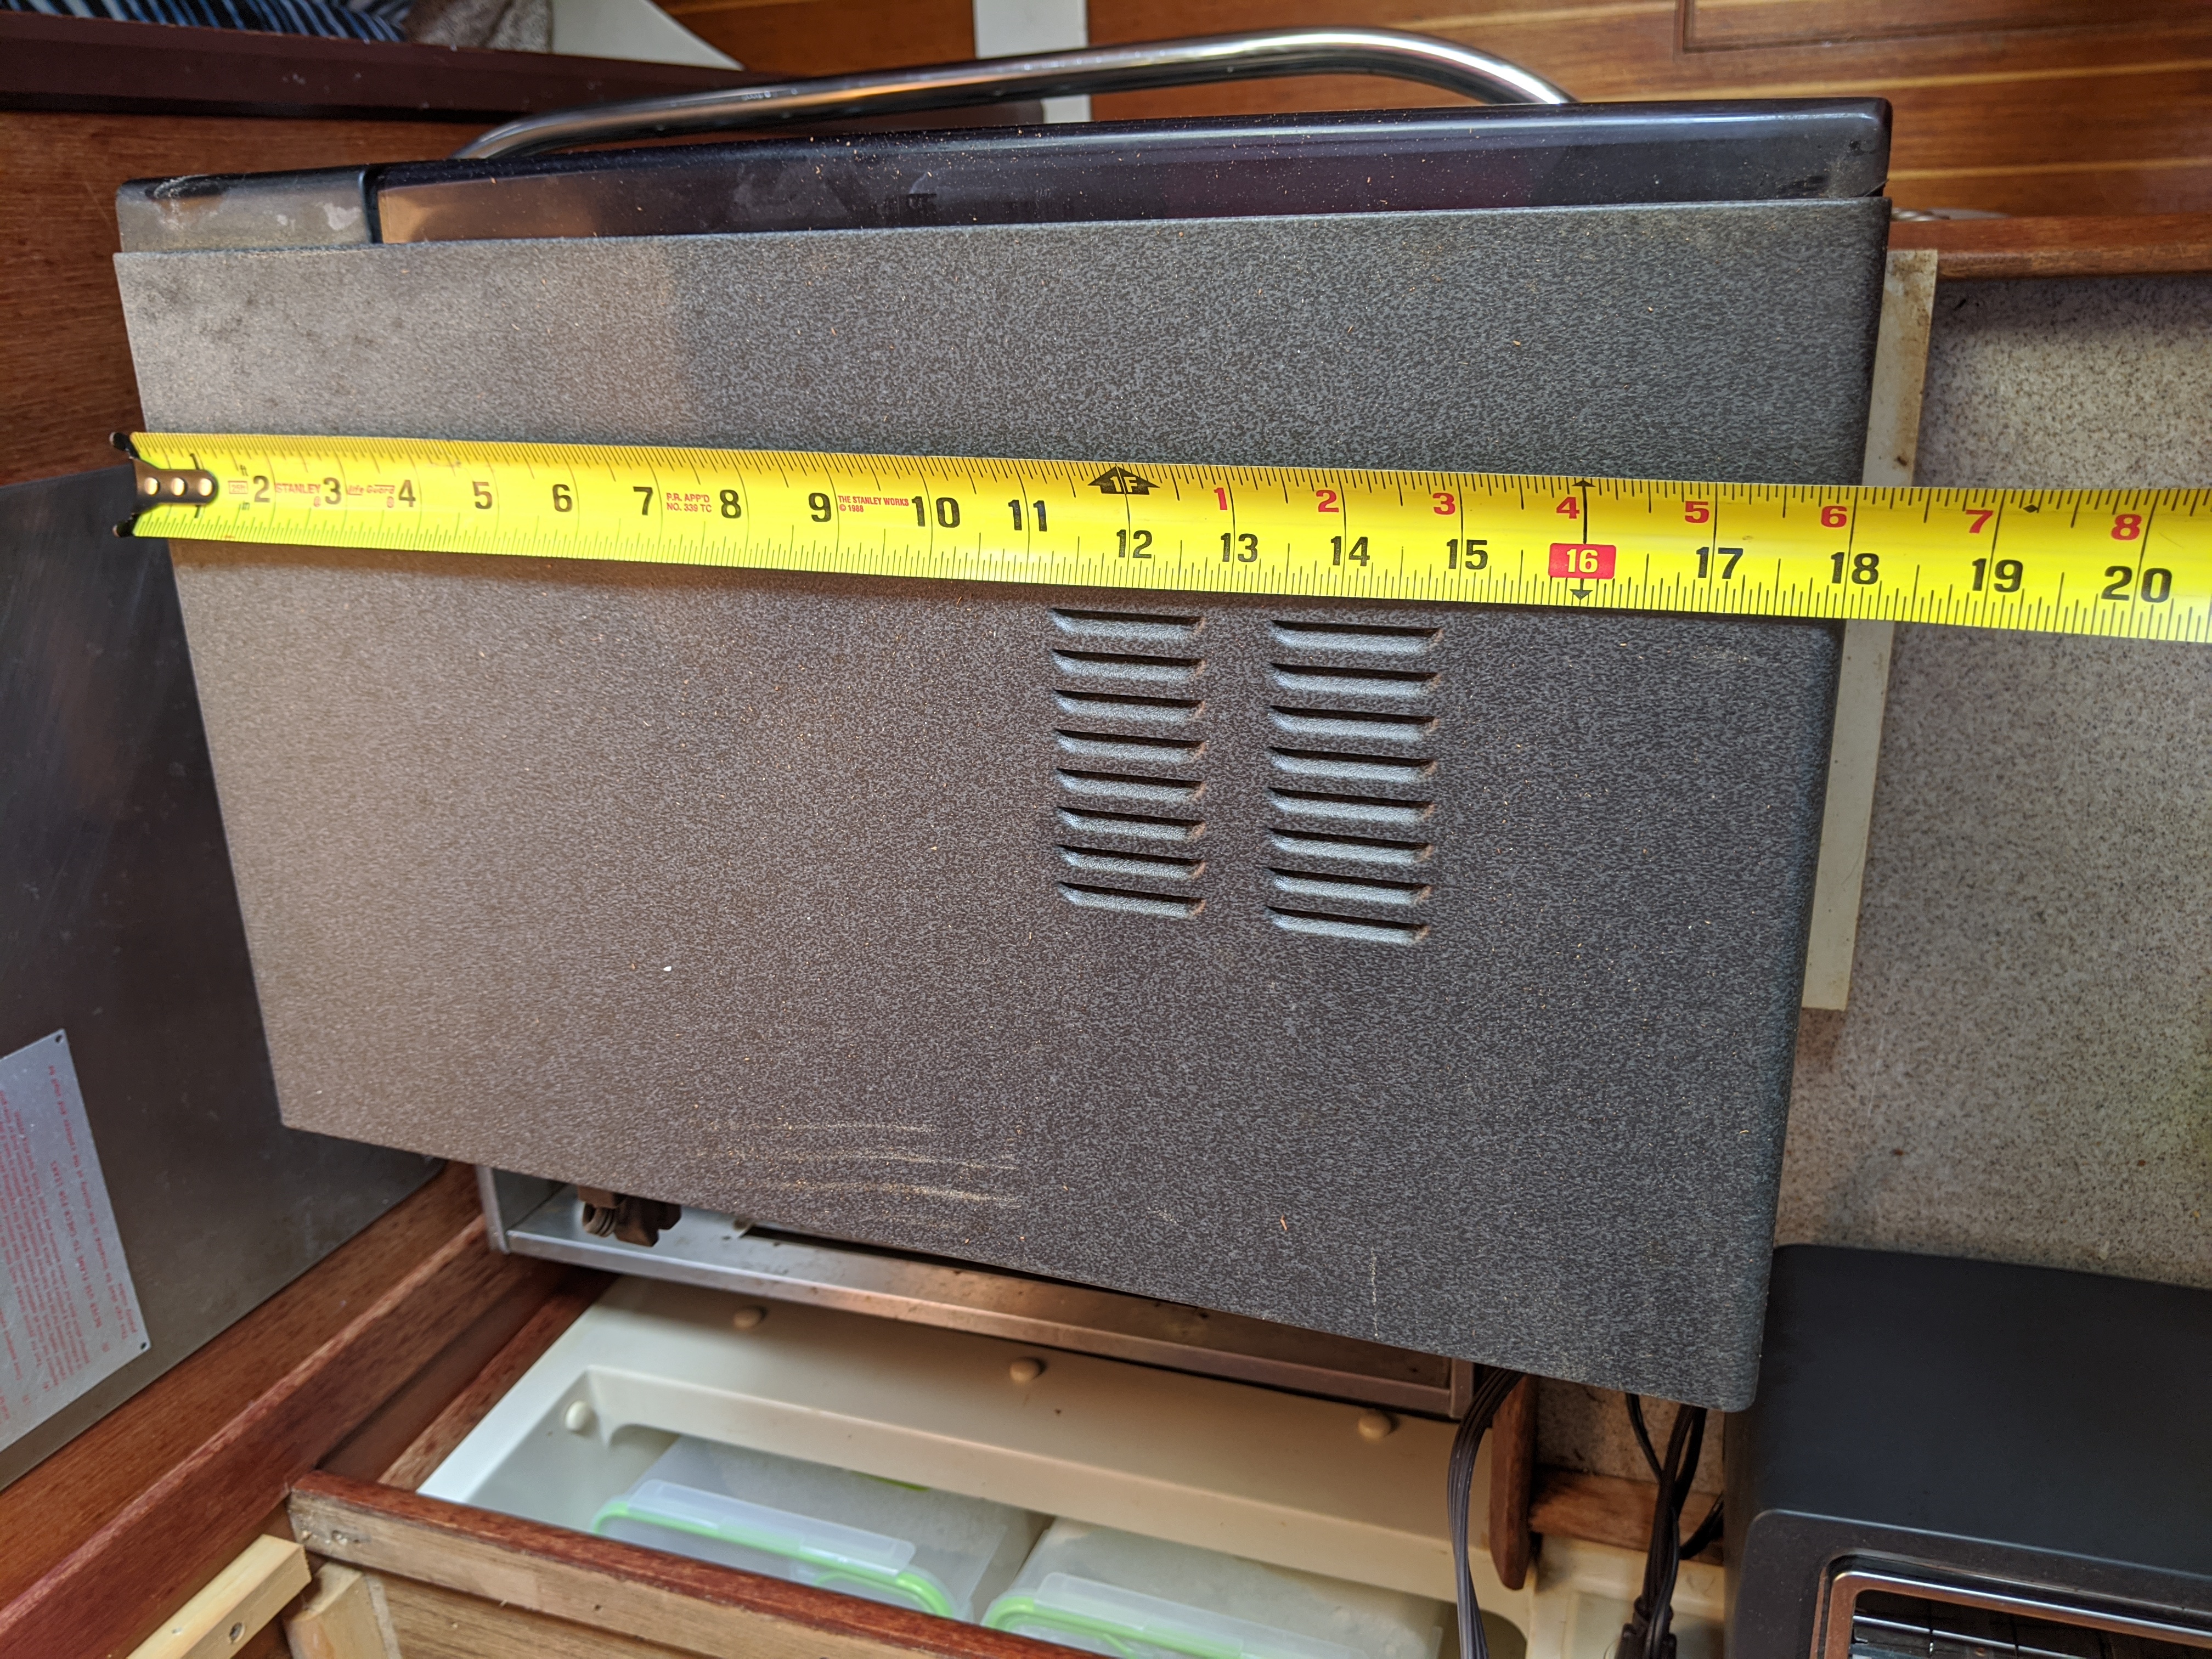
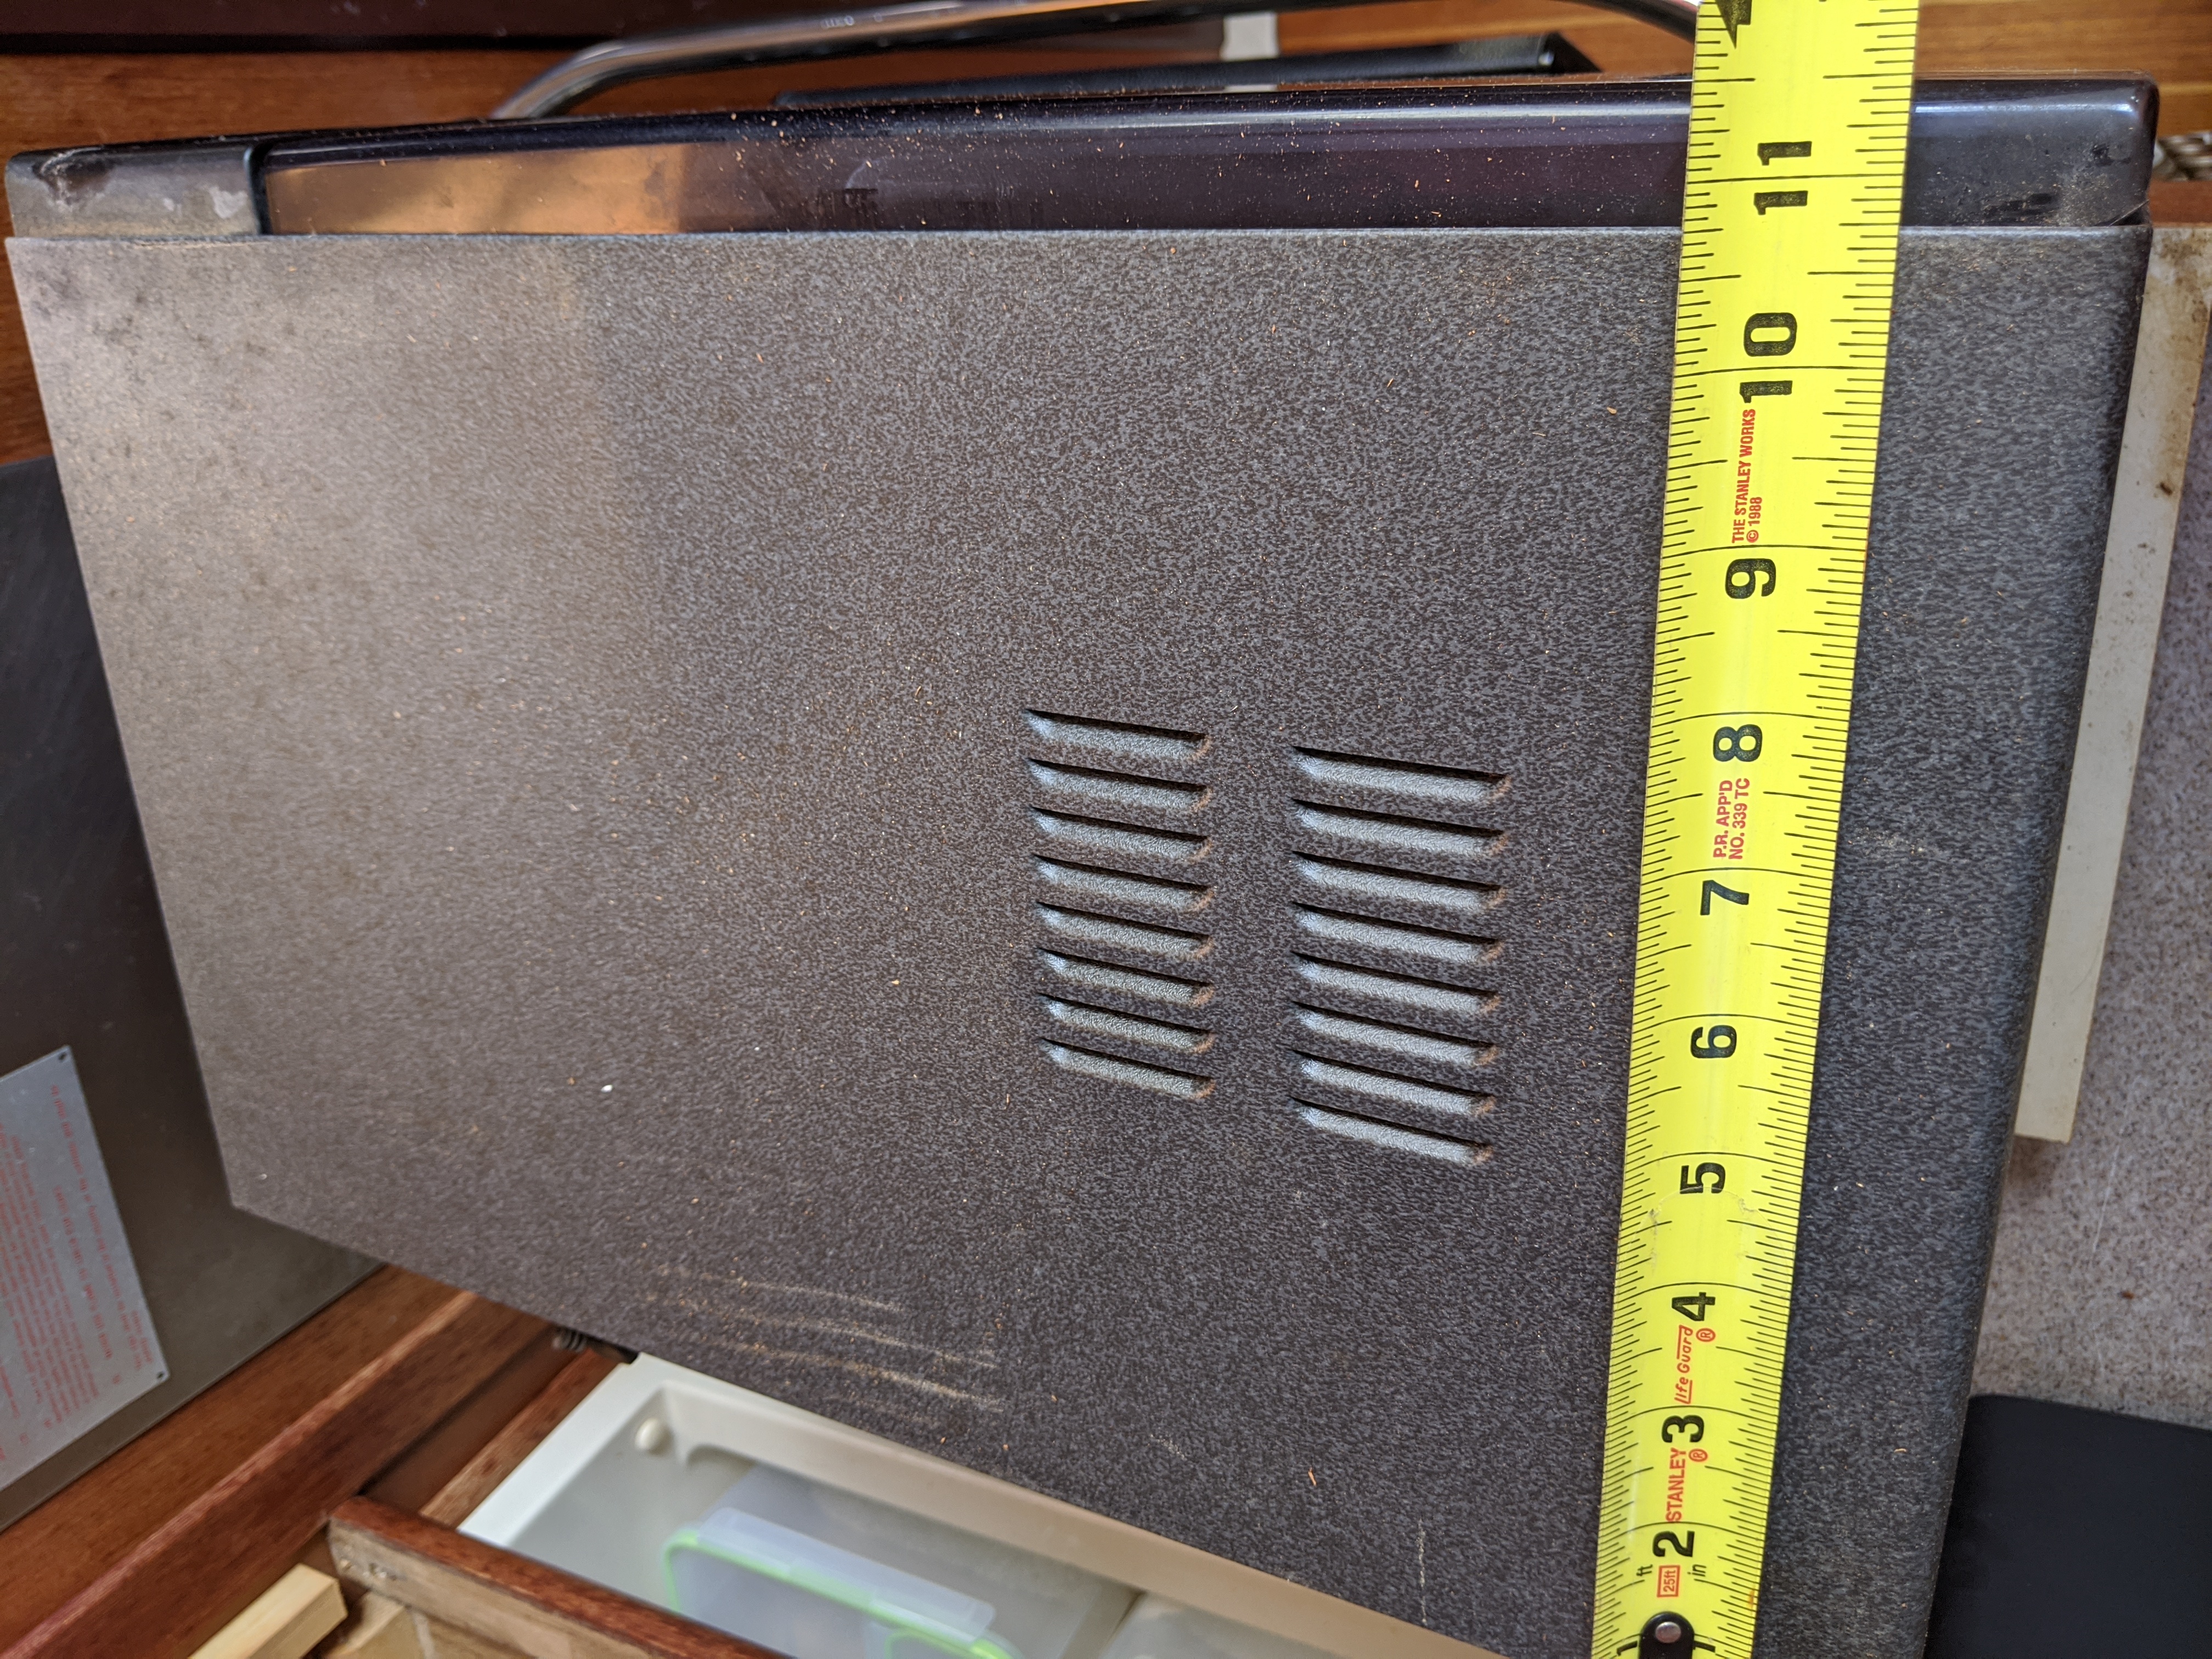
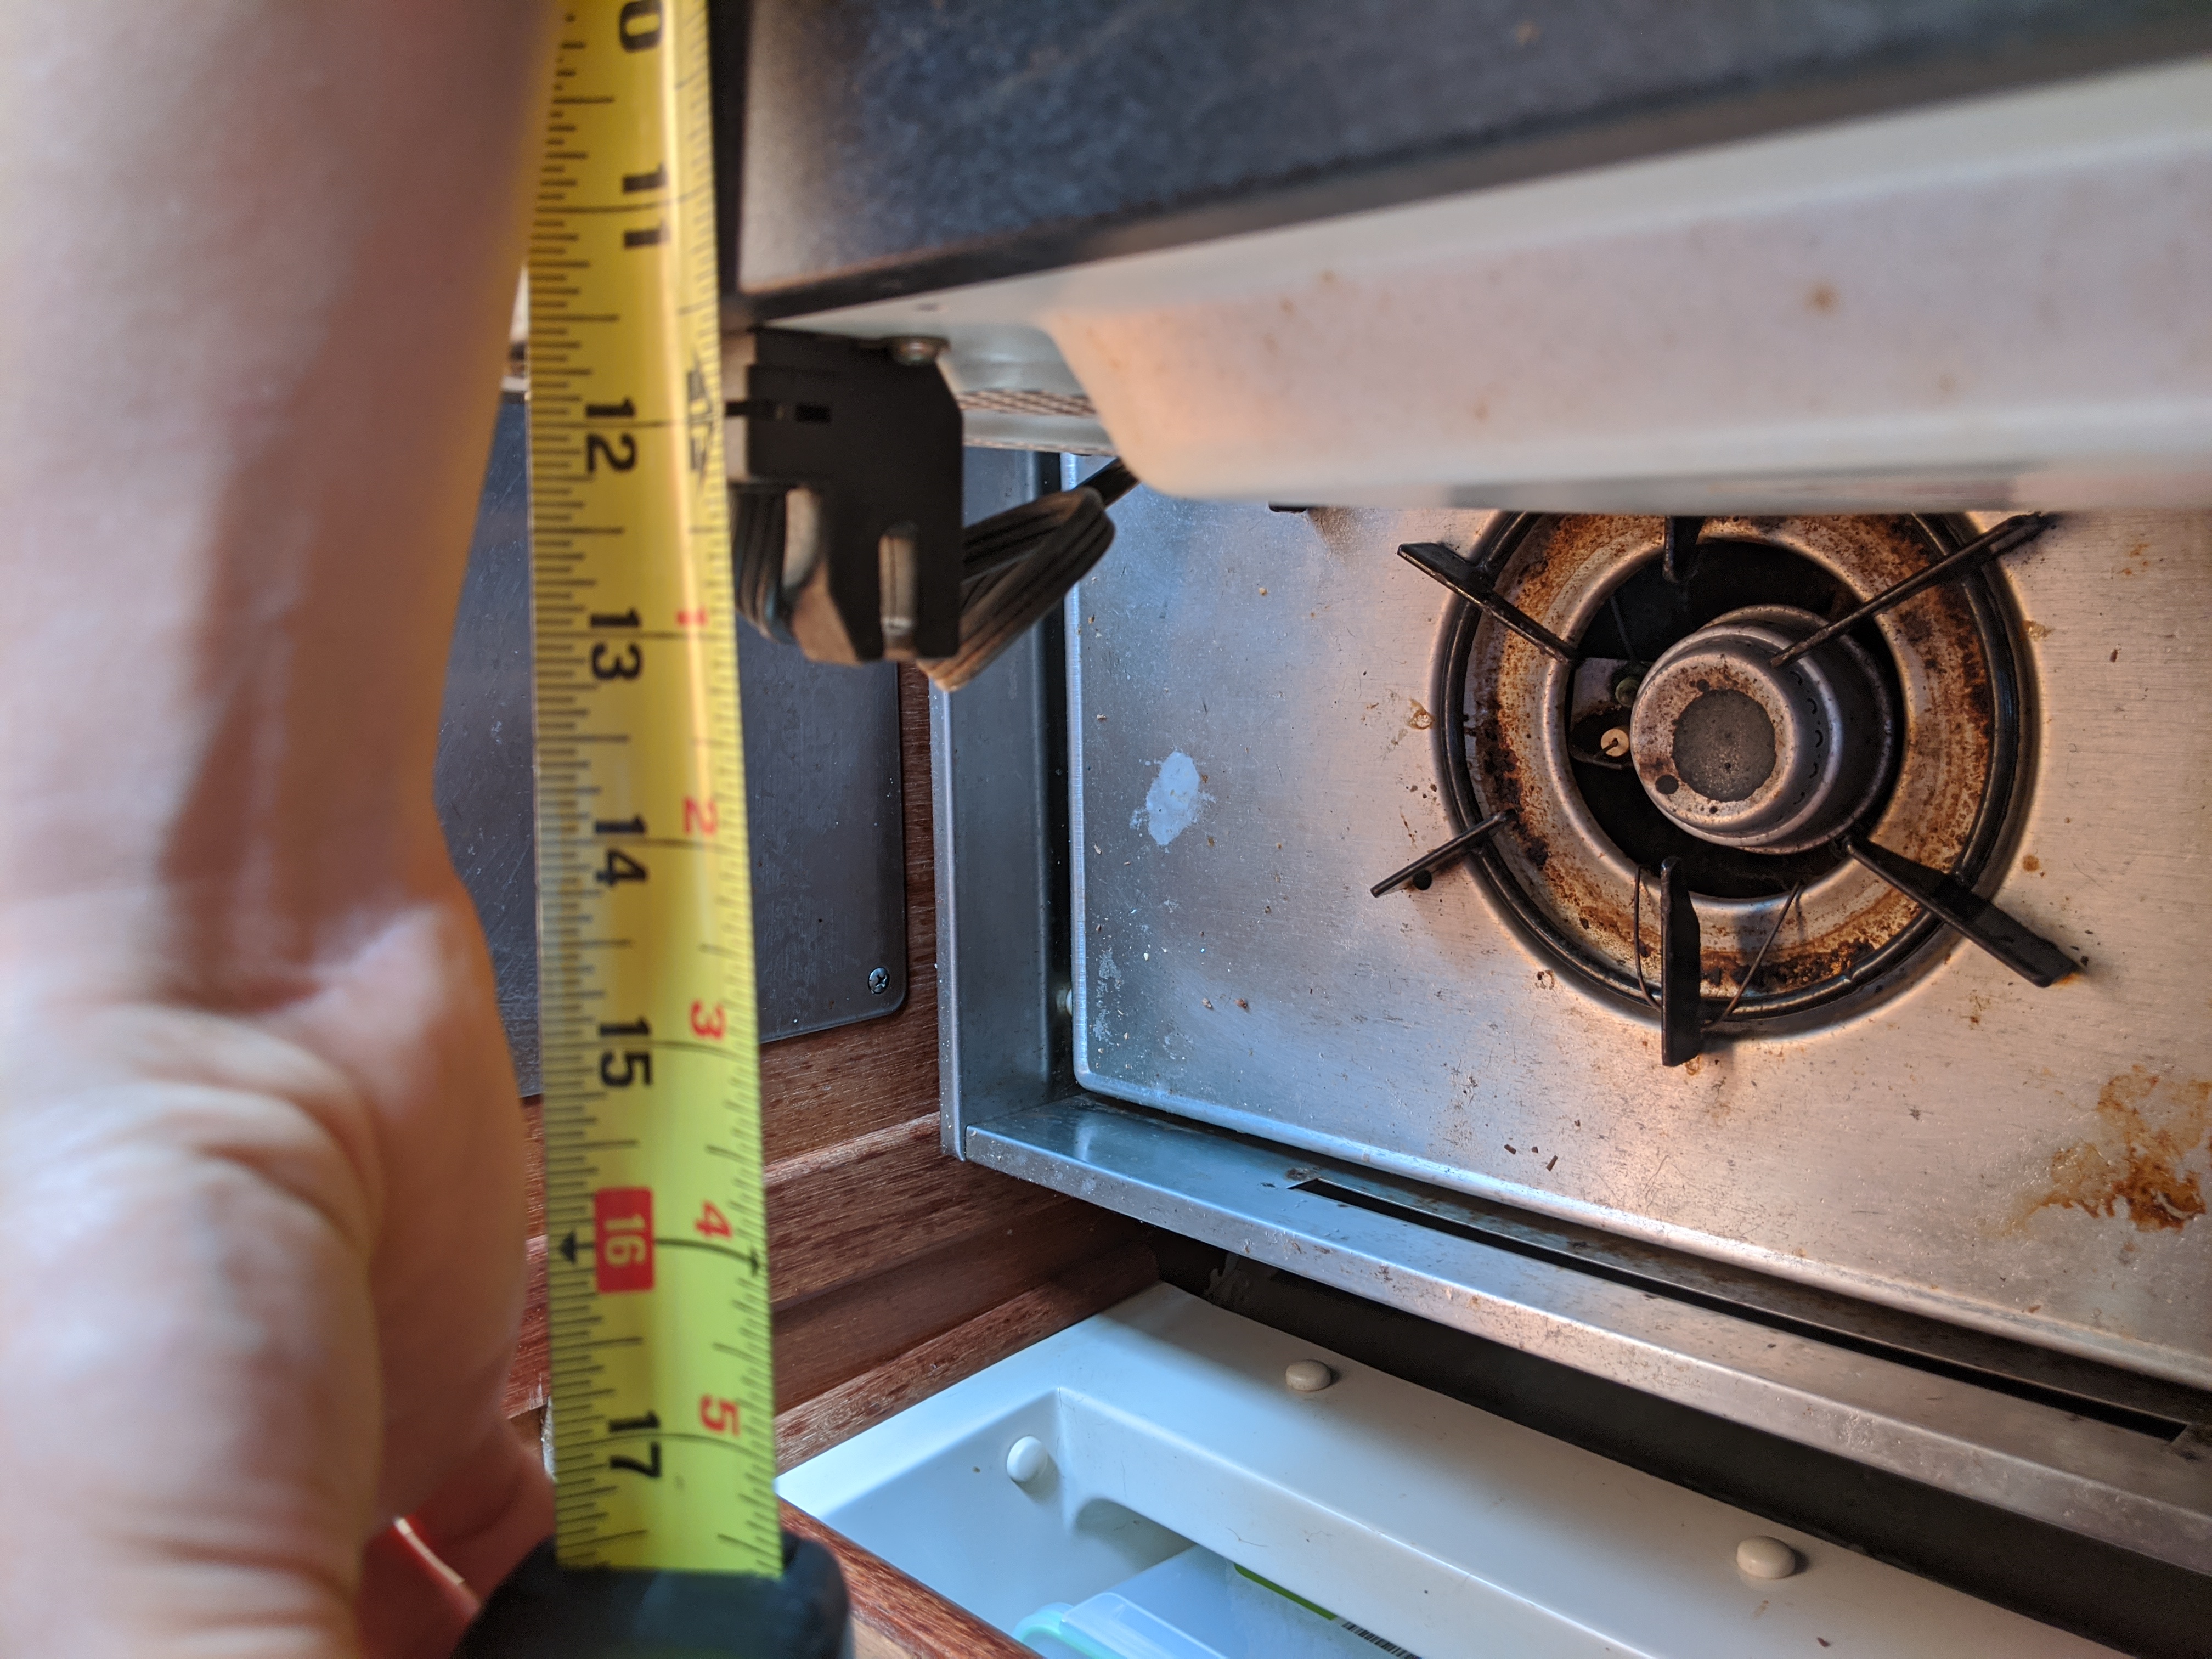
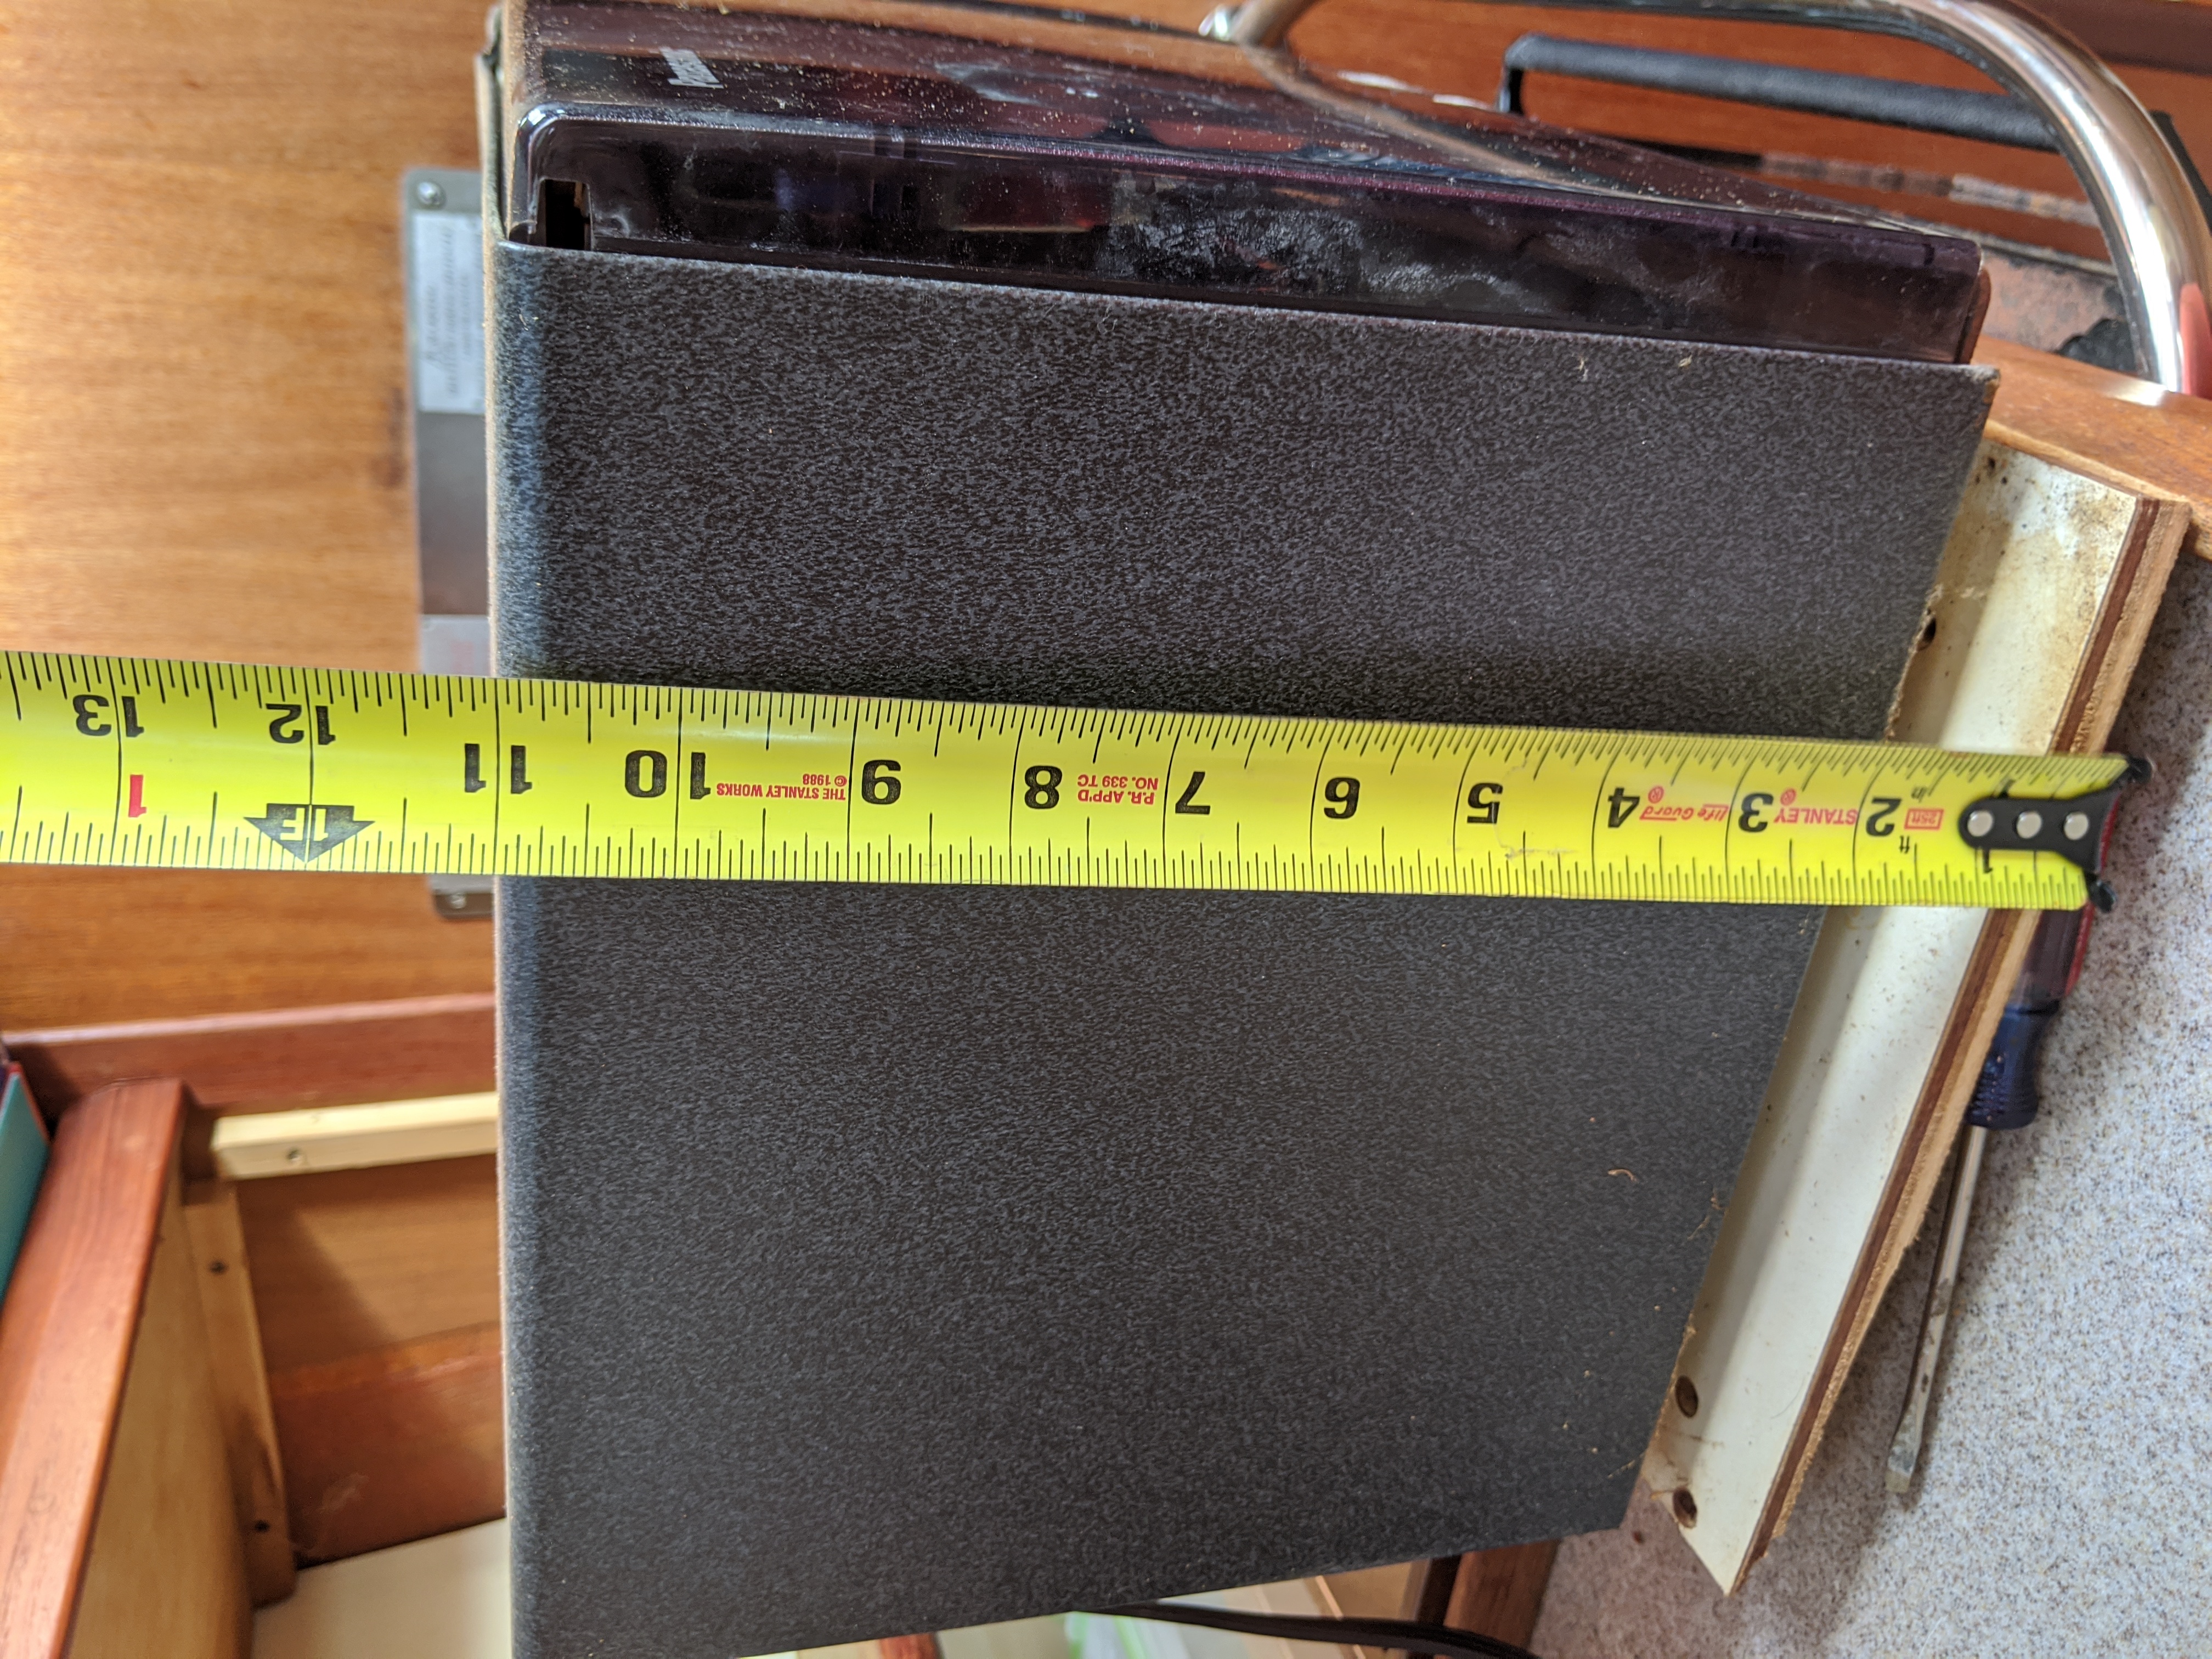
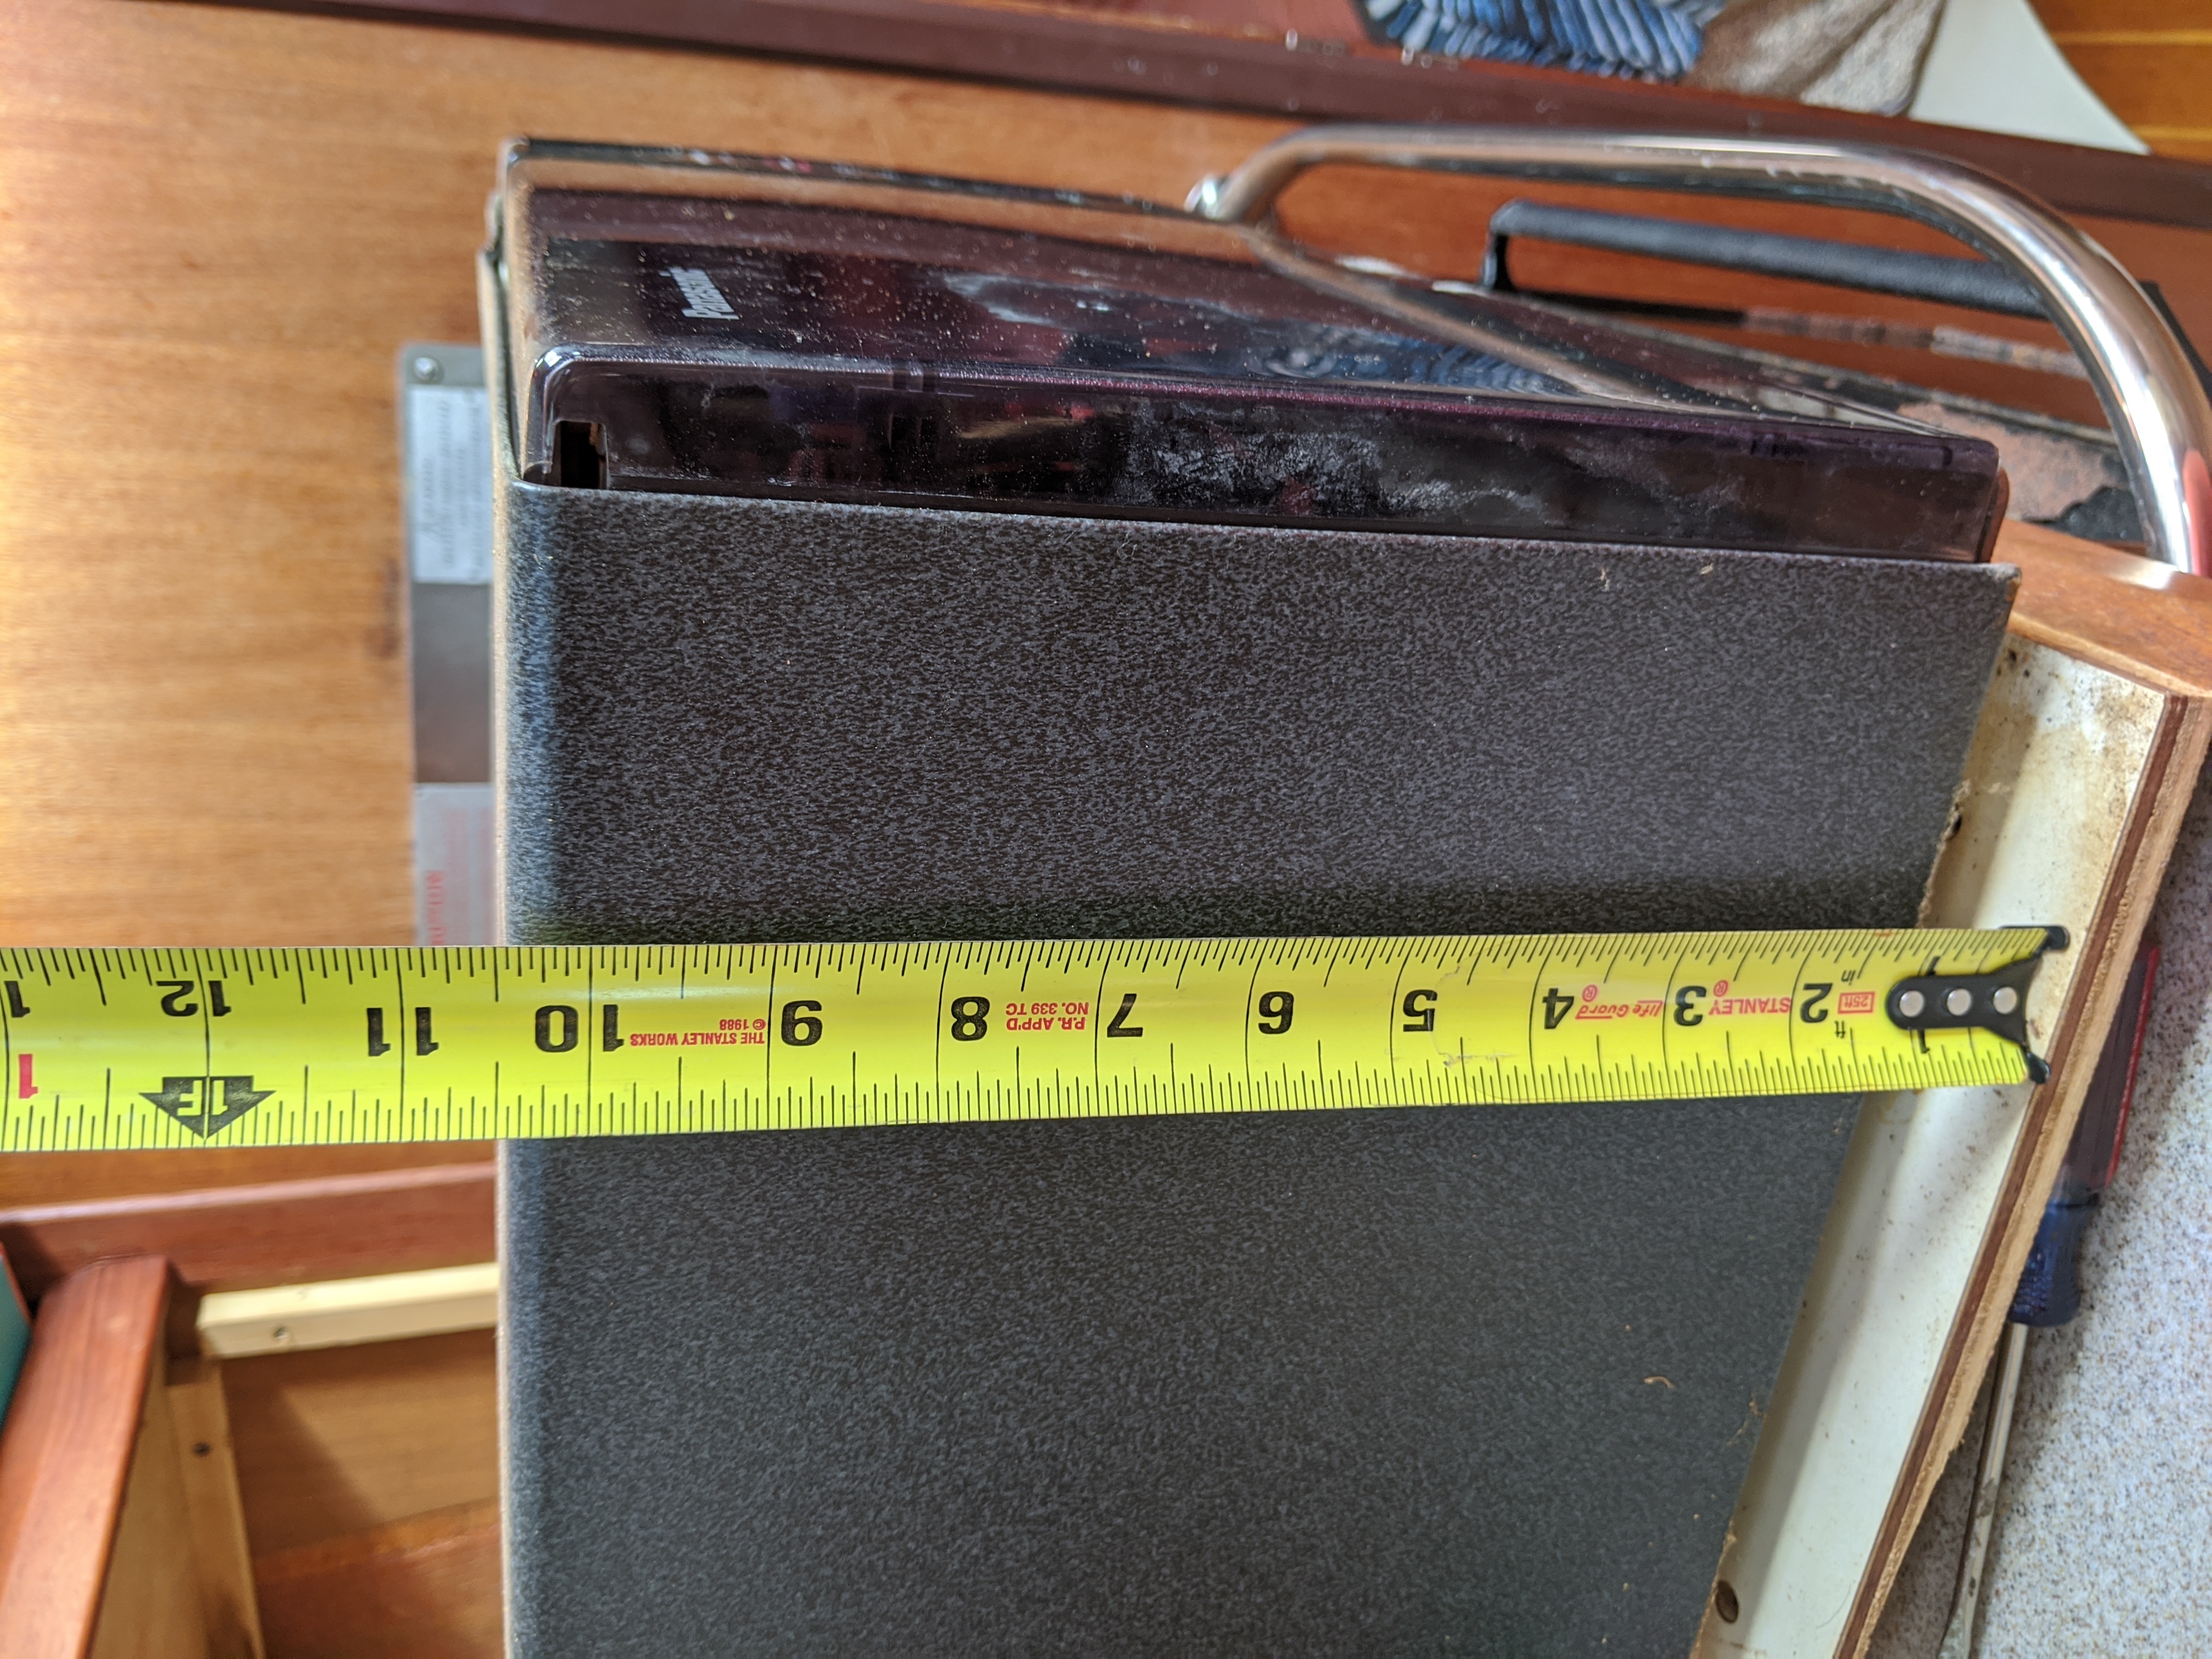
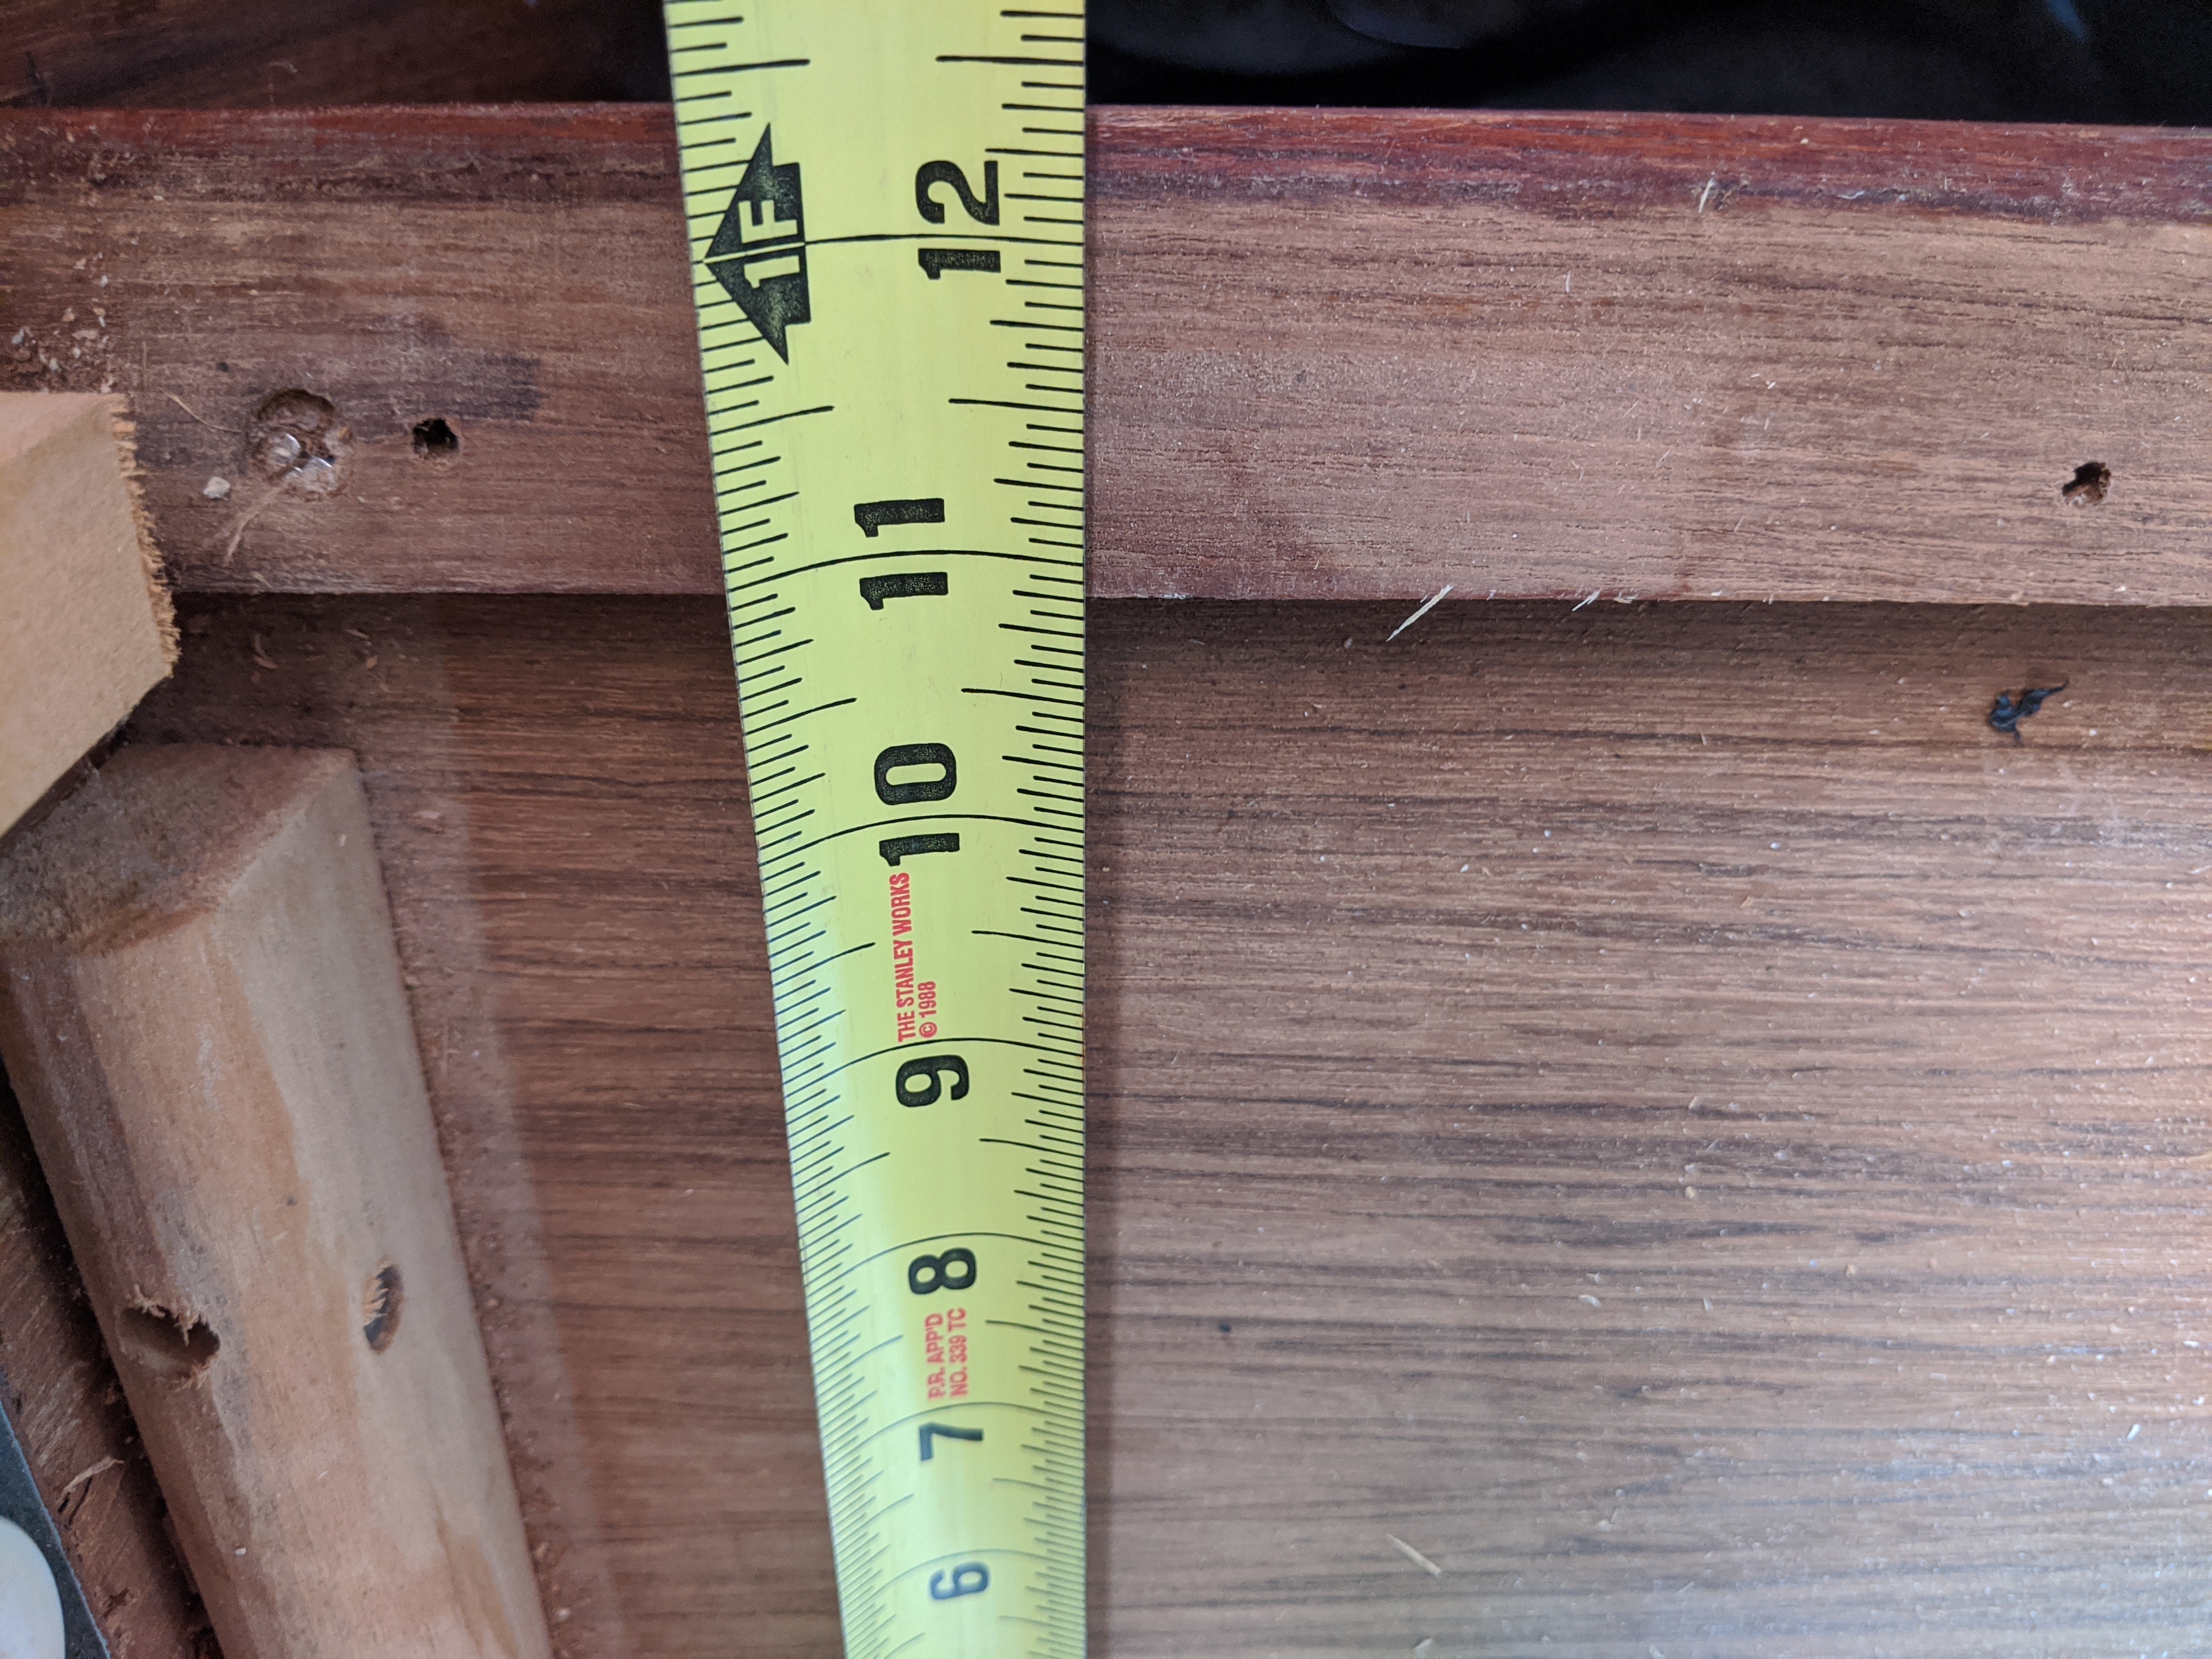
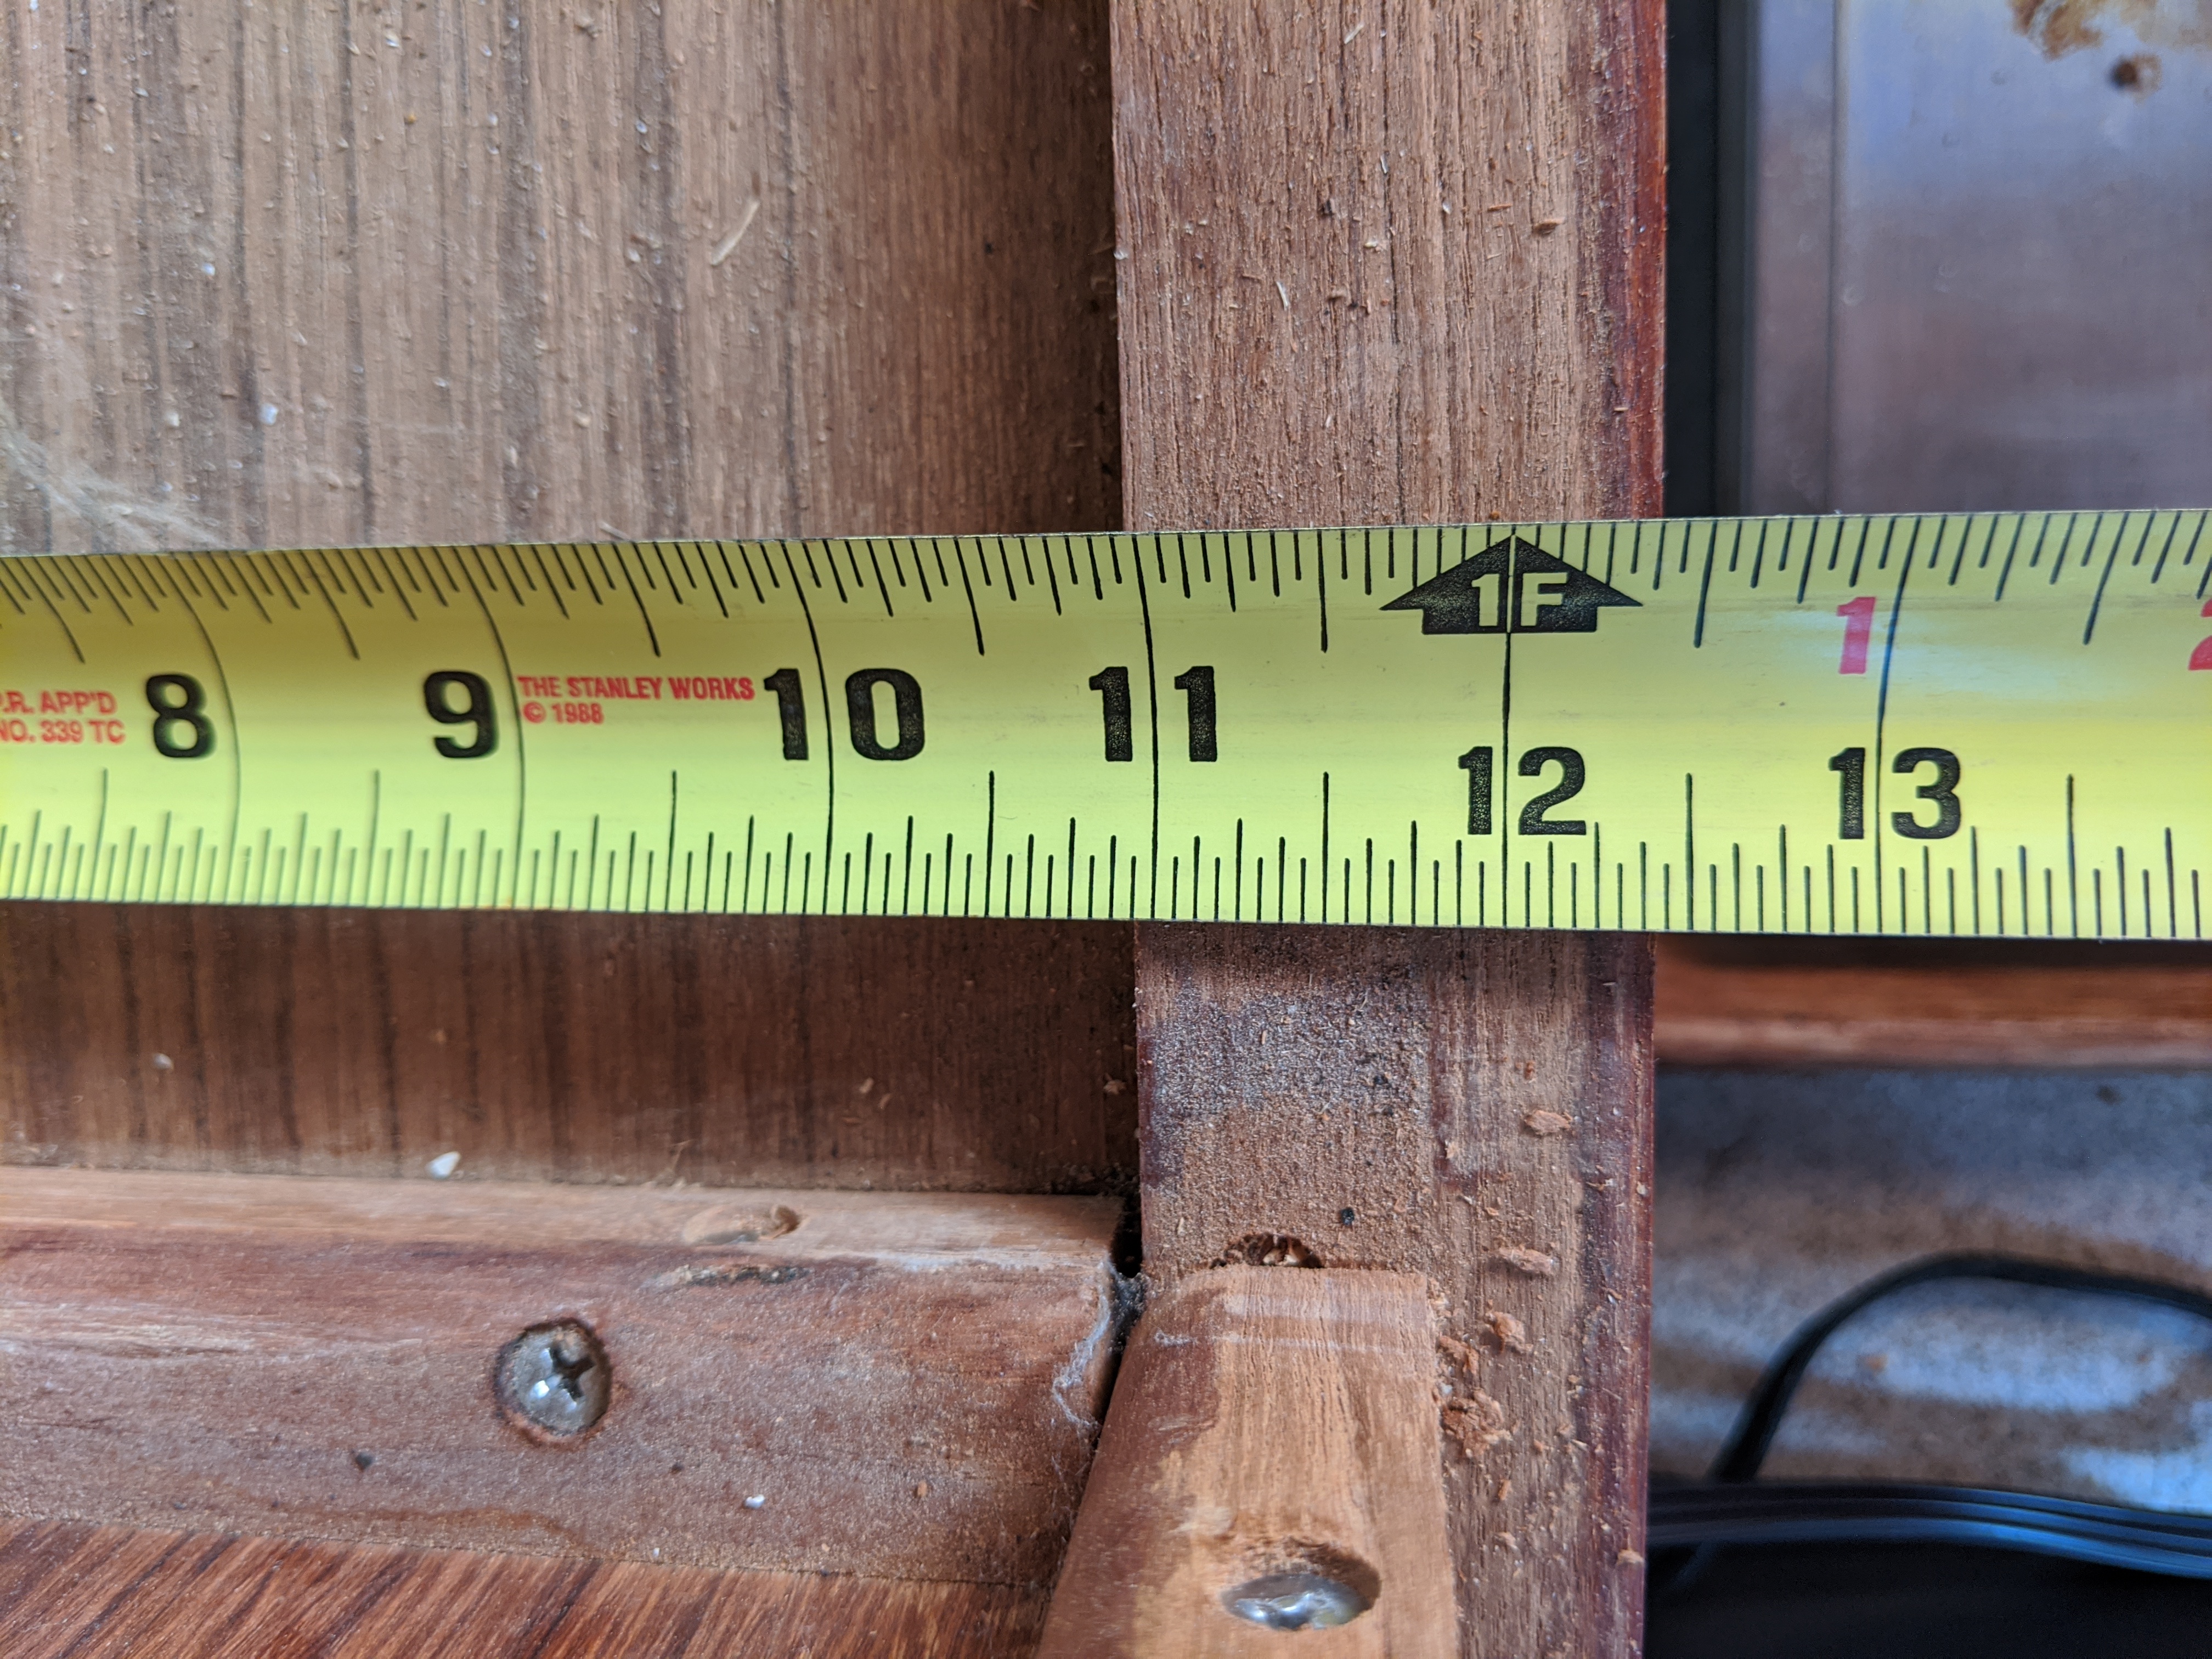
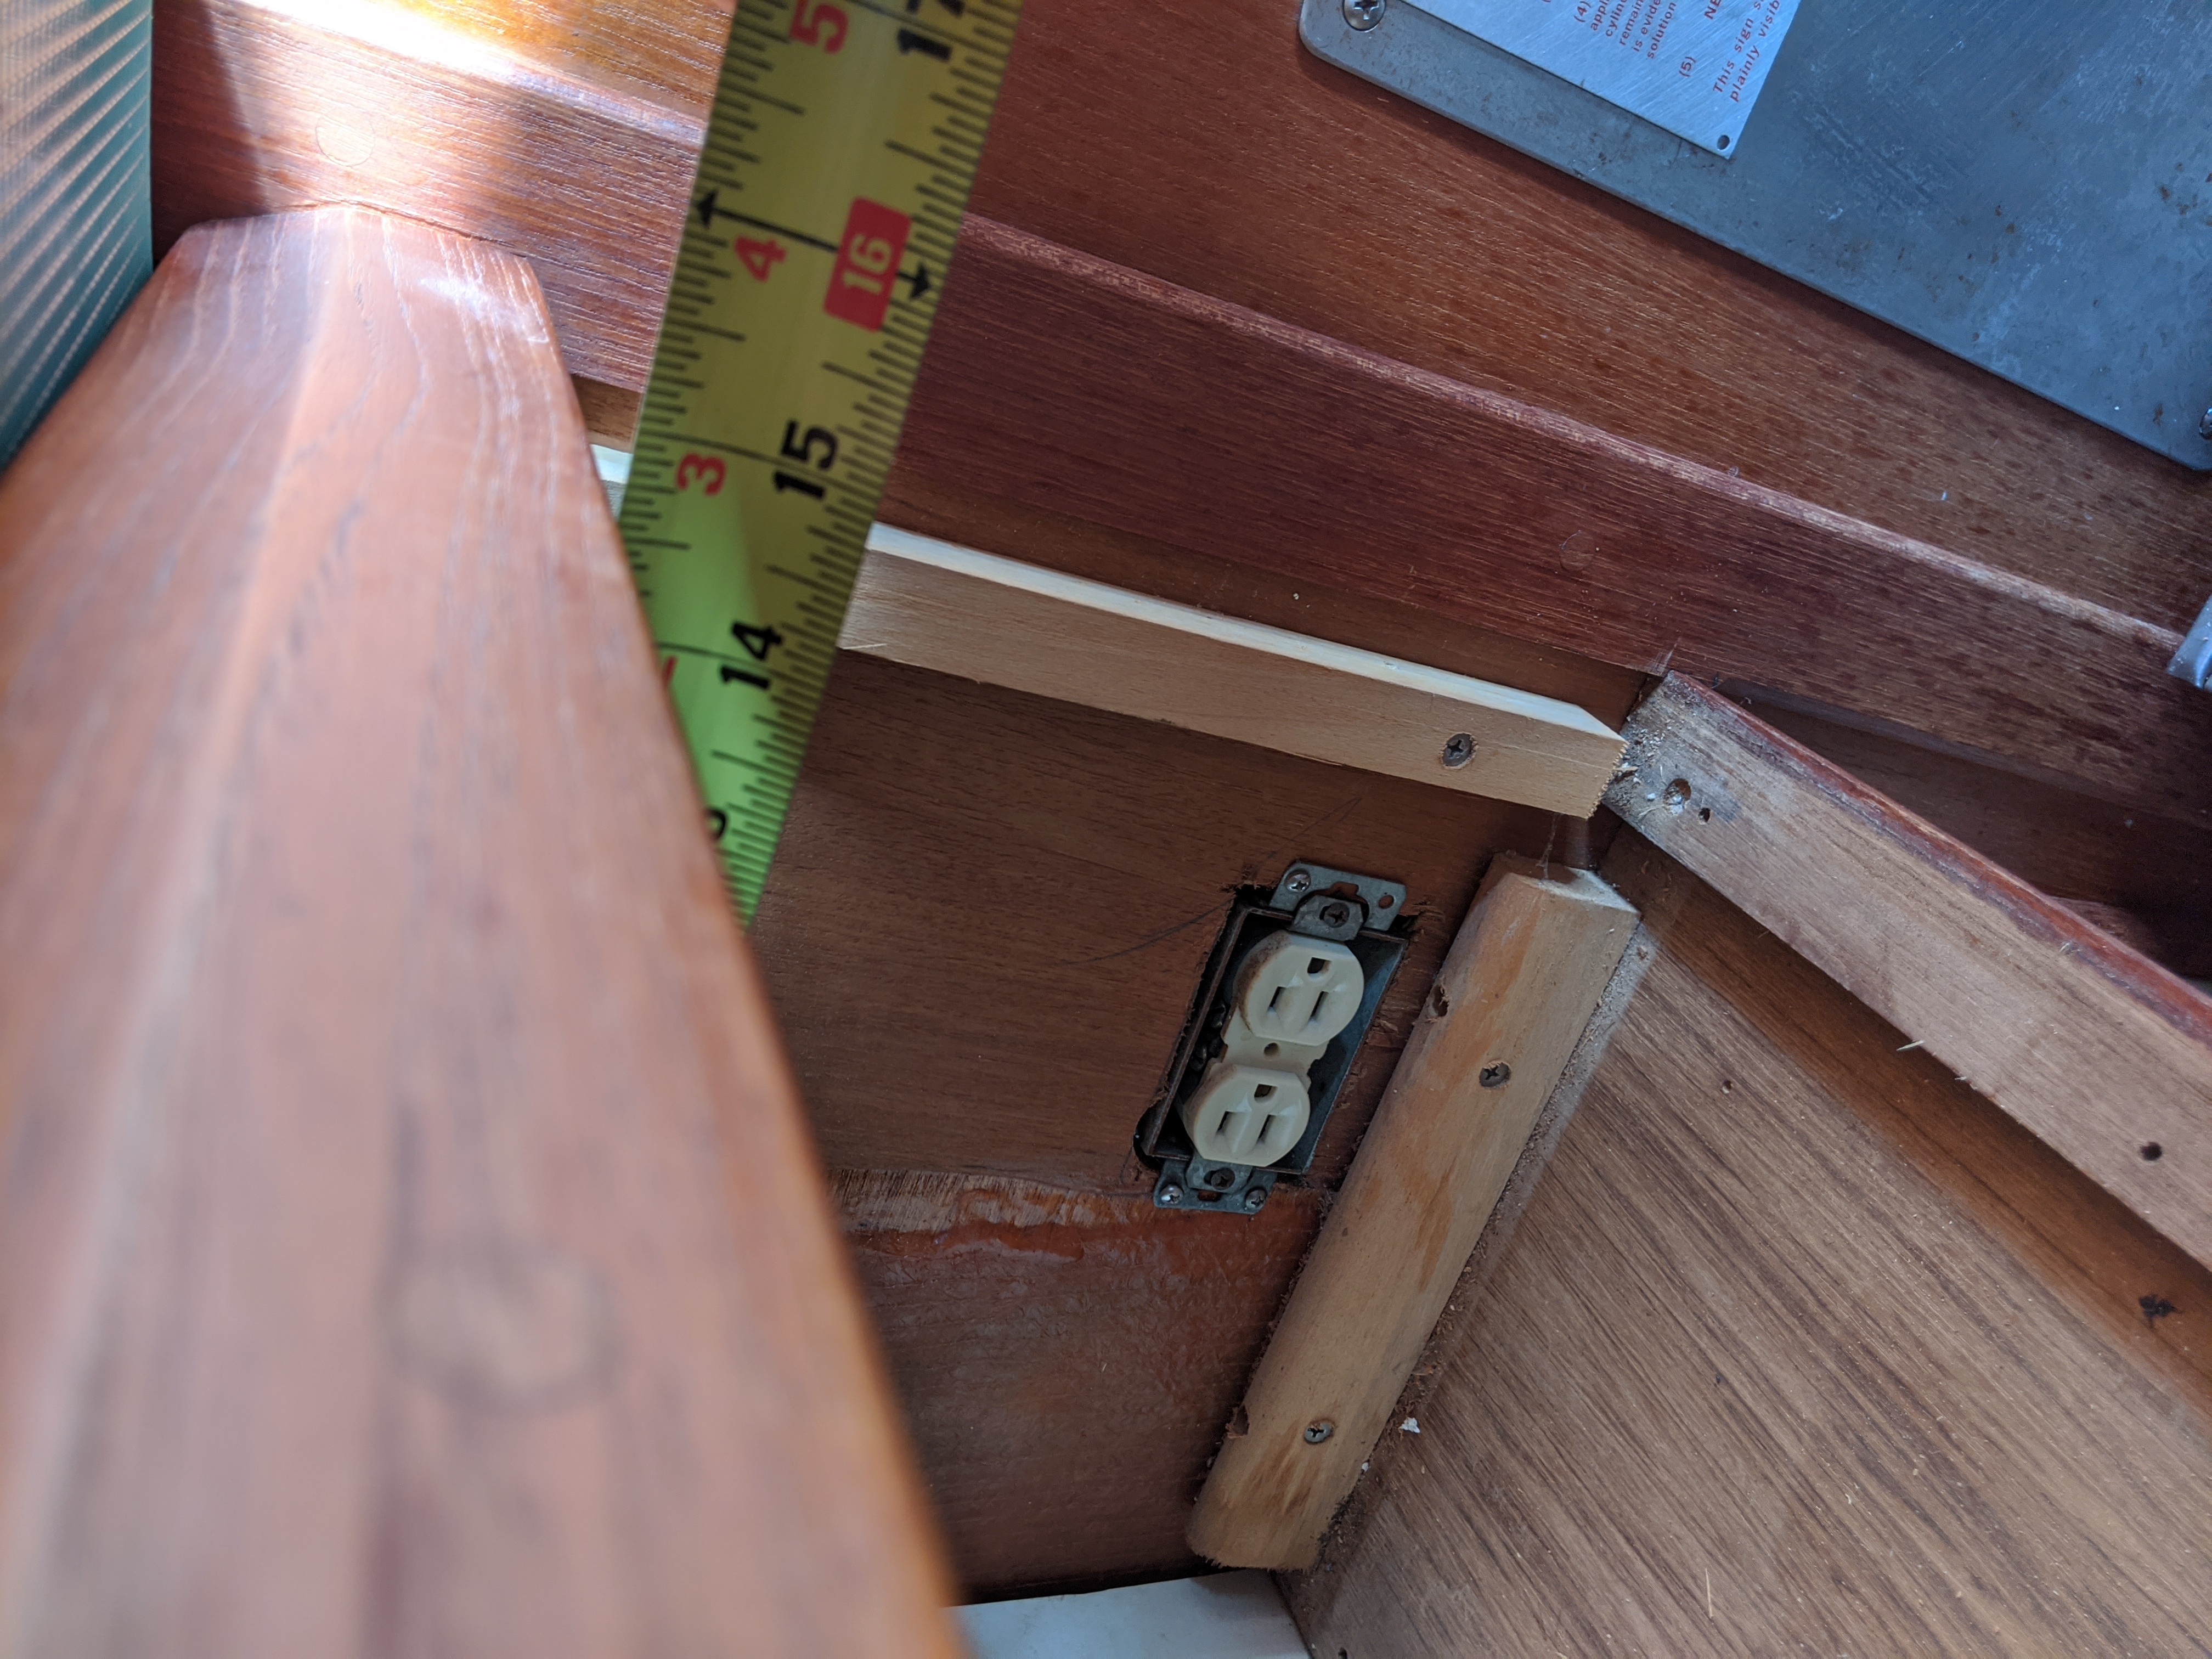
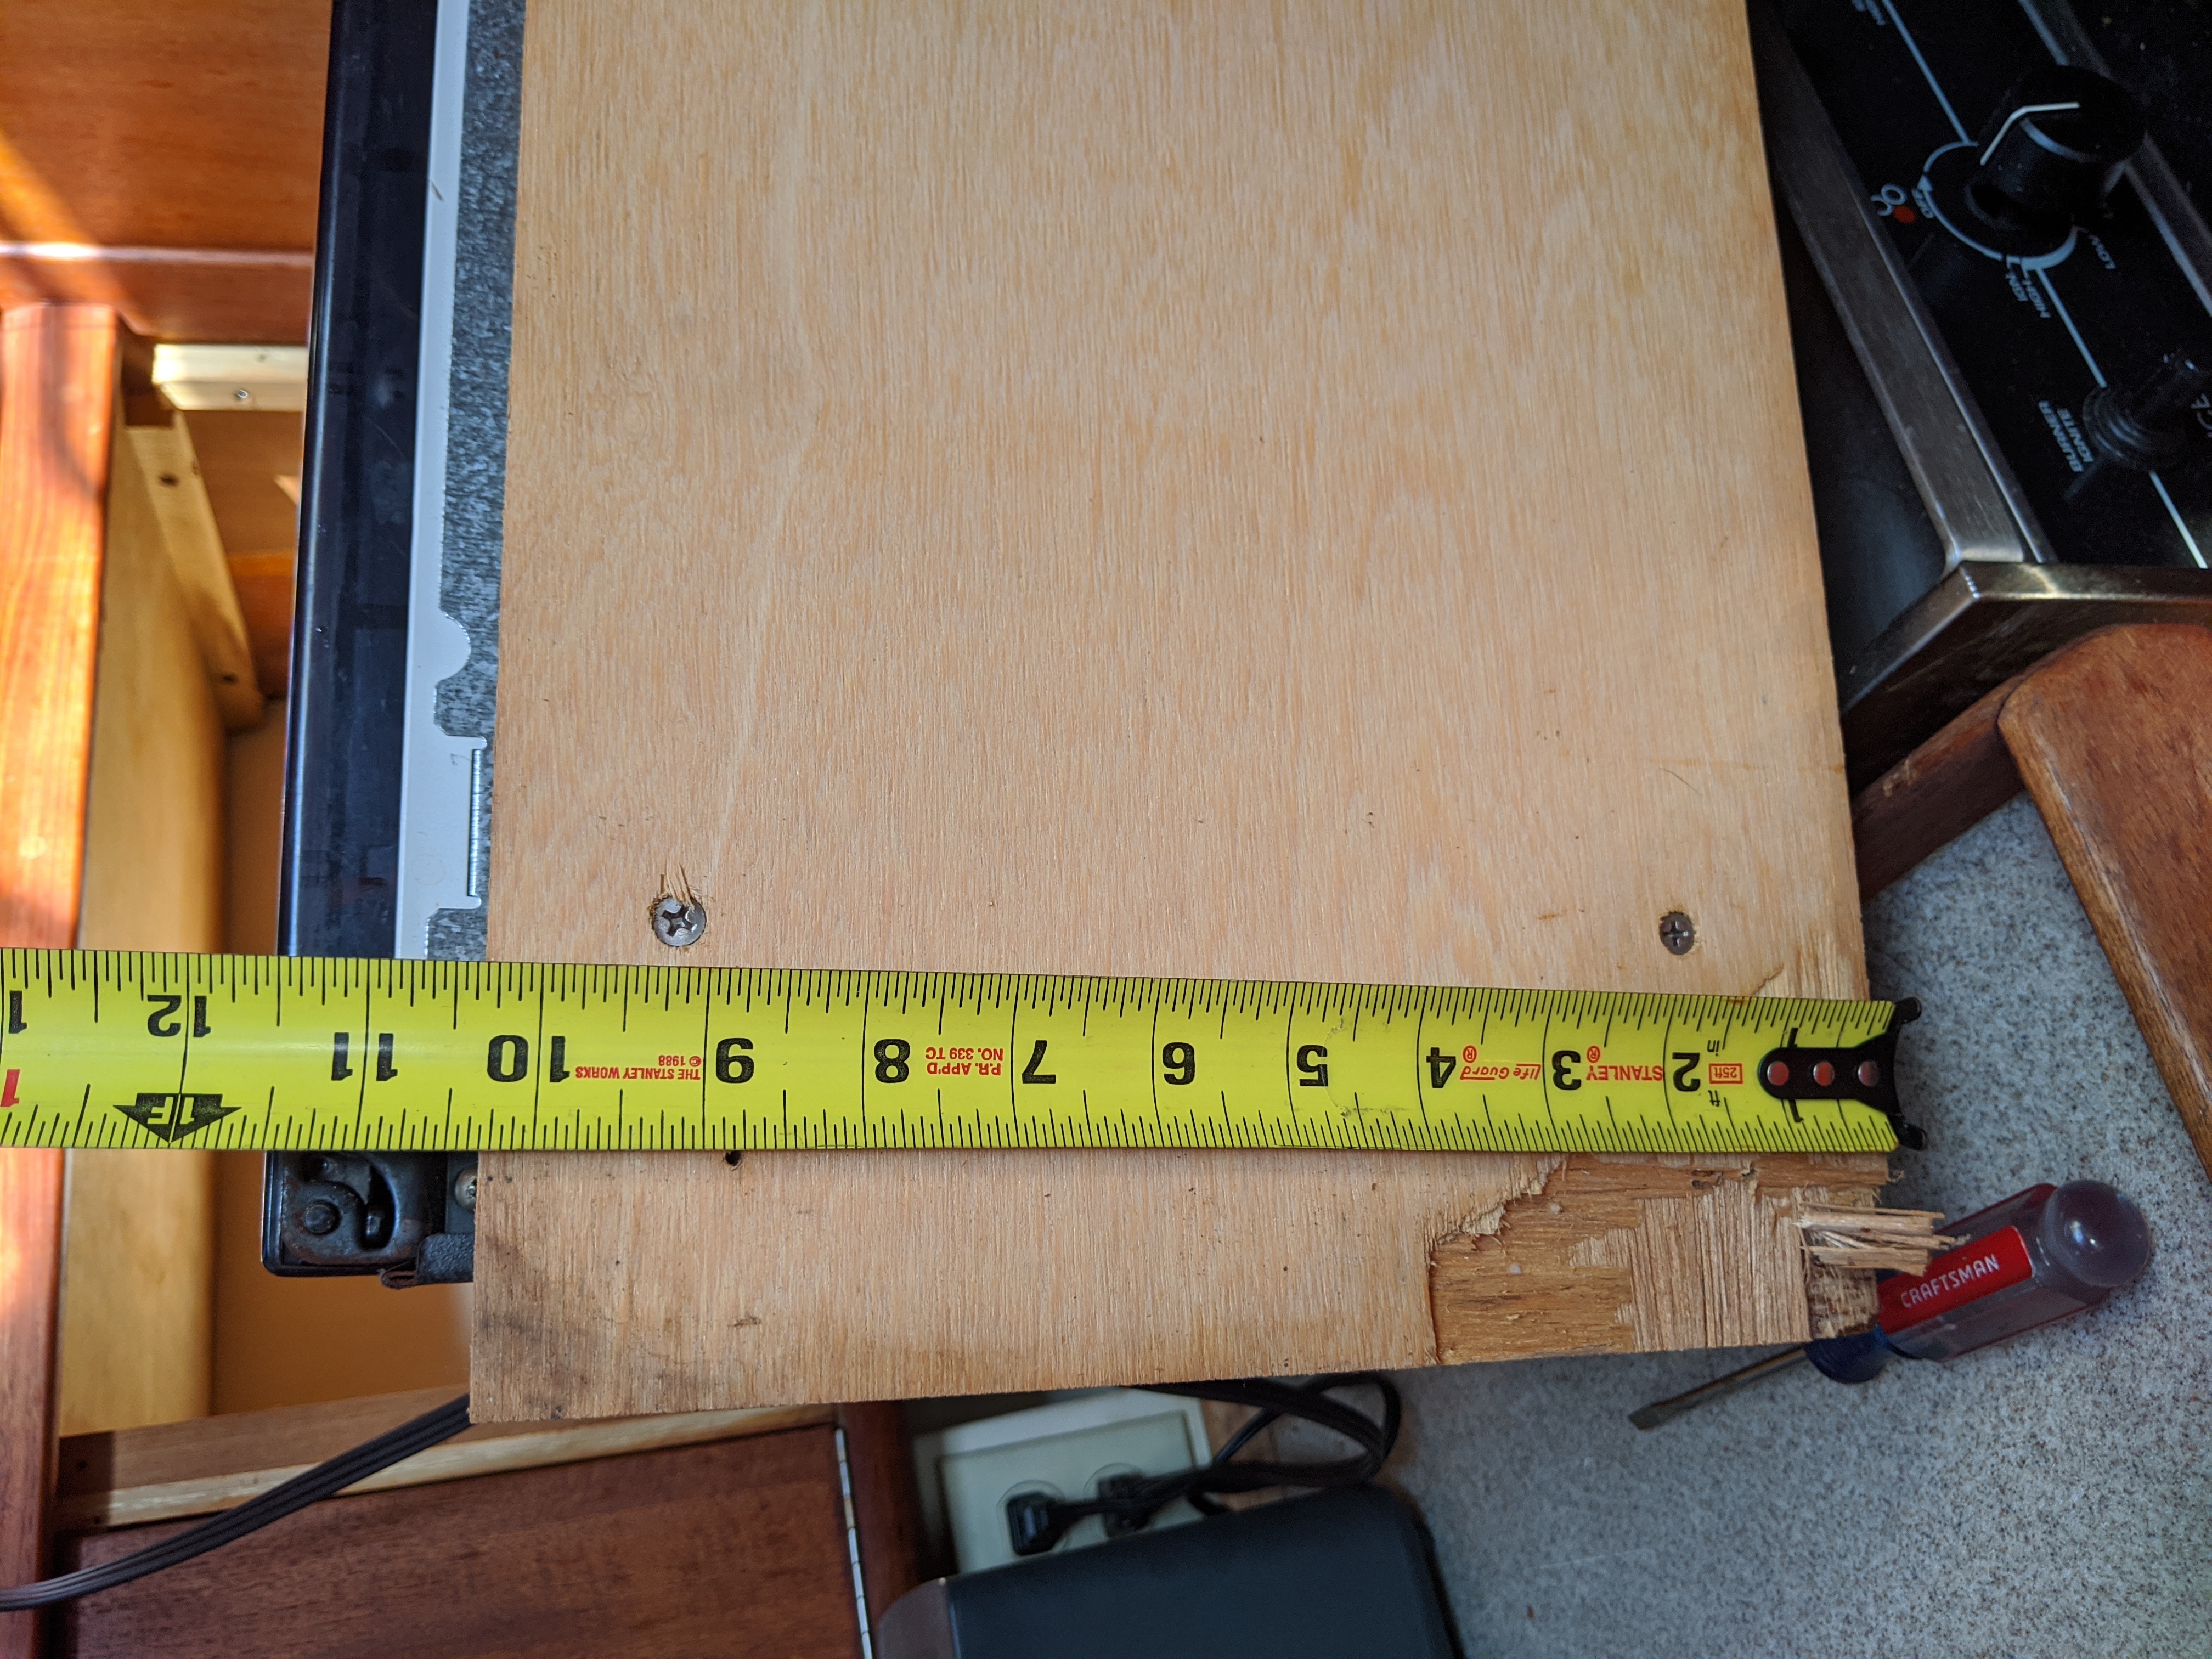
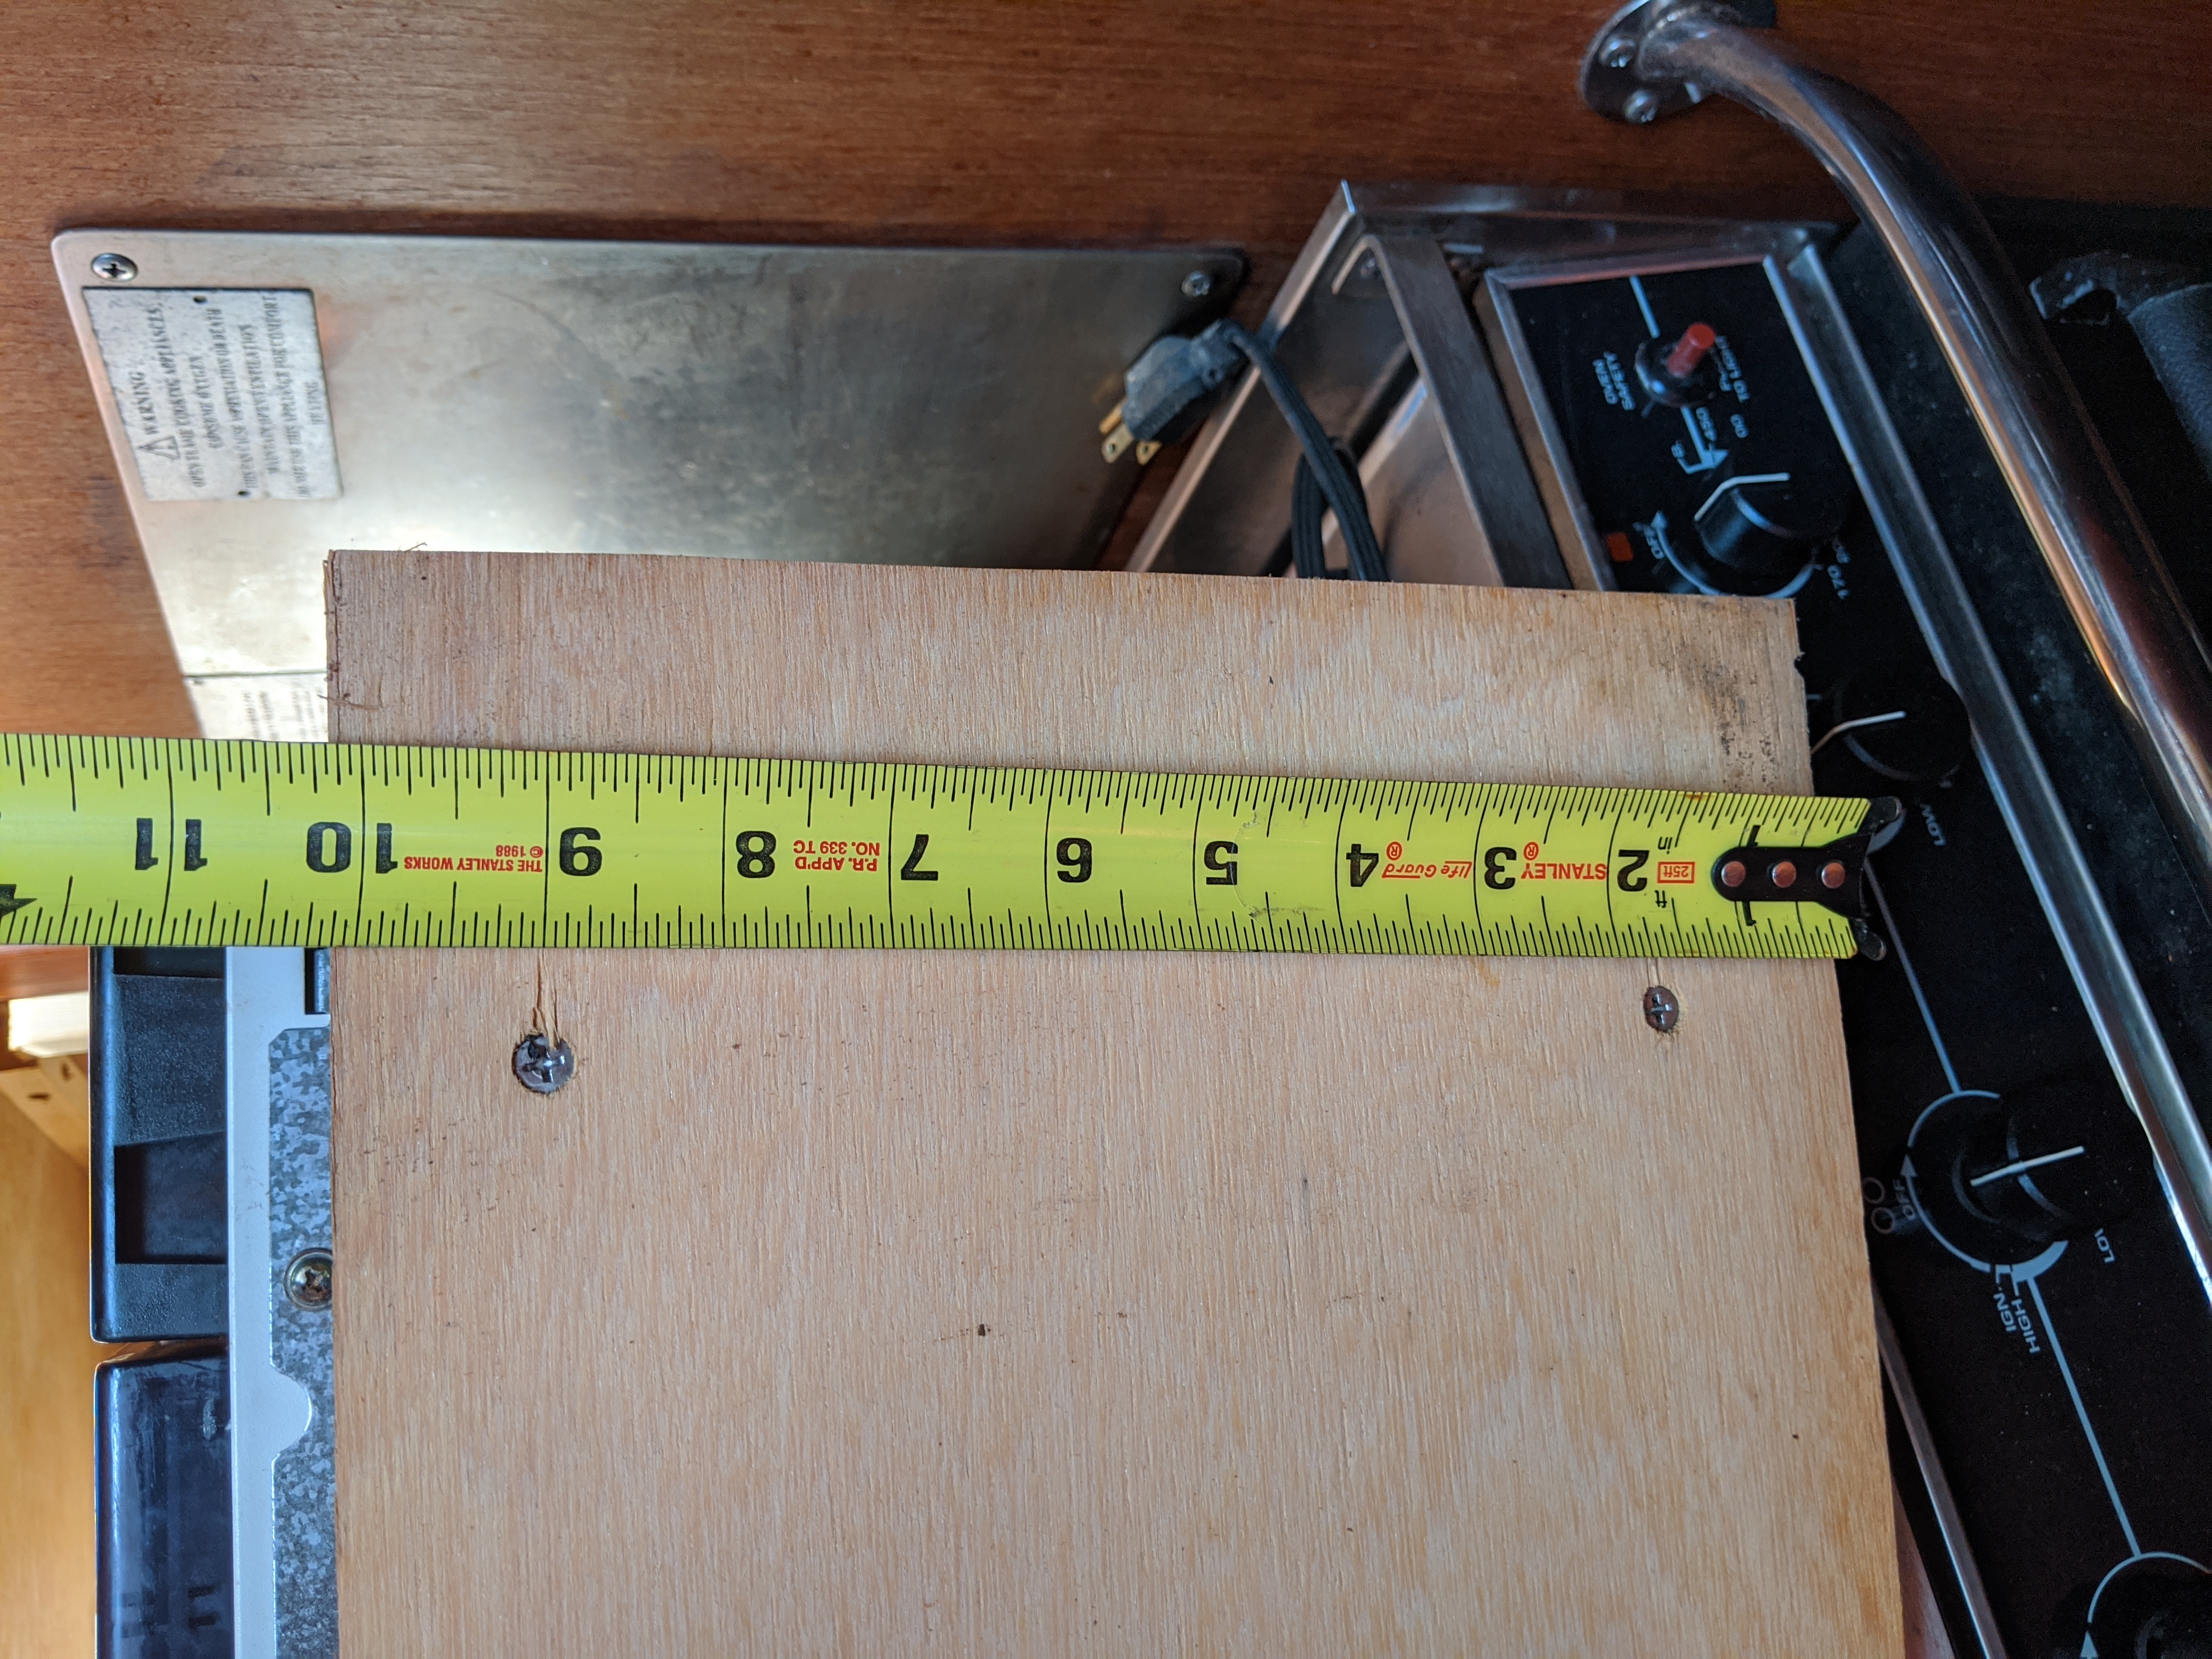
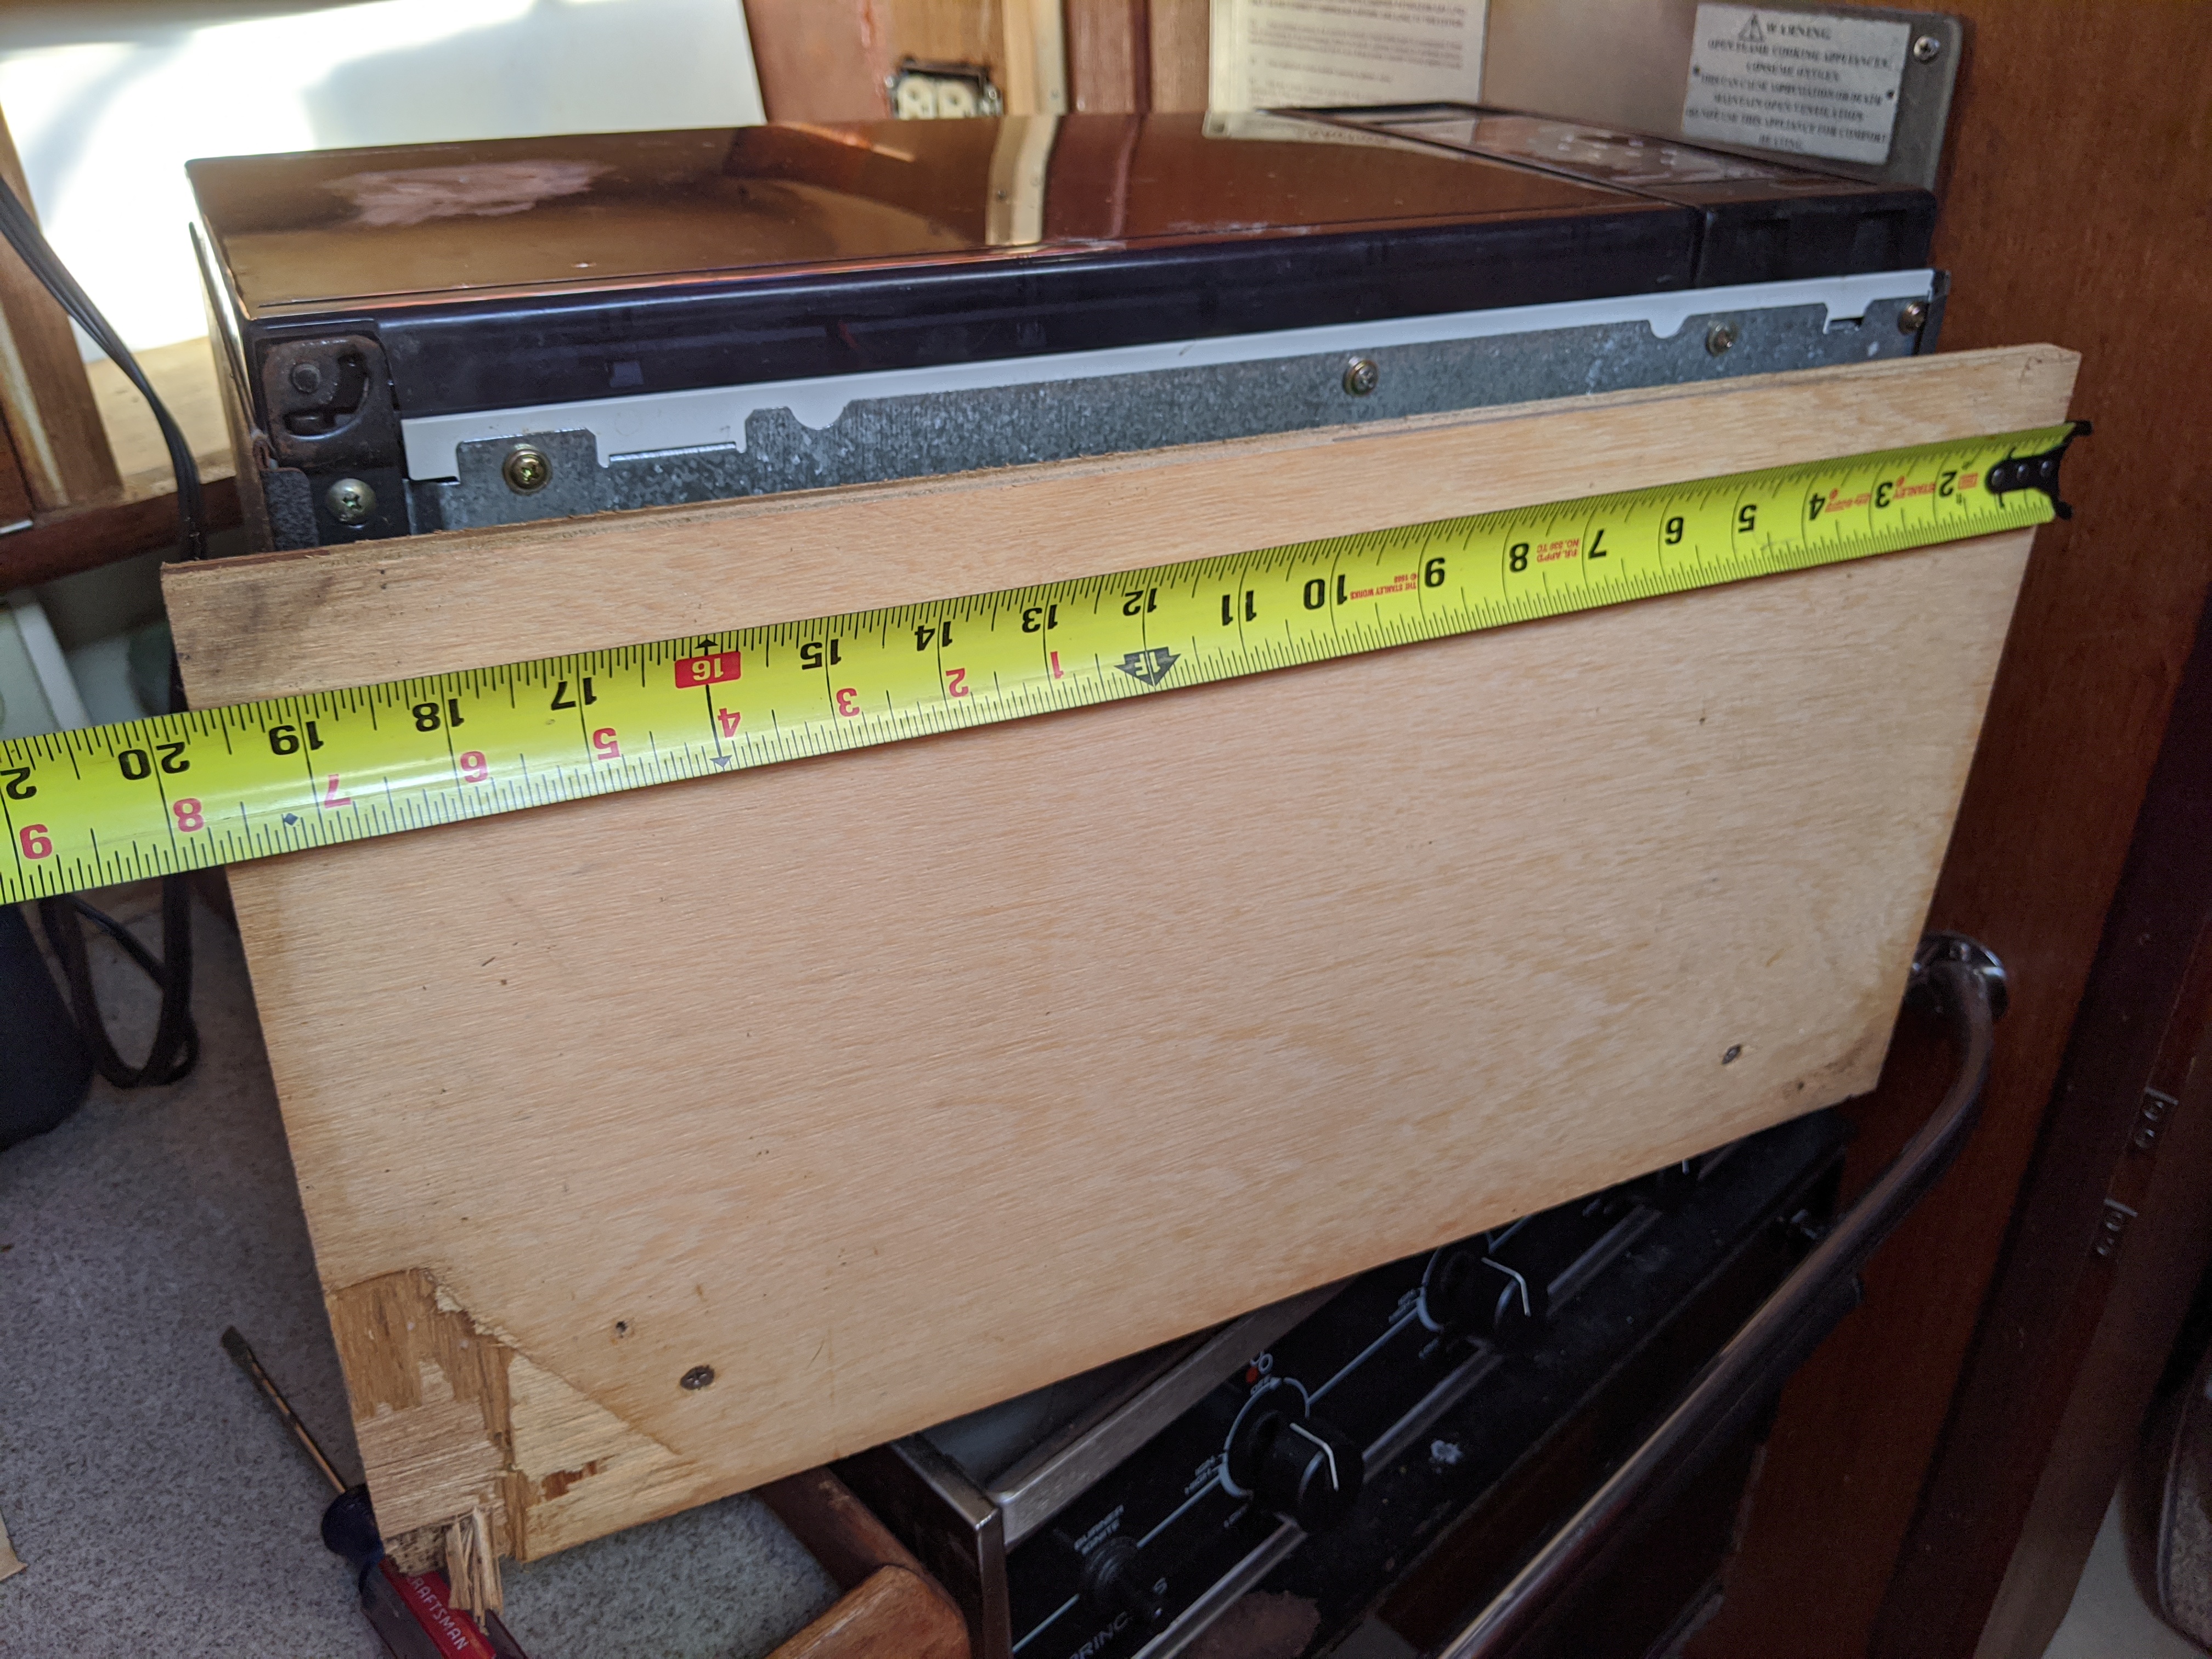
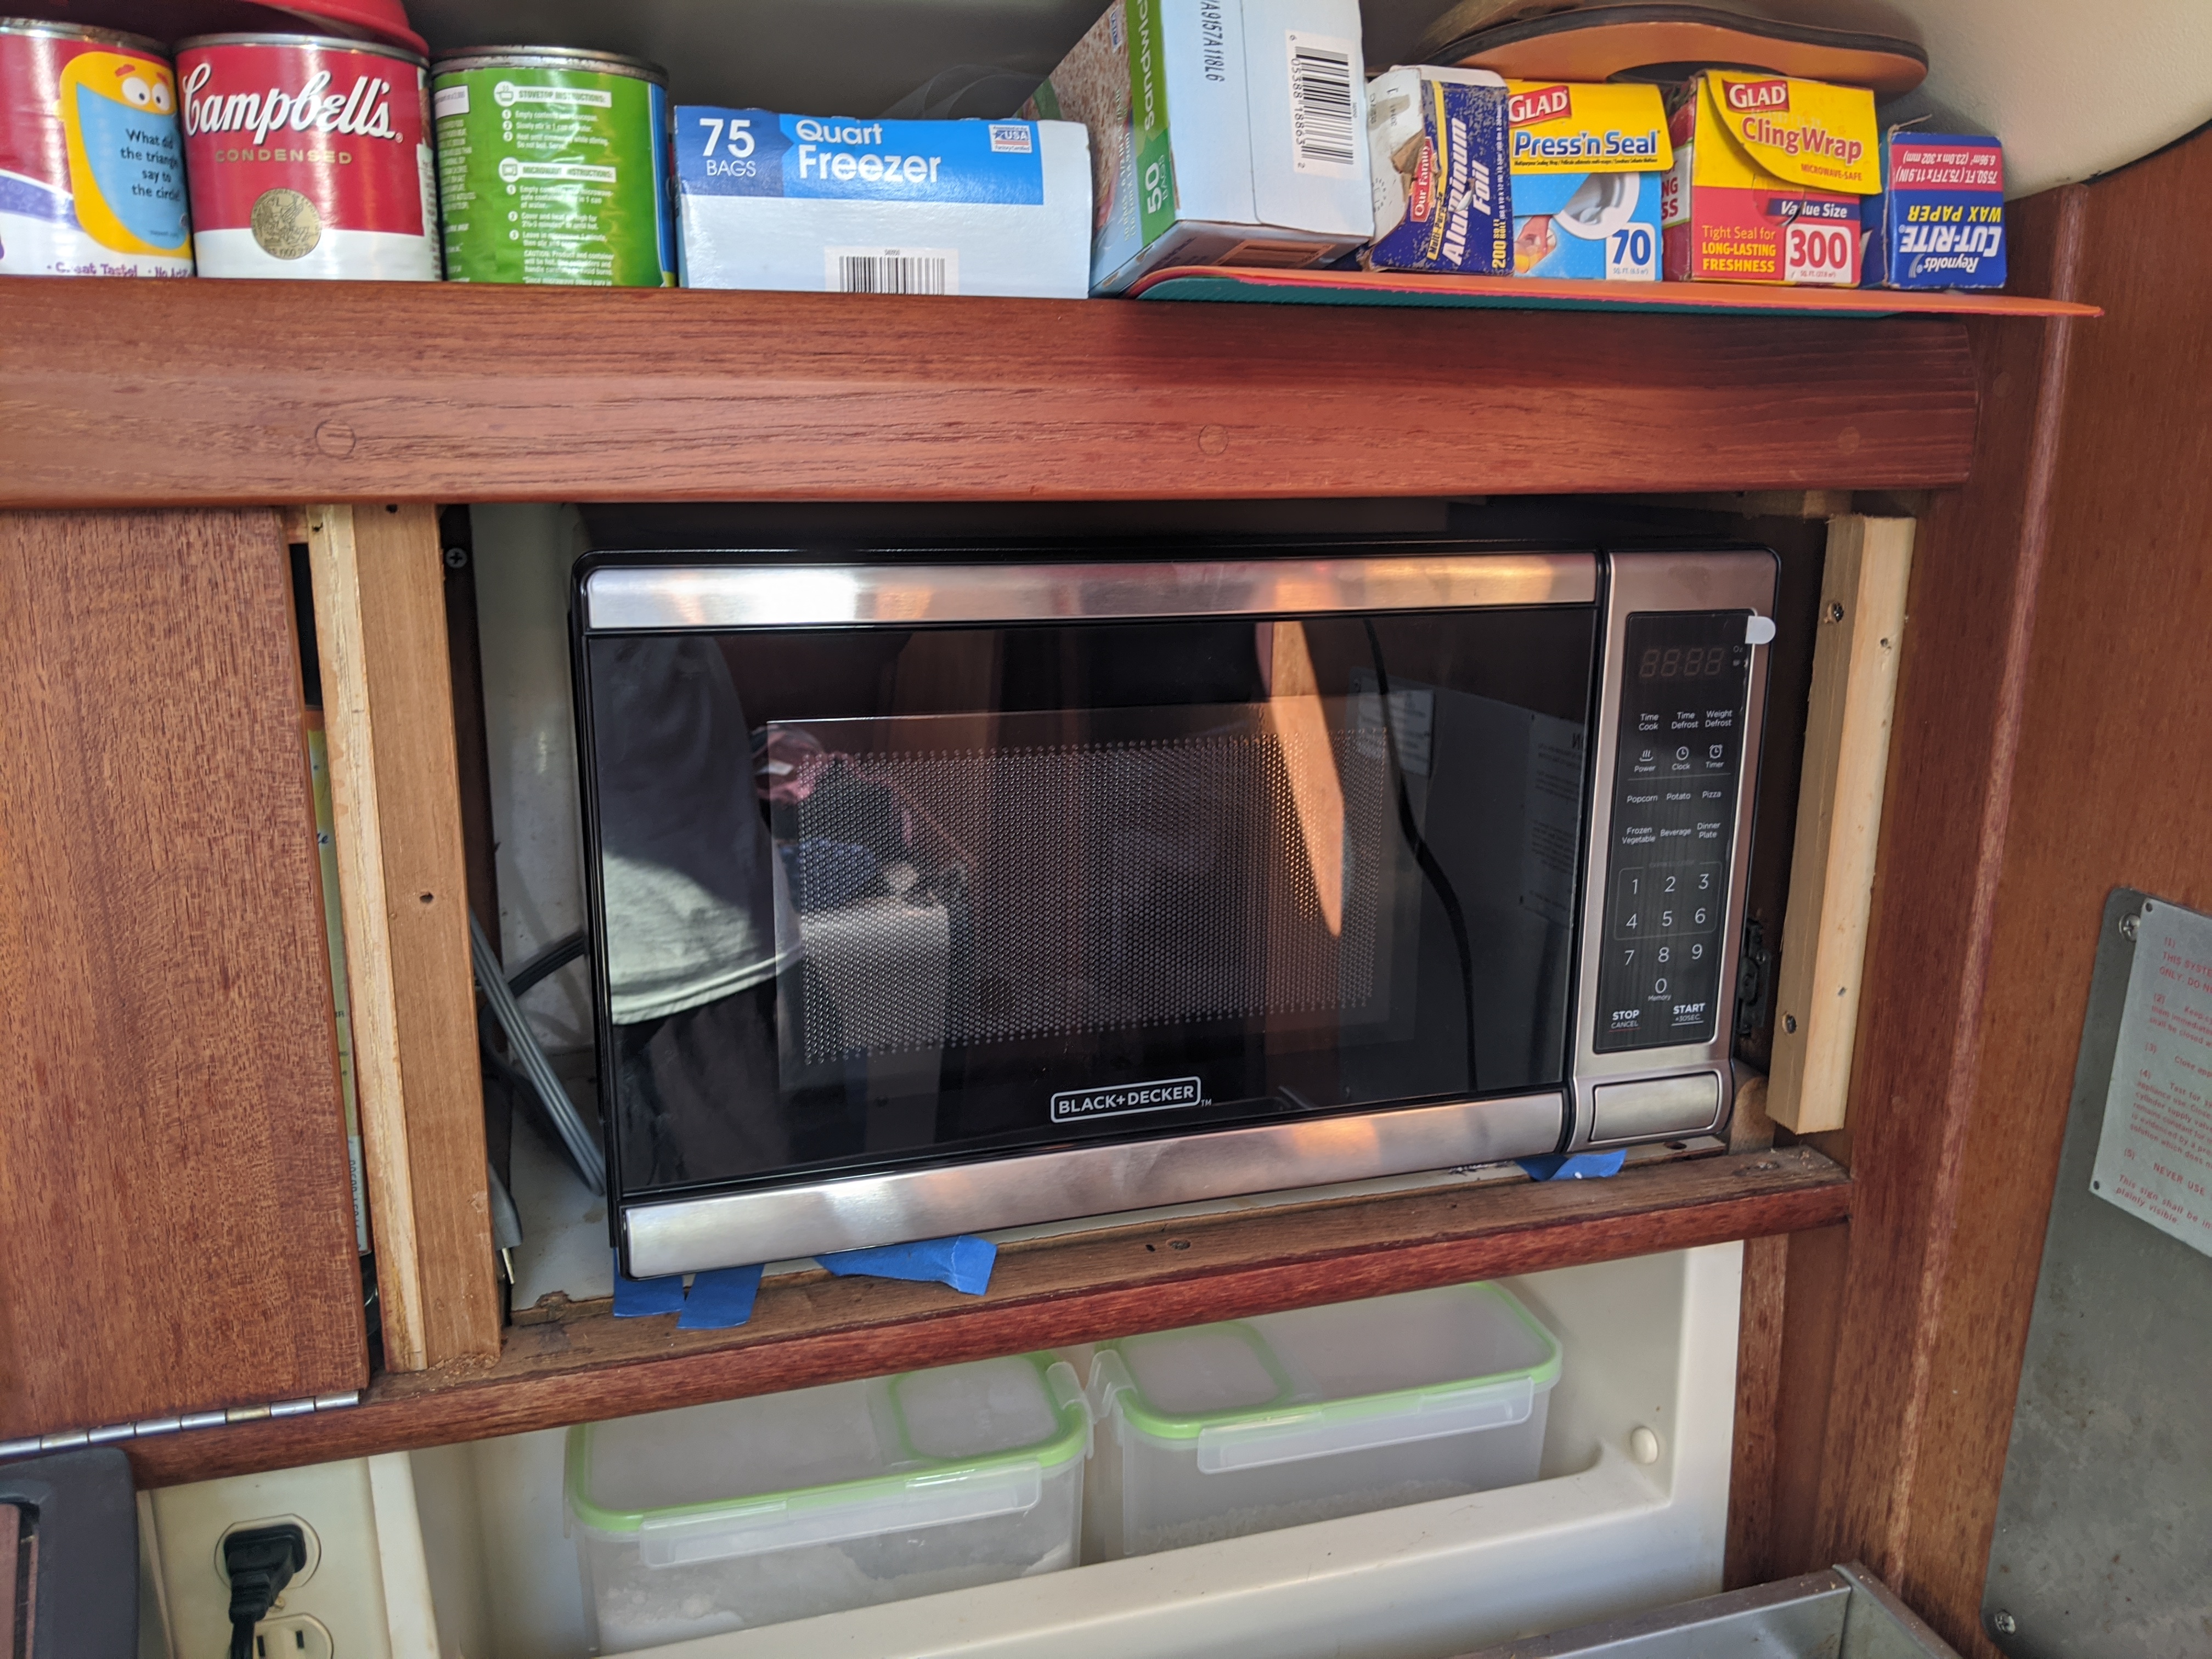
Then the microwave and the base plate that it was attached to came out easily (I had already removed the screw going through the bottom of the cabinet with its point in the base plate). I made some measurements and chose to order the BLACK+DECKER EM720CB7 from Amazon. Many measurement pictures can be found below.
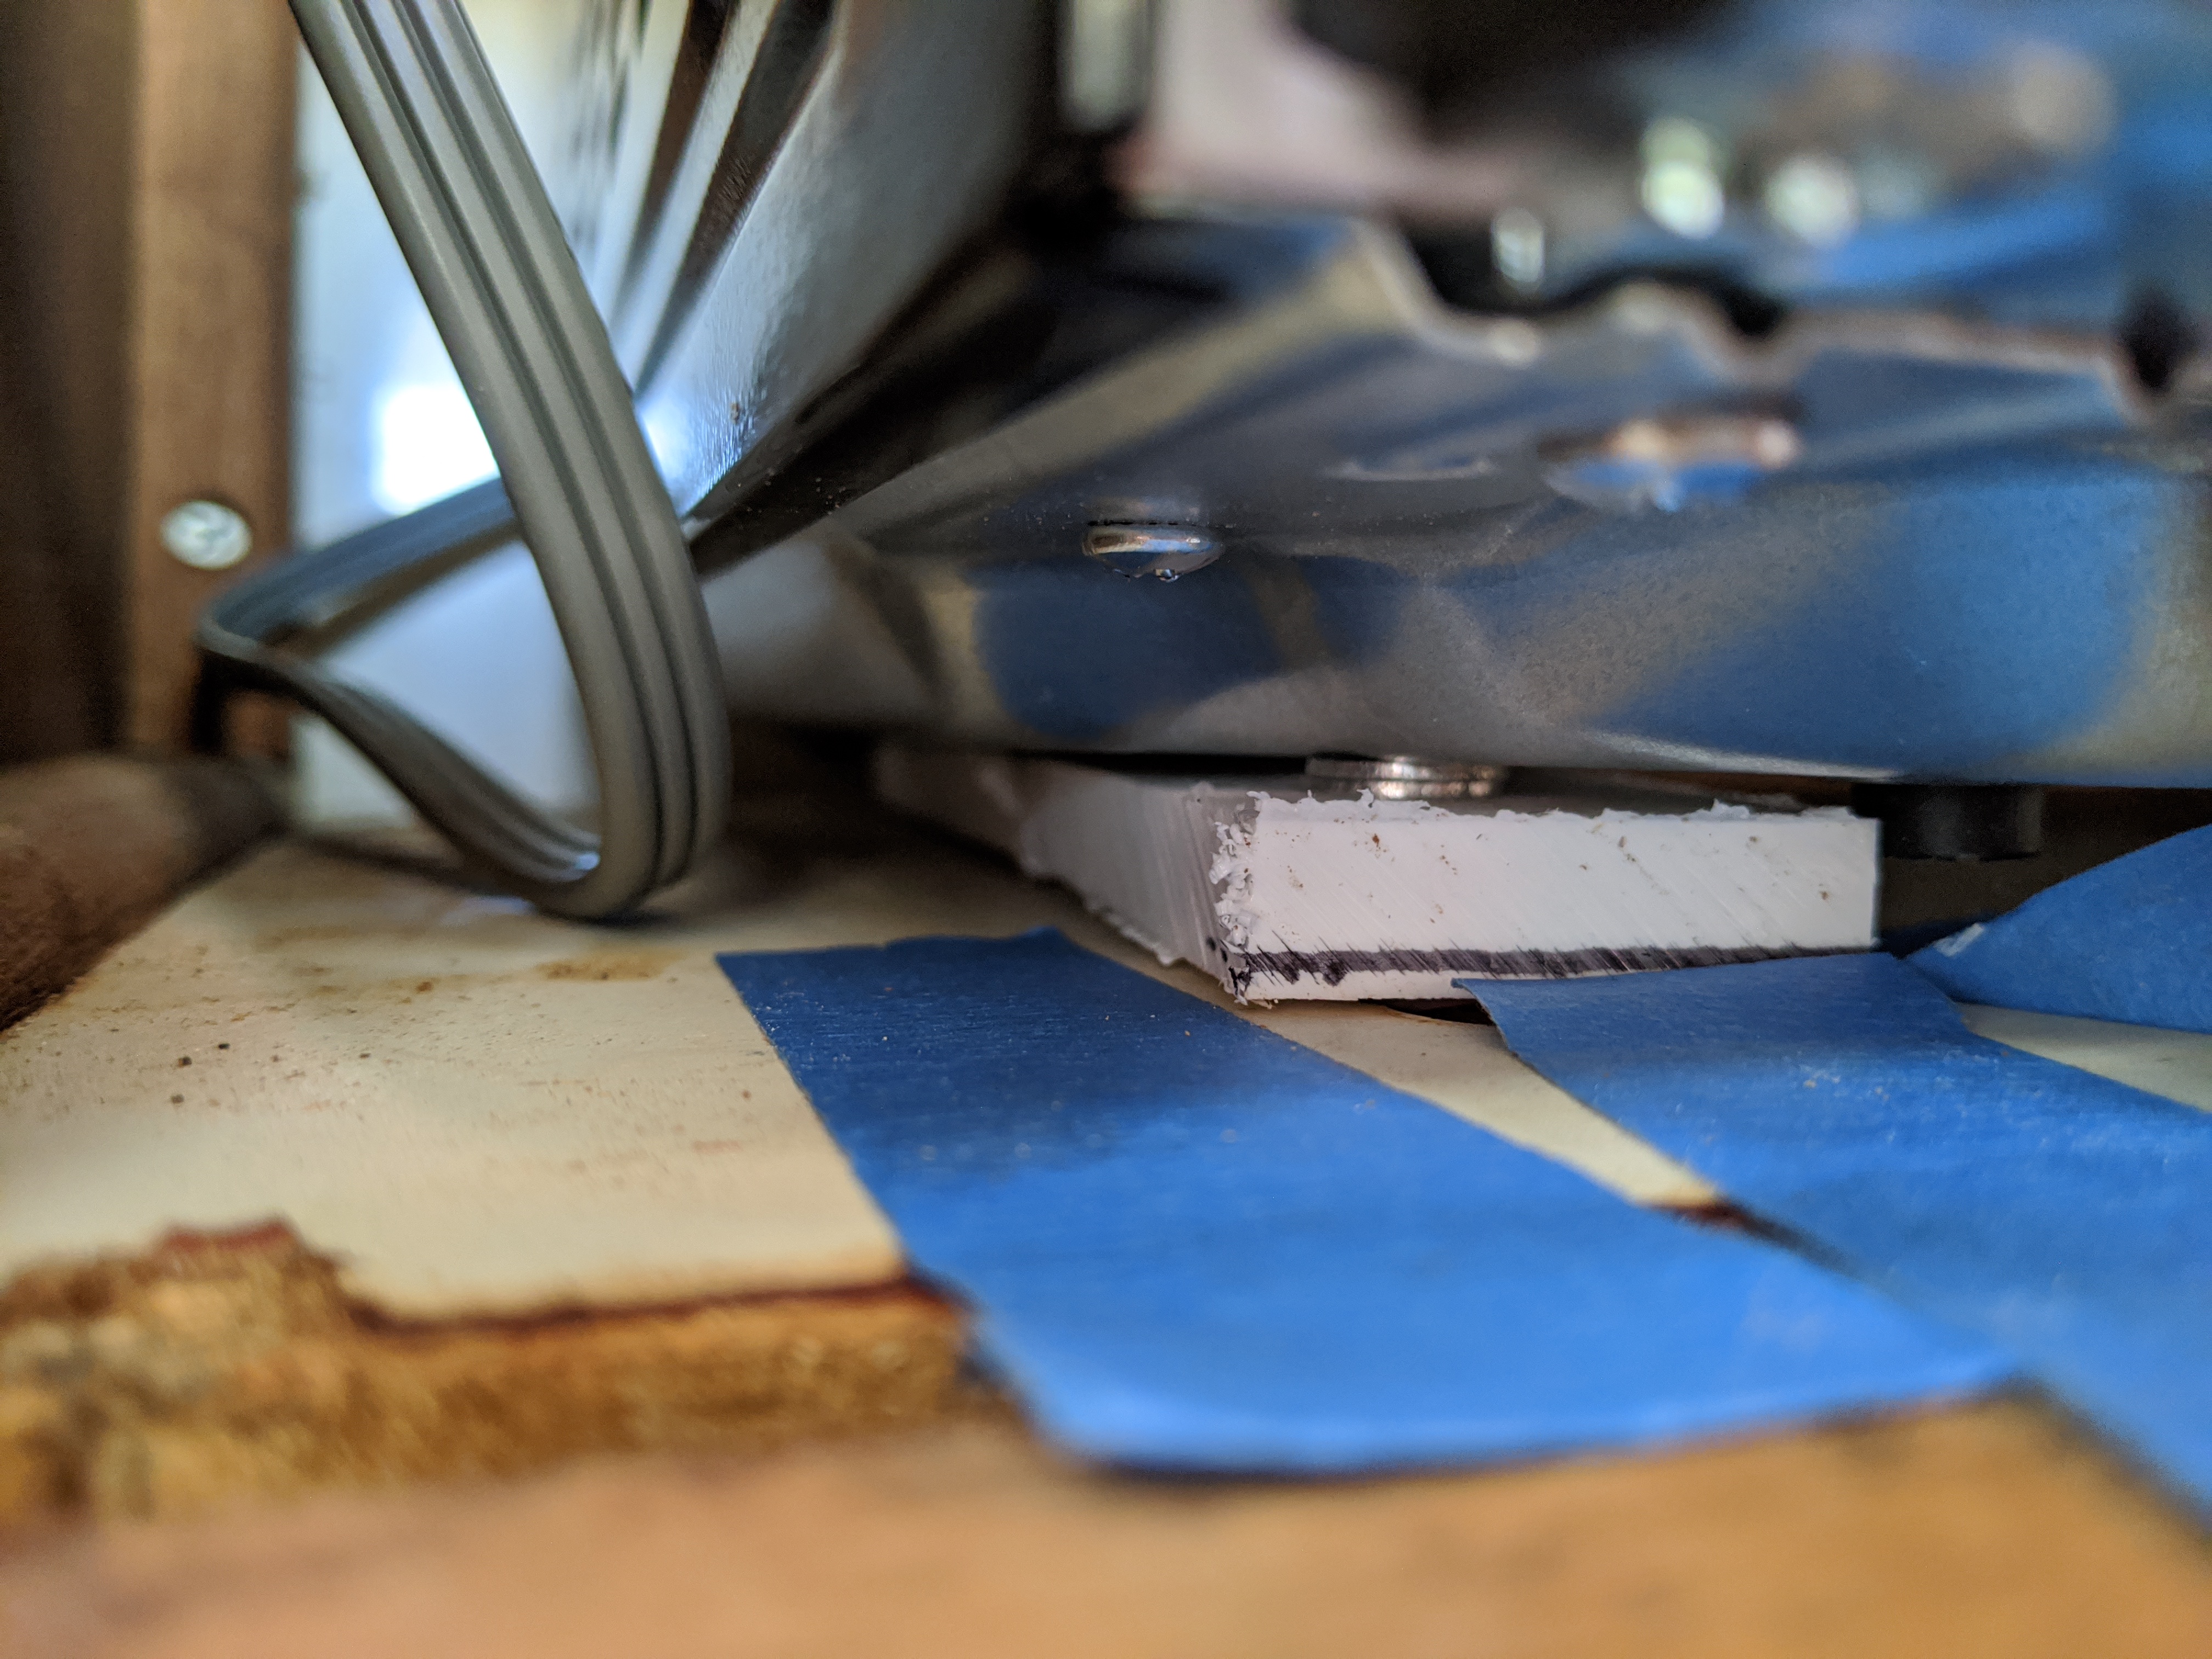
A few days later the new microwave arrived. I played around with different things for spacers to put it at the correct level so that the door would open through the existing cutout in the face plate. With the microwave and spaces attached to the base plate (see image captions below for some more details on positioning) I put it in the cabinet. Then I finagled the face plate back into place...again this would be significantly easier if the nearby cabinet door was removed. I tried to remove it but did not do it carefully and stripped a screw so did it with the door in place. They are PH1 screw heads BTW, which yes I was using but still stripped one. Anyways, a couple pounds with the cordless drill battery and the face plate popped into place. I screwed it in with the same three screws and attached the bottom reinforcing piece better than before (described in a photo caption below).
I still need to read up on how to put the teak plugs in, otherwise it is complete and working well!


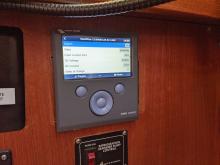
On our boat we have a Color Control GX that is mounted at the nav station. And we have a MultiPlus inverter/charger that is under the couch. We used to reach under the couch to turn the inverter on and off. This is a minor hassle, and the switch feels sort of flimsy. So it was exciting when I discovered one day that we could turn the inverter on and off using the CCGX. So now we leave the physical switch On and control it using the CCGX.
That works great, except about once a month it does nothing when we choose On on the CCGX. Troubleshooting the first few times this happened involved rebooting things, updating firmware, unplugging and replugging communications cables, and then finally just letting it sit. And after a while it would eventually turn on.
Now I have discovered an easy workaround. On the CCGX I choose Charger Only (which is a third setting in addition to On and Off) and that immediately takes effect. Then I choose On and that immediately takes effect.
My best guess is that some part of the system thinks it is already on so does not accept the command to actually turn on. But also I think it happens more often if I have a large AC load switched on, such as the electric kettle in the morning.
This was the vehicle that I most often drove to high school in. It had an anemic motor that guzzled gasoline, something like 120 horsepower and 10mpg. I believe the motor was replaced once when I was really young too.
Memorable notes: