Hunter 376 microwave replacement
Our presumably stock microwave bit the dust a while back. I delayed replacing it for a week or two as I was intimidated by the task of doing the job without irreversibly damaging the cabinetry. I removed a screw that went up into the bottom of the microwave and was able to move the unit around a fair amount, but it looked like the microwave was just a little to big to slide out without more disassembly. I would later find out that the microwave was screwed to a big board anyways...no way was it coming out!
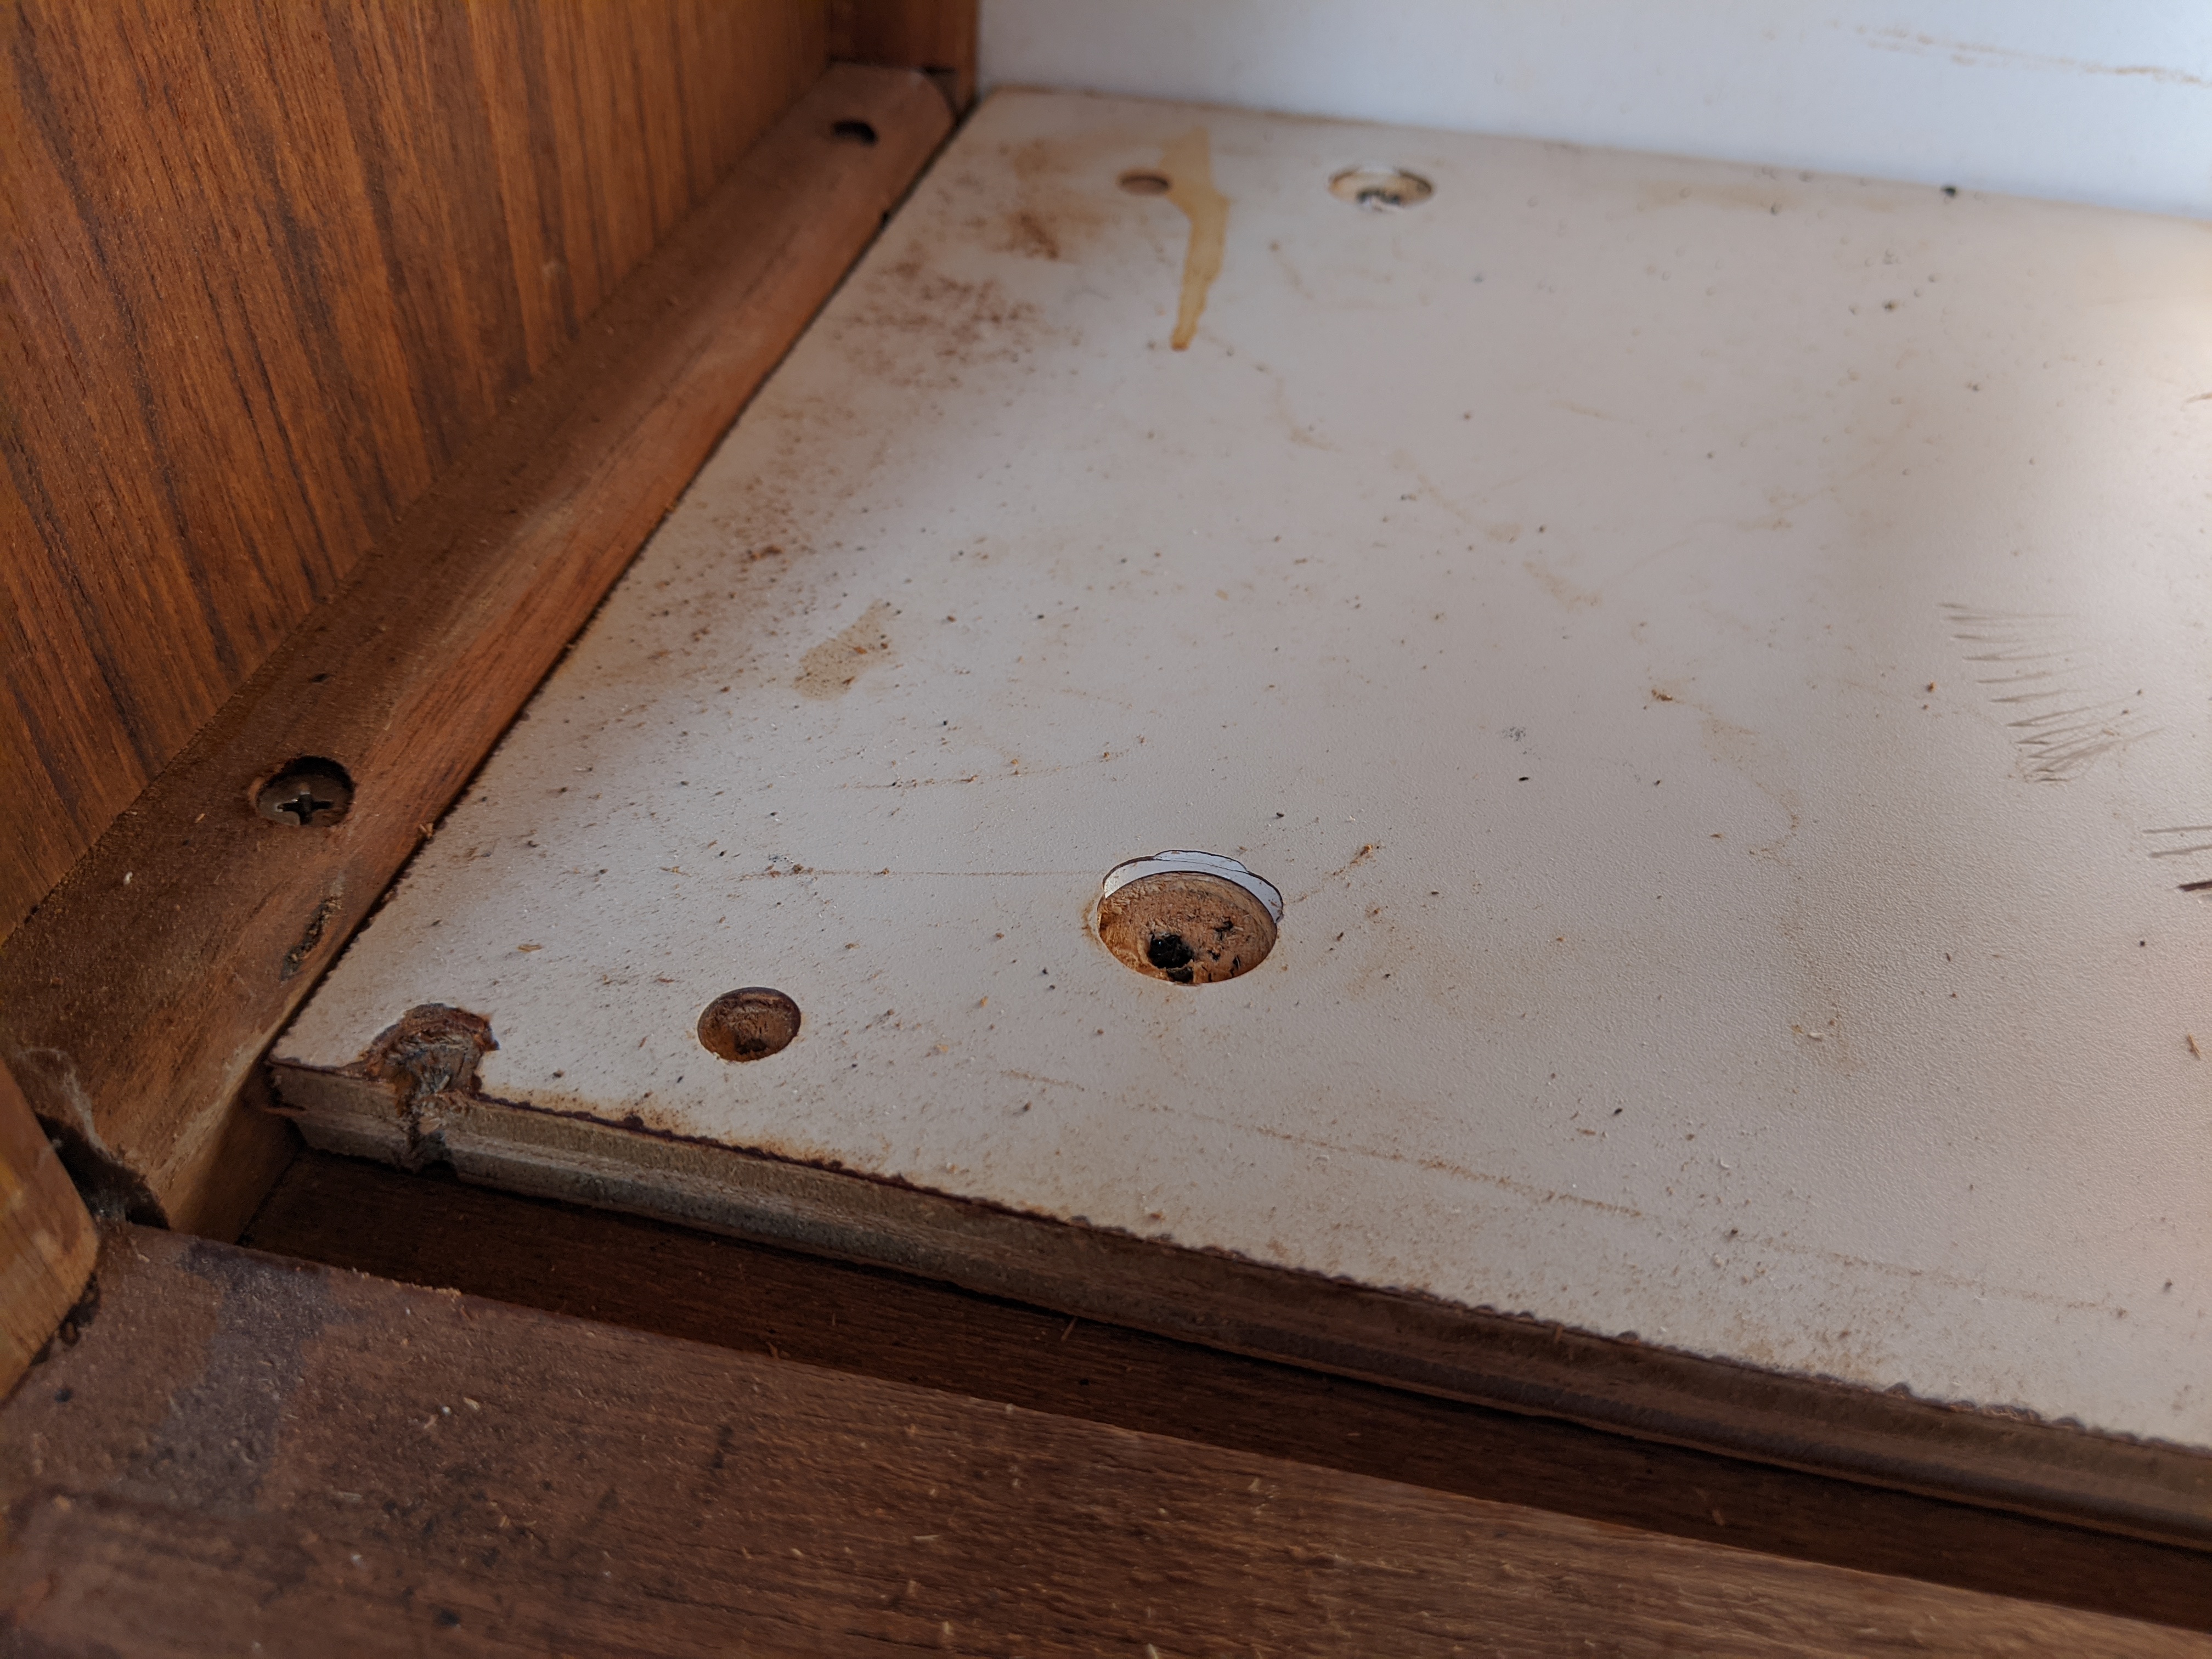
Eventually I got out the tools and drilled out a few of the screw-hiding plugs on the face plate. Some hid screws and some didn't. It turned out that only three screws needed to be removed to pull the face plate off--the one in the middle on the left and two on the right. I was then just barely able to wedge the face plate out. It would come out significantly easier if the swing-down cabinet door next to the microwave was removed, but I did not do that.
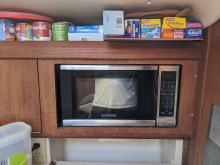
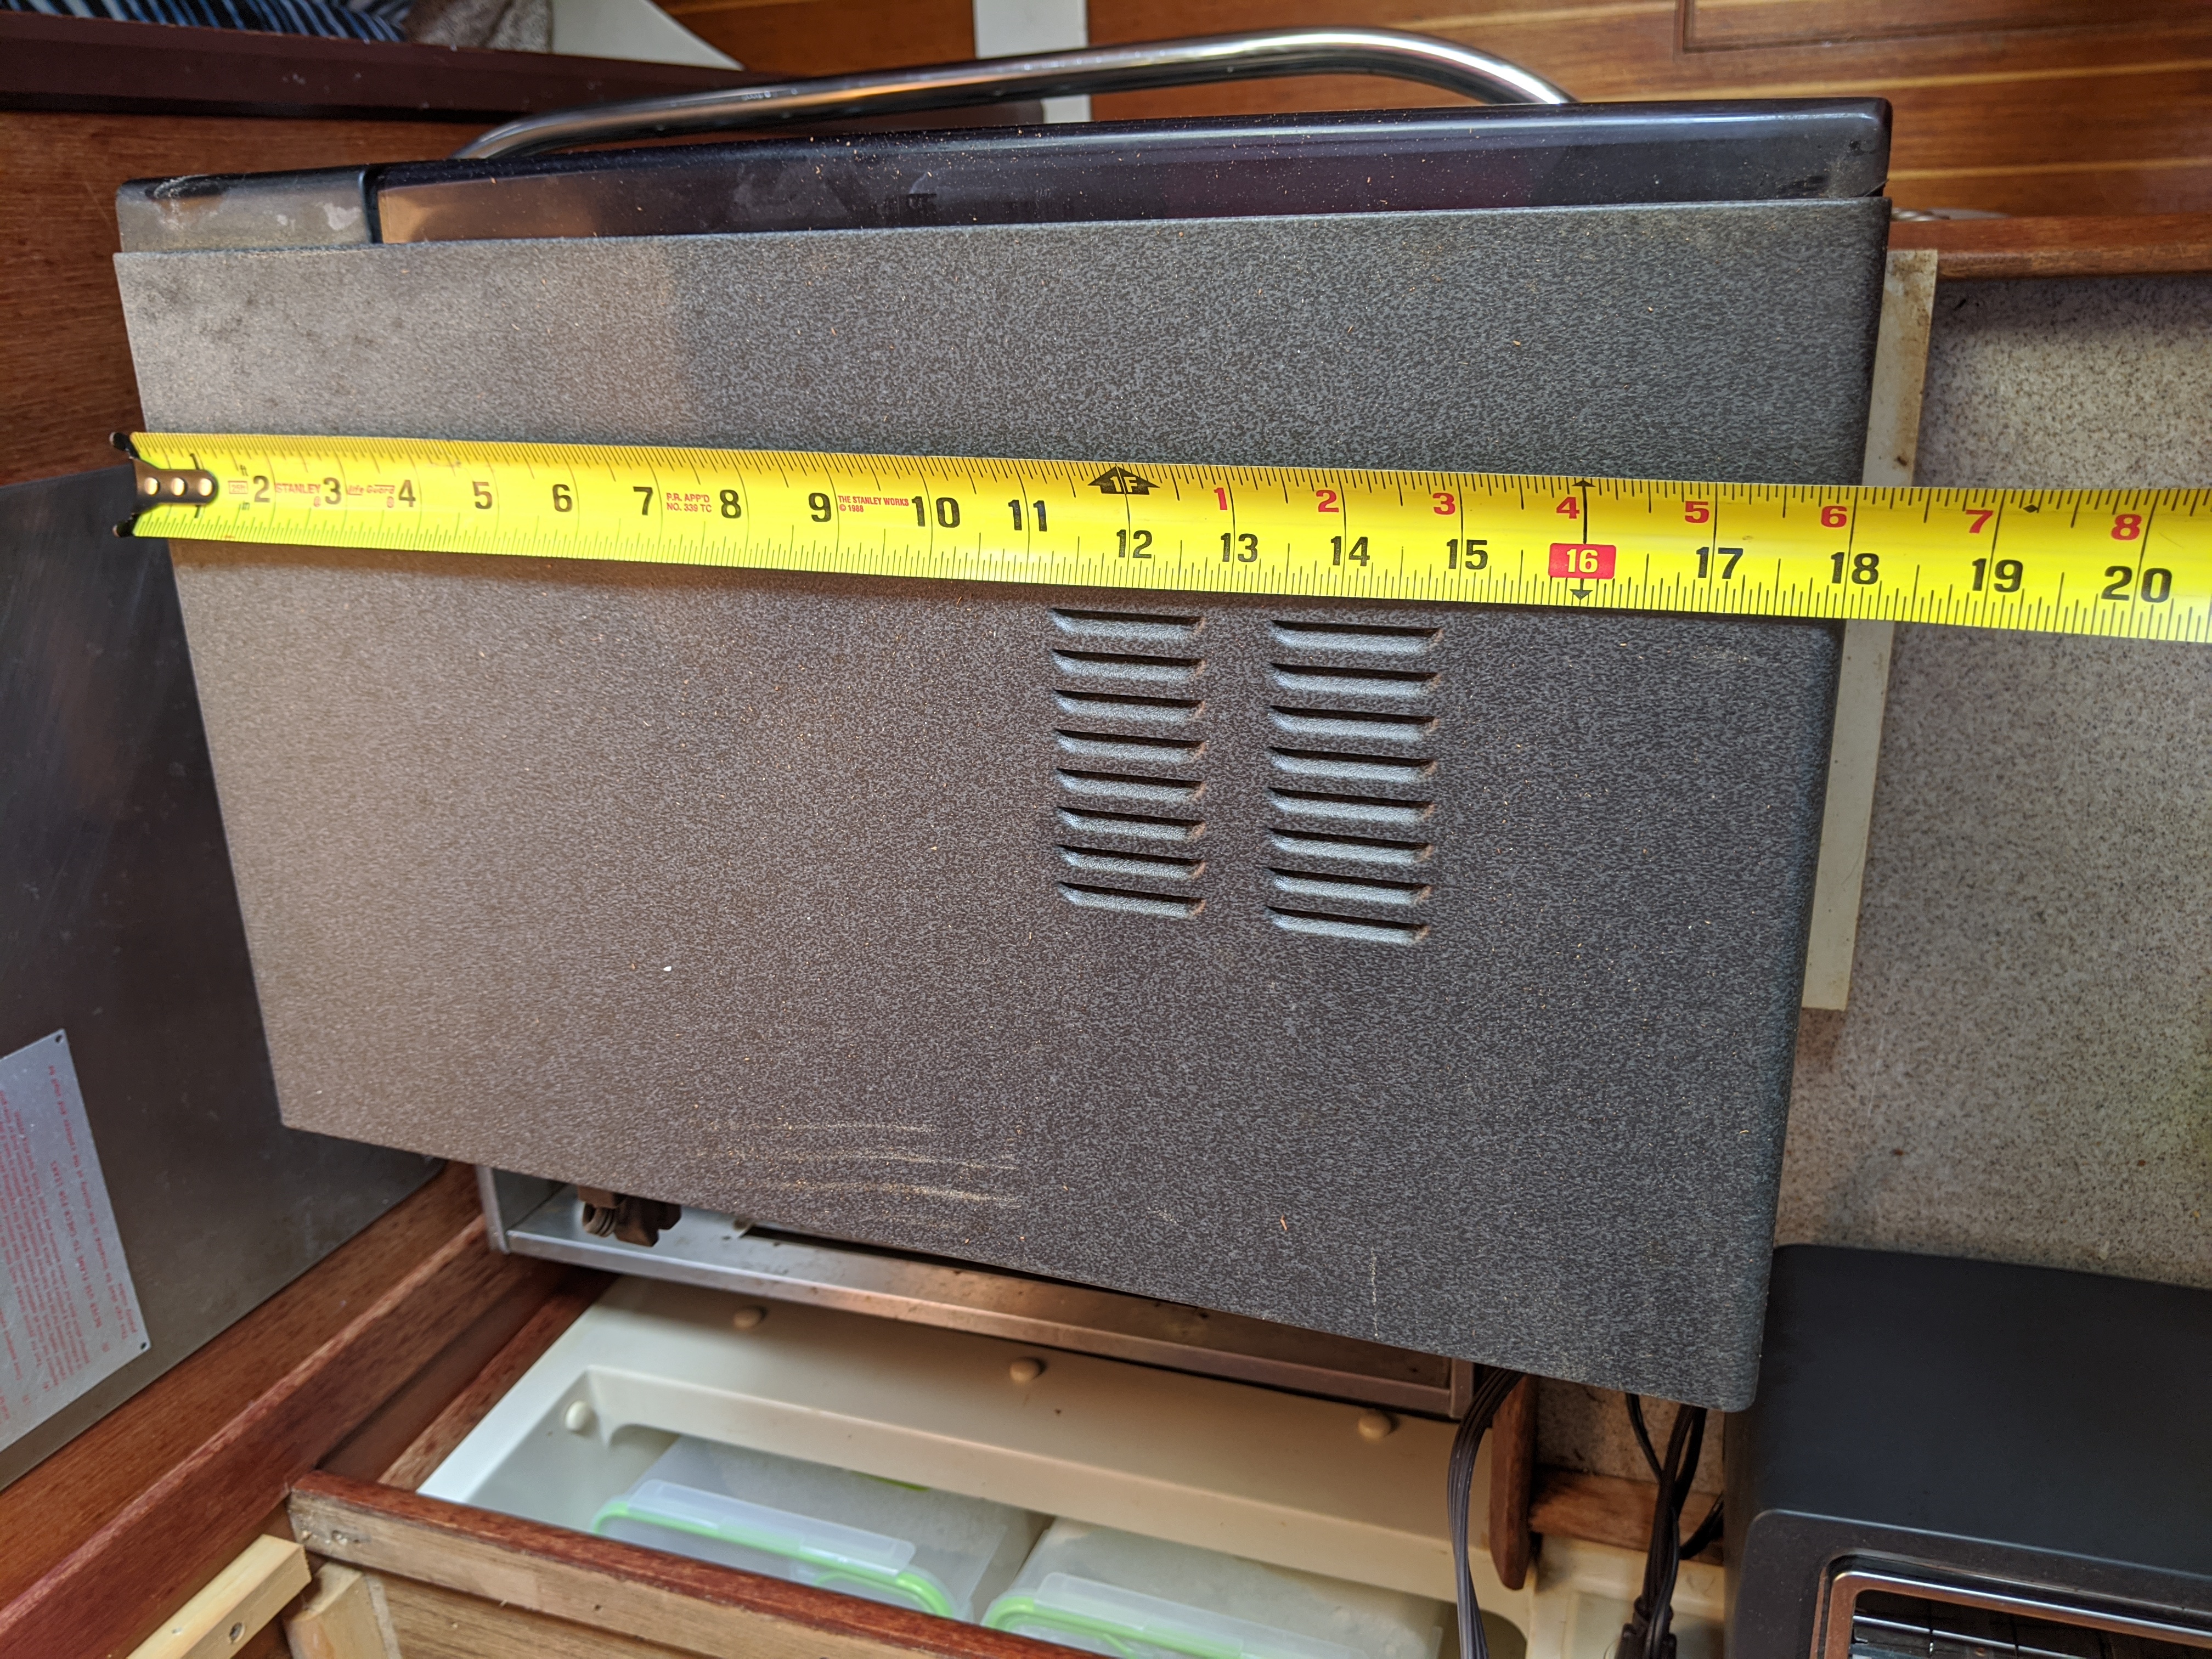
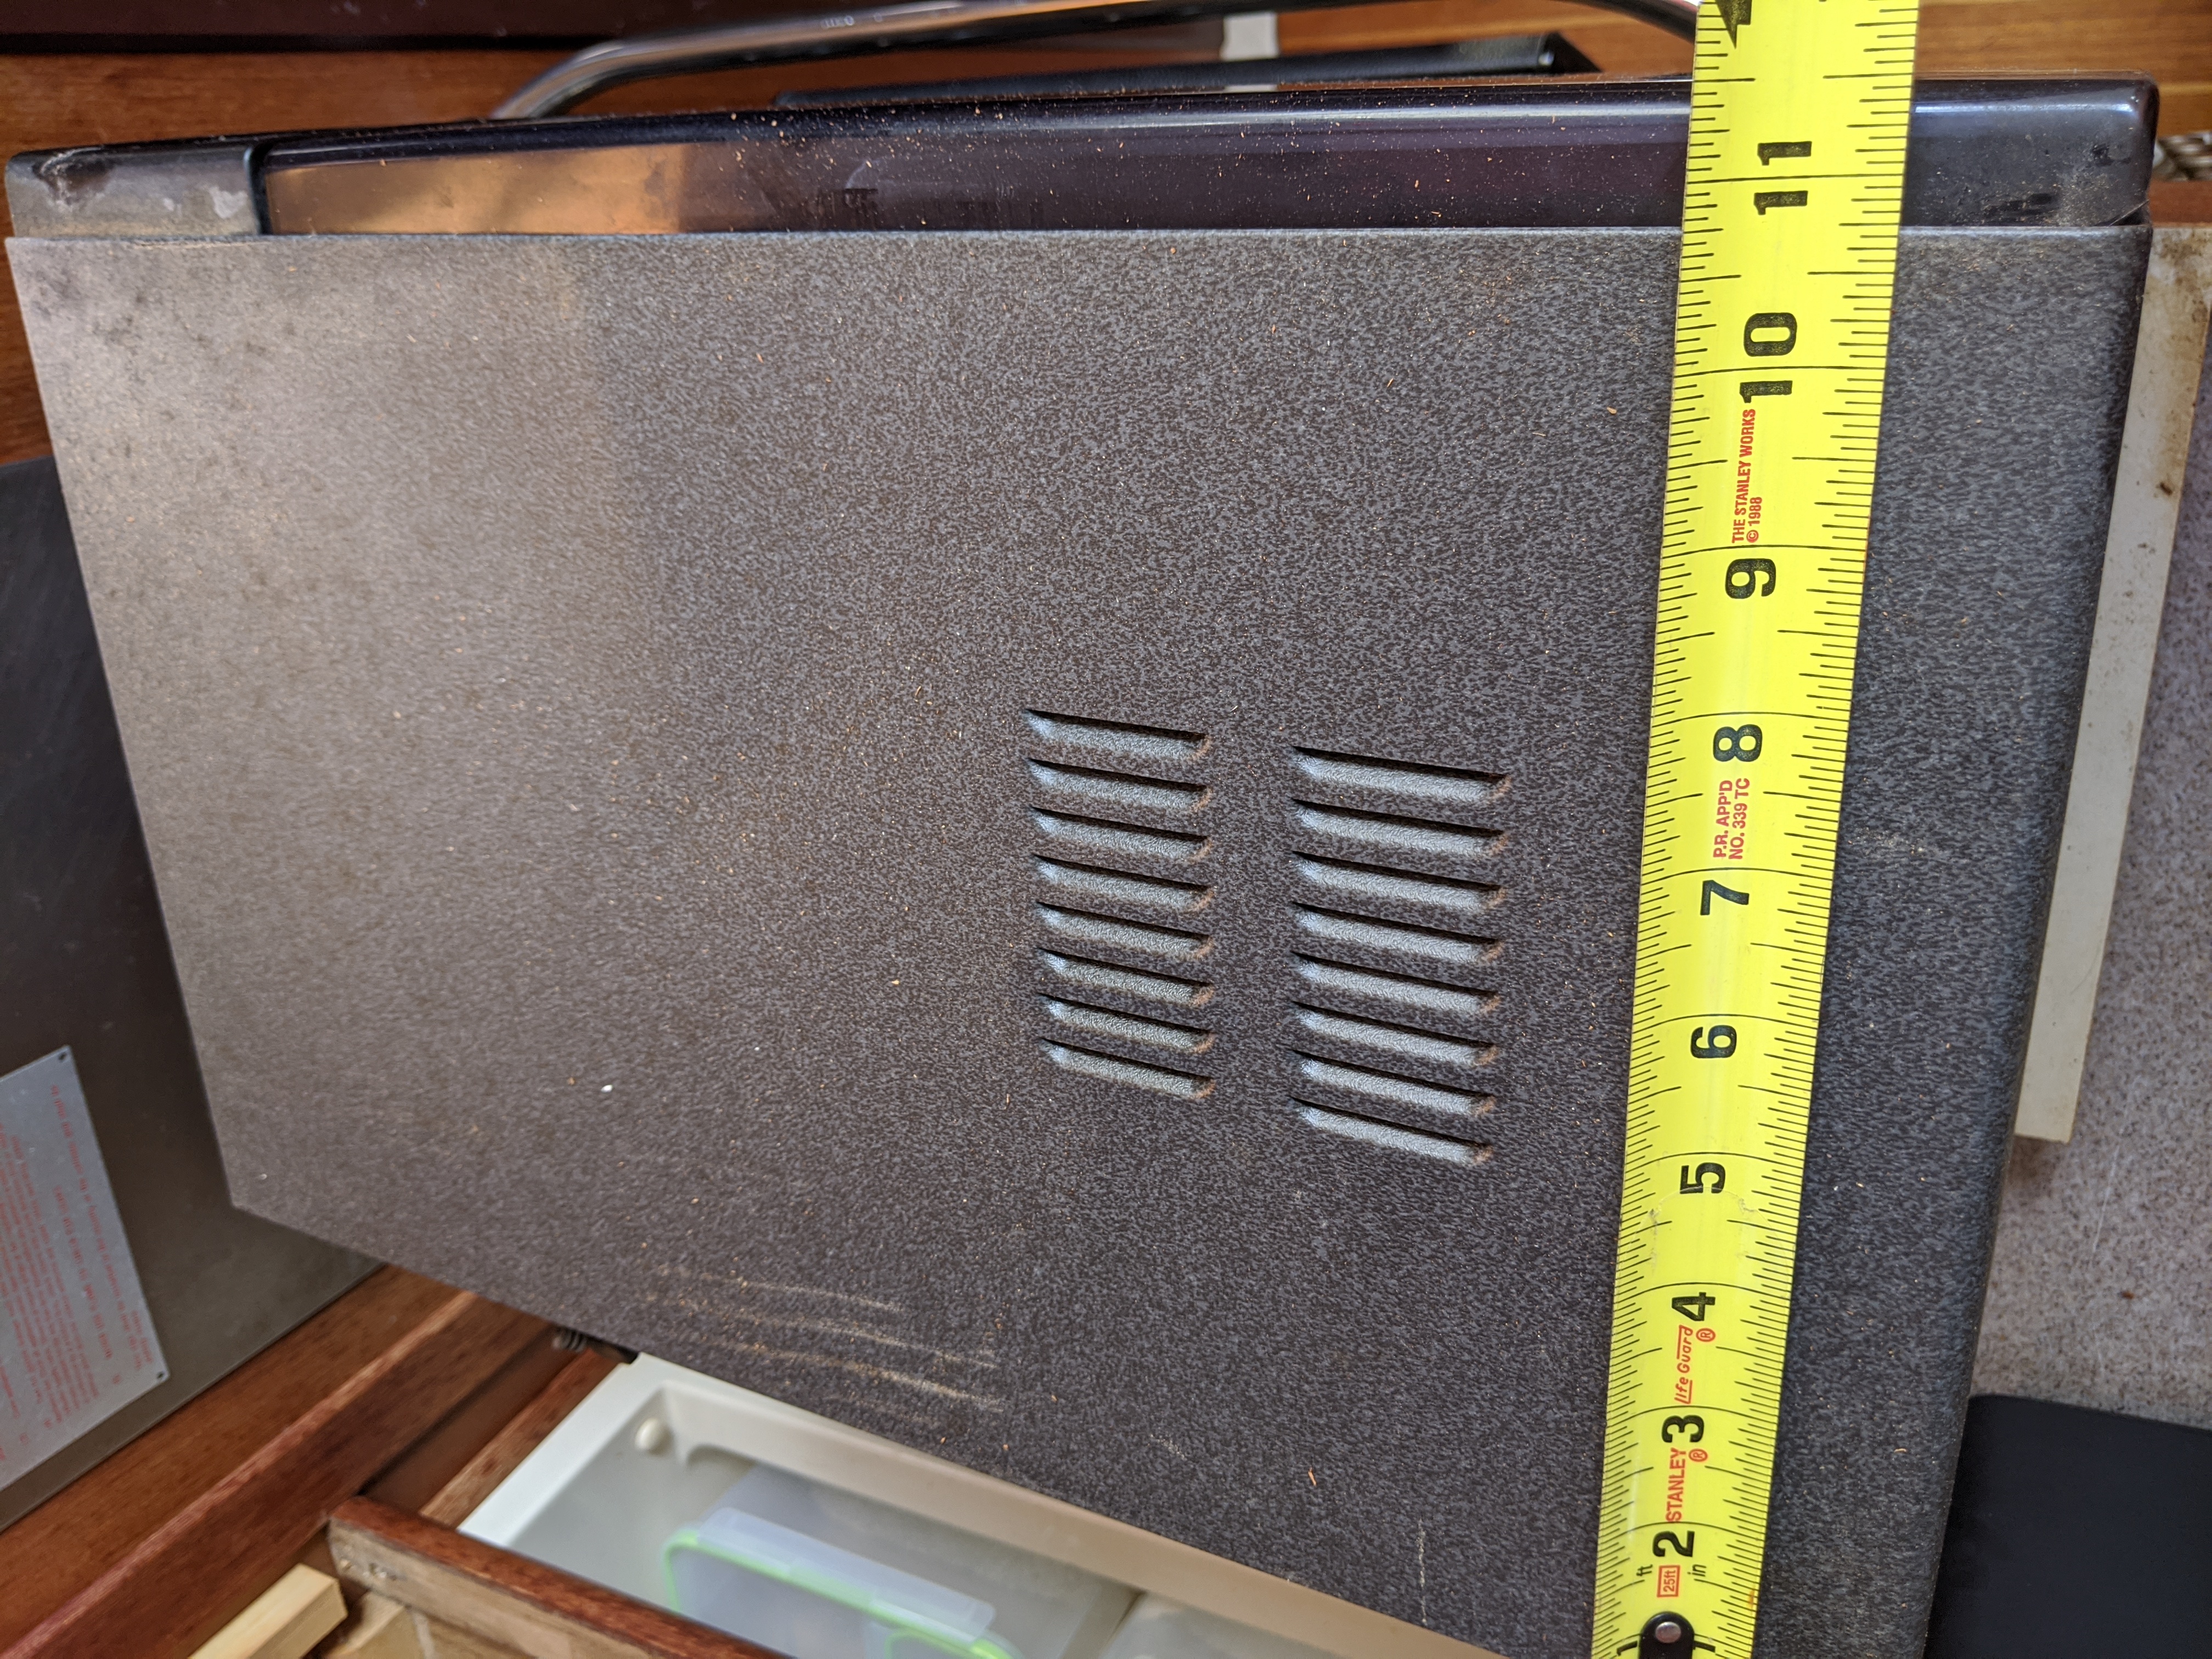
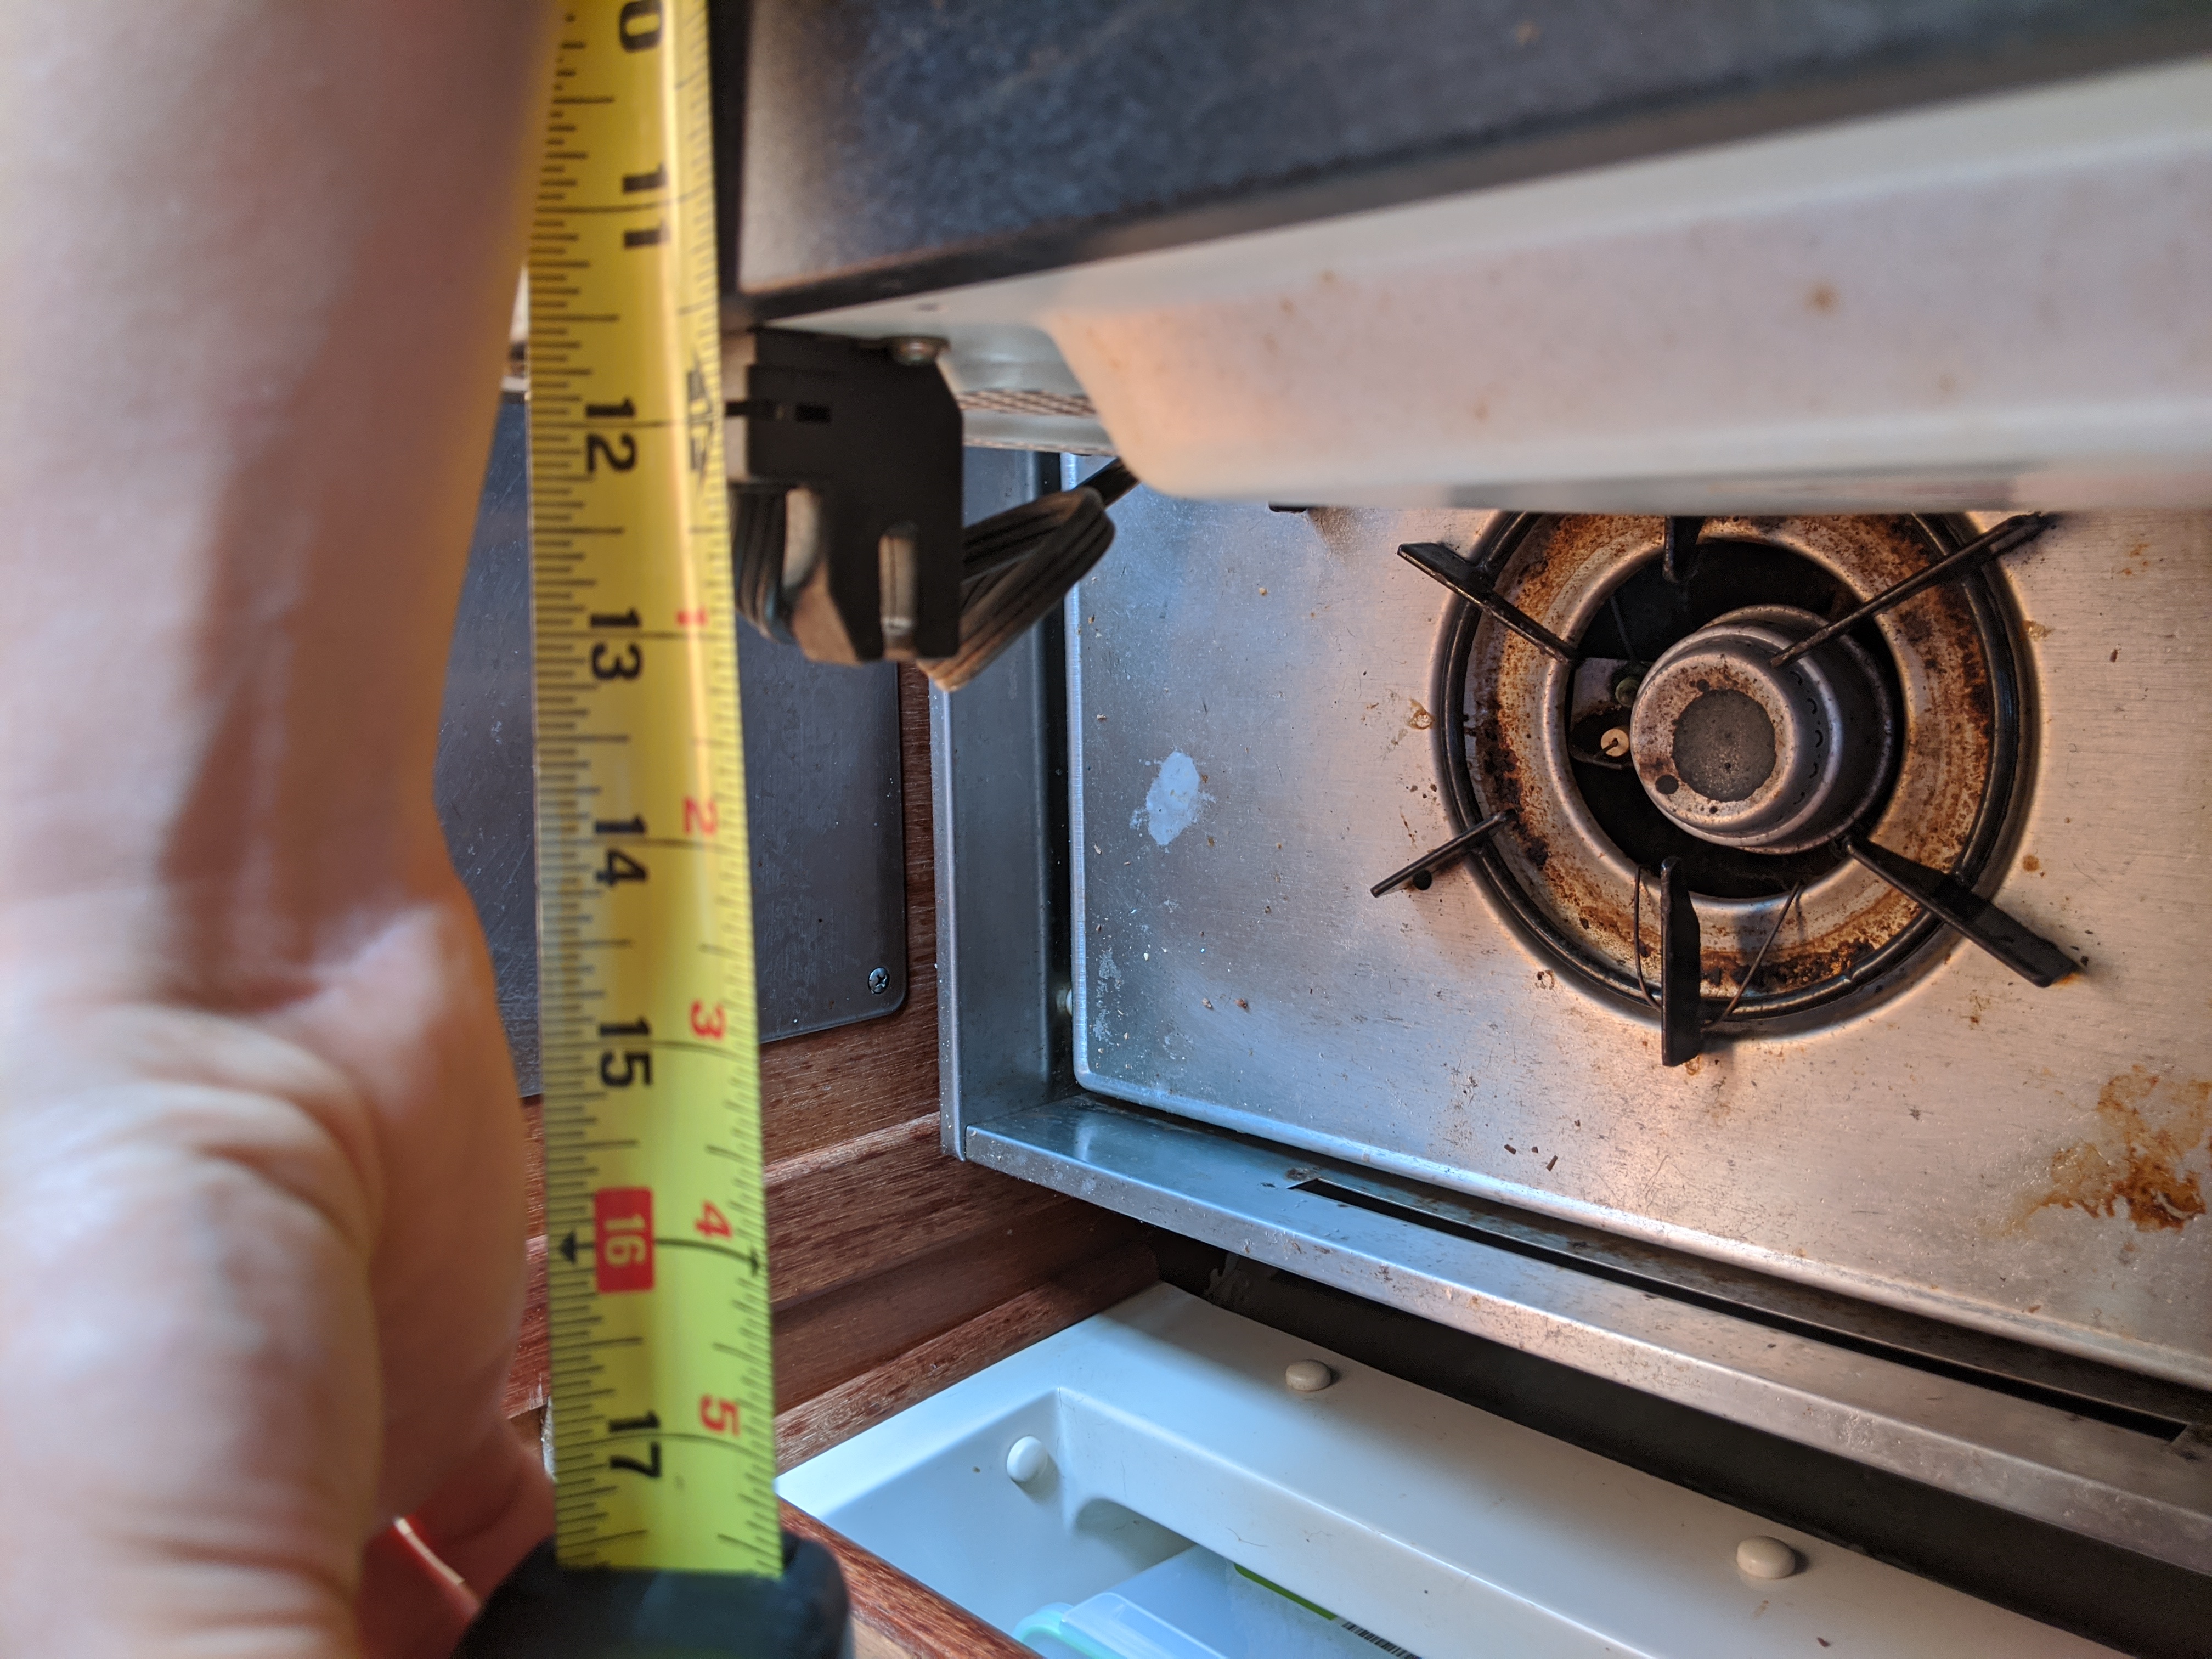
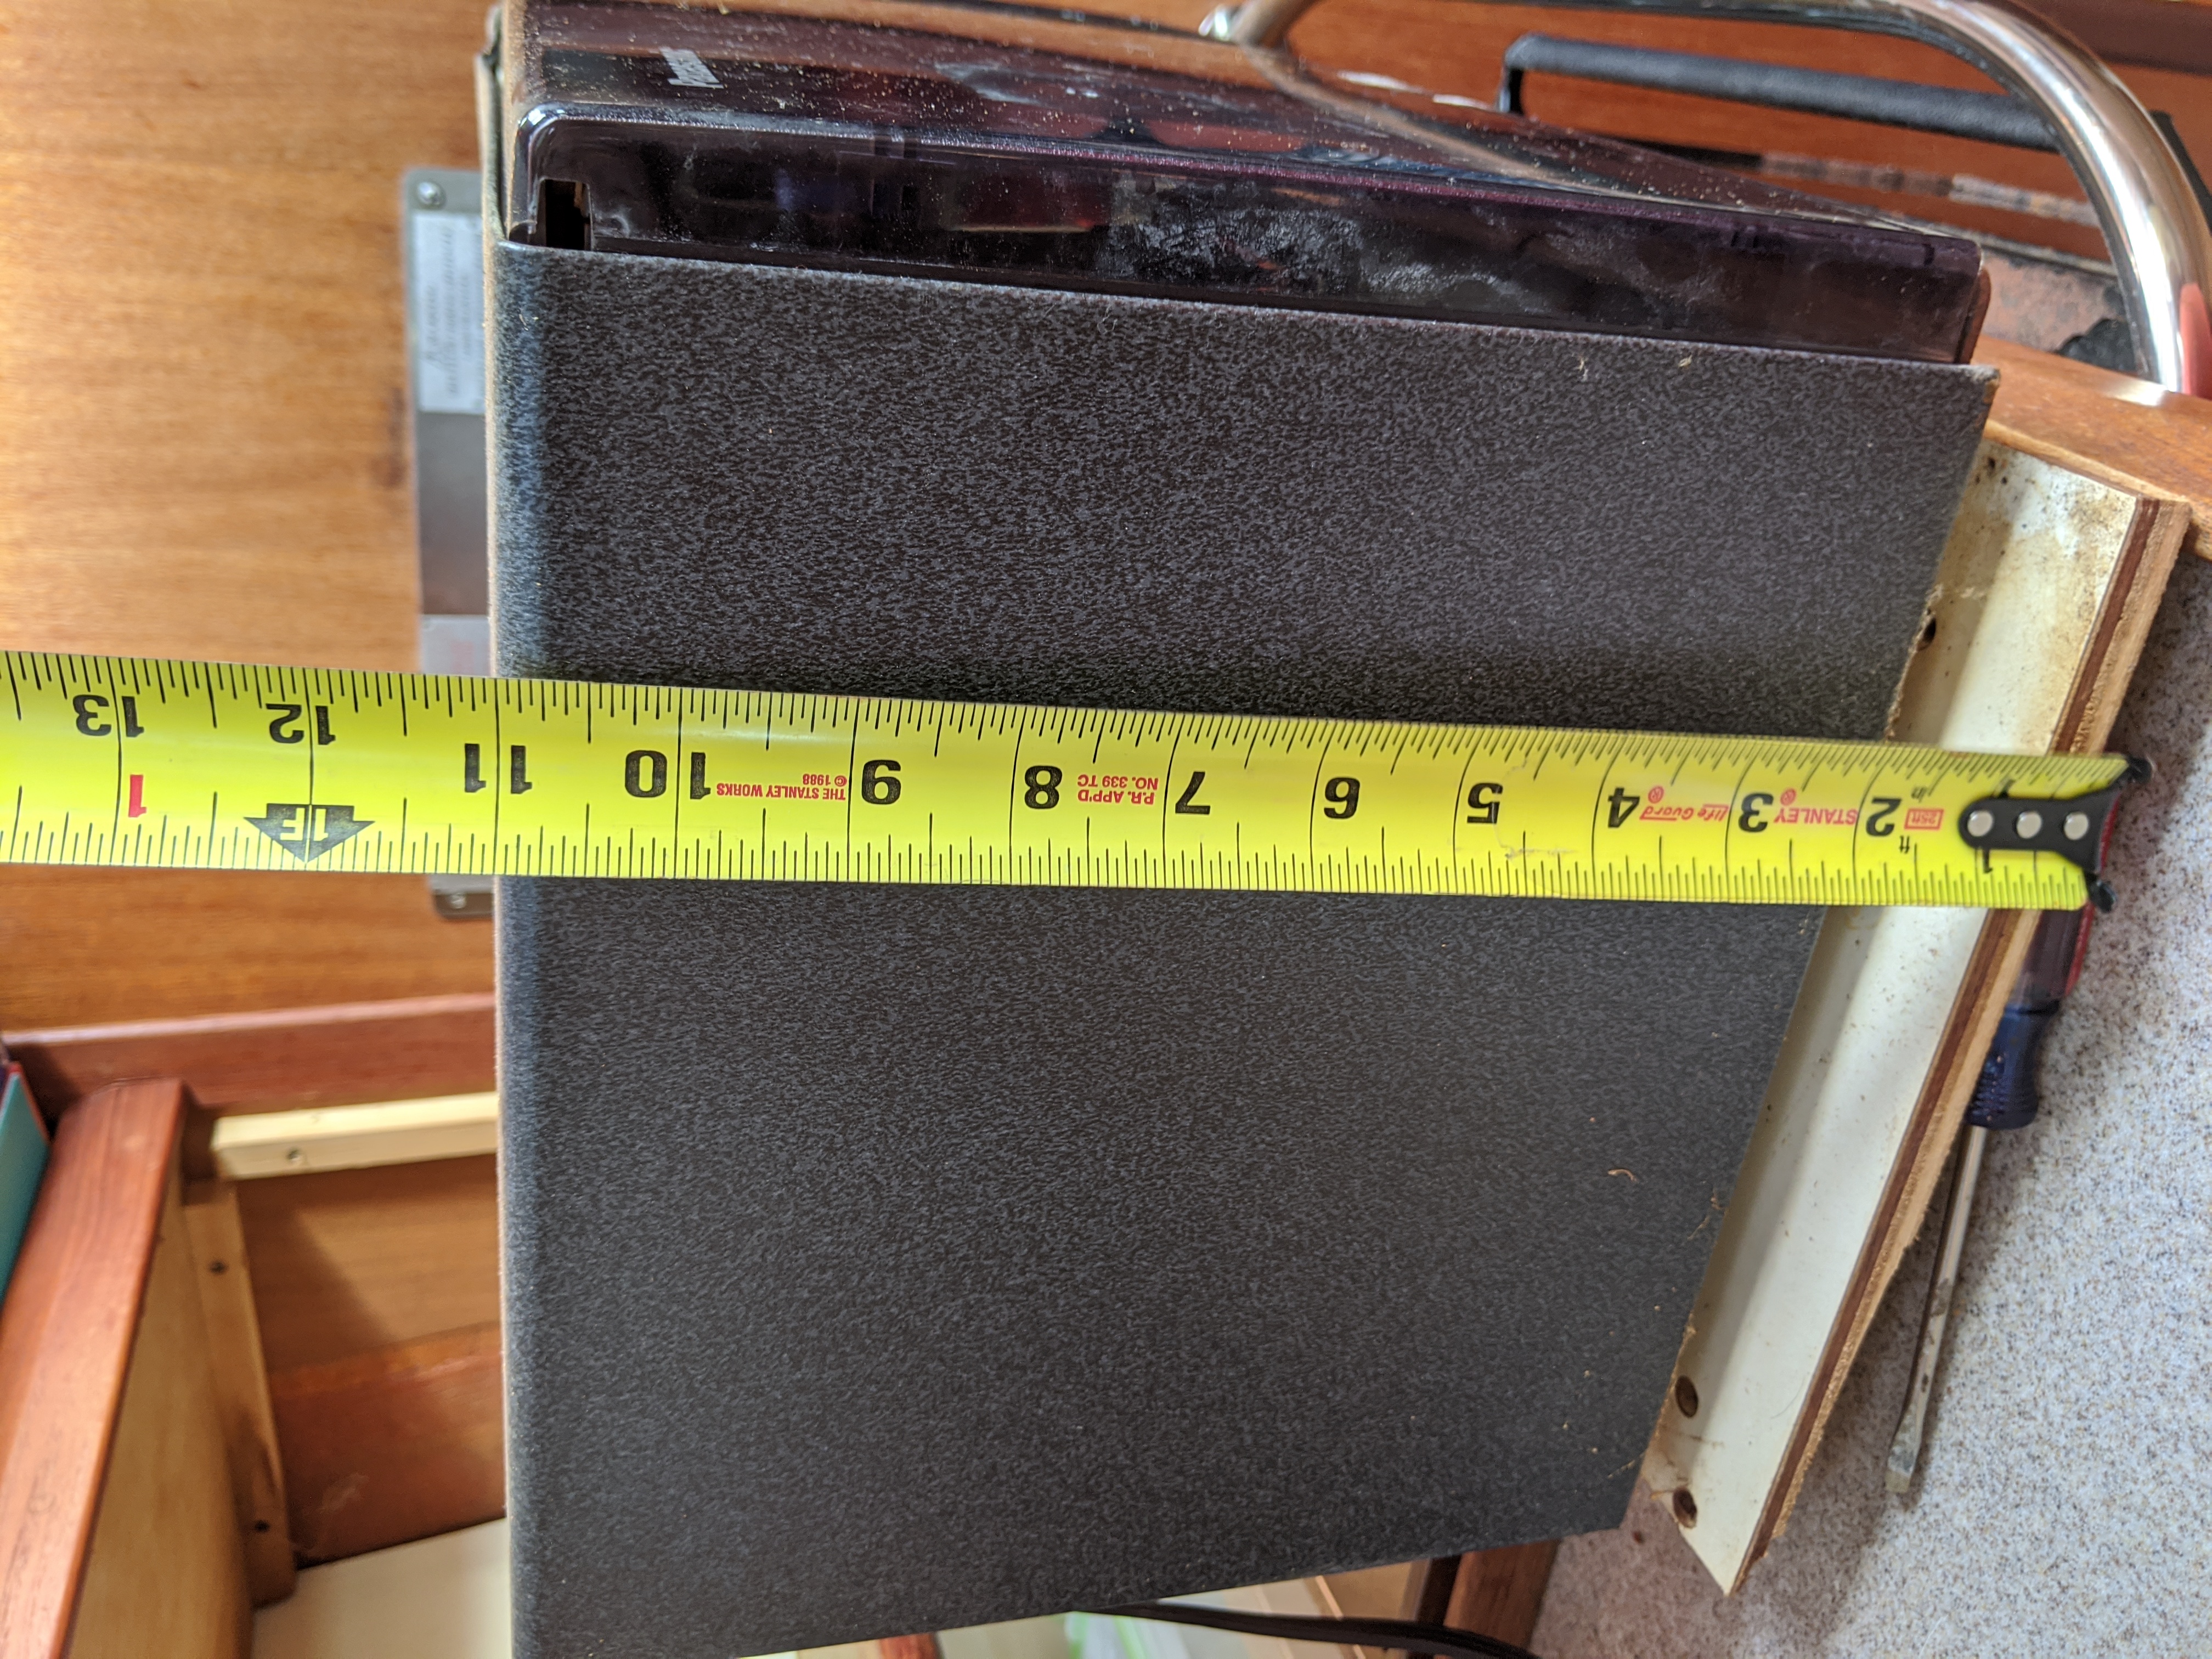
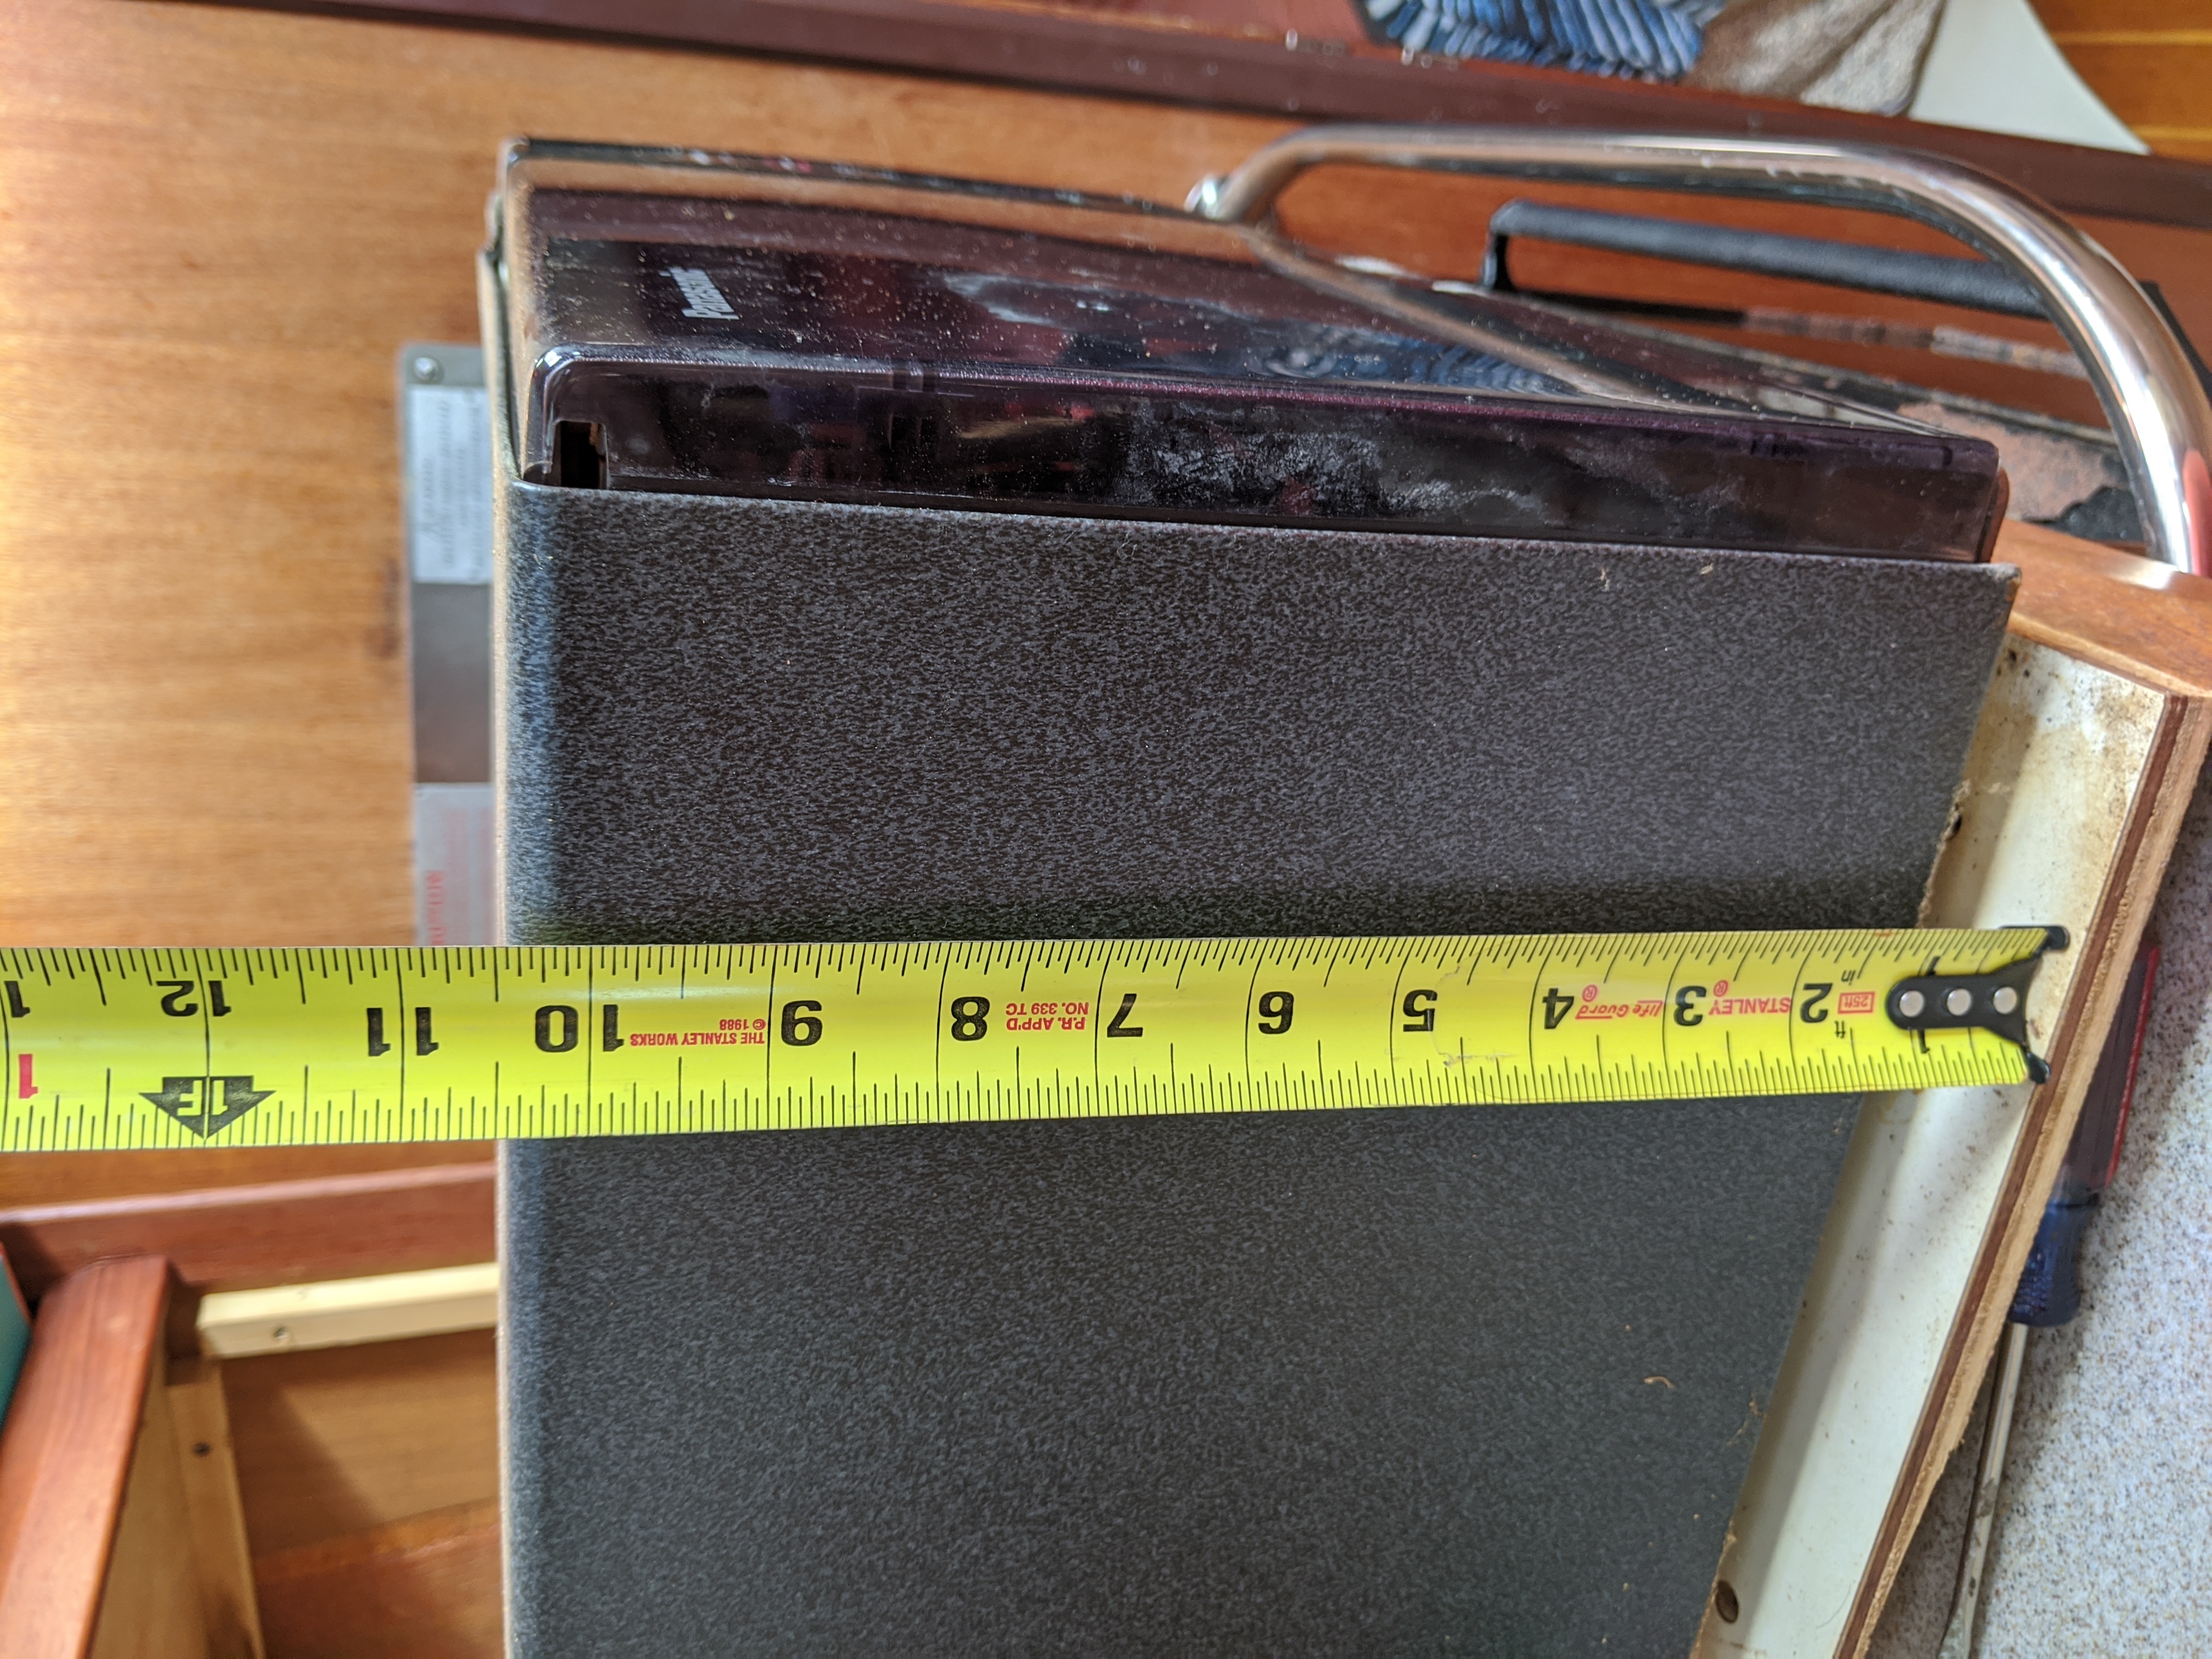
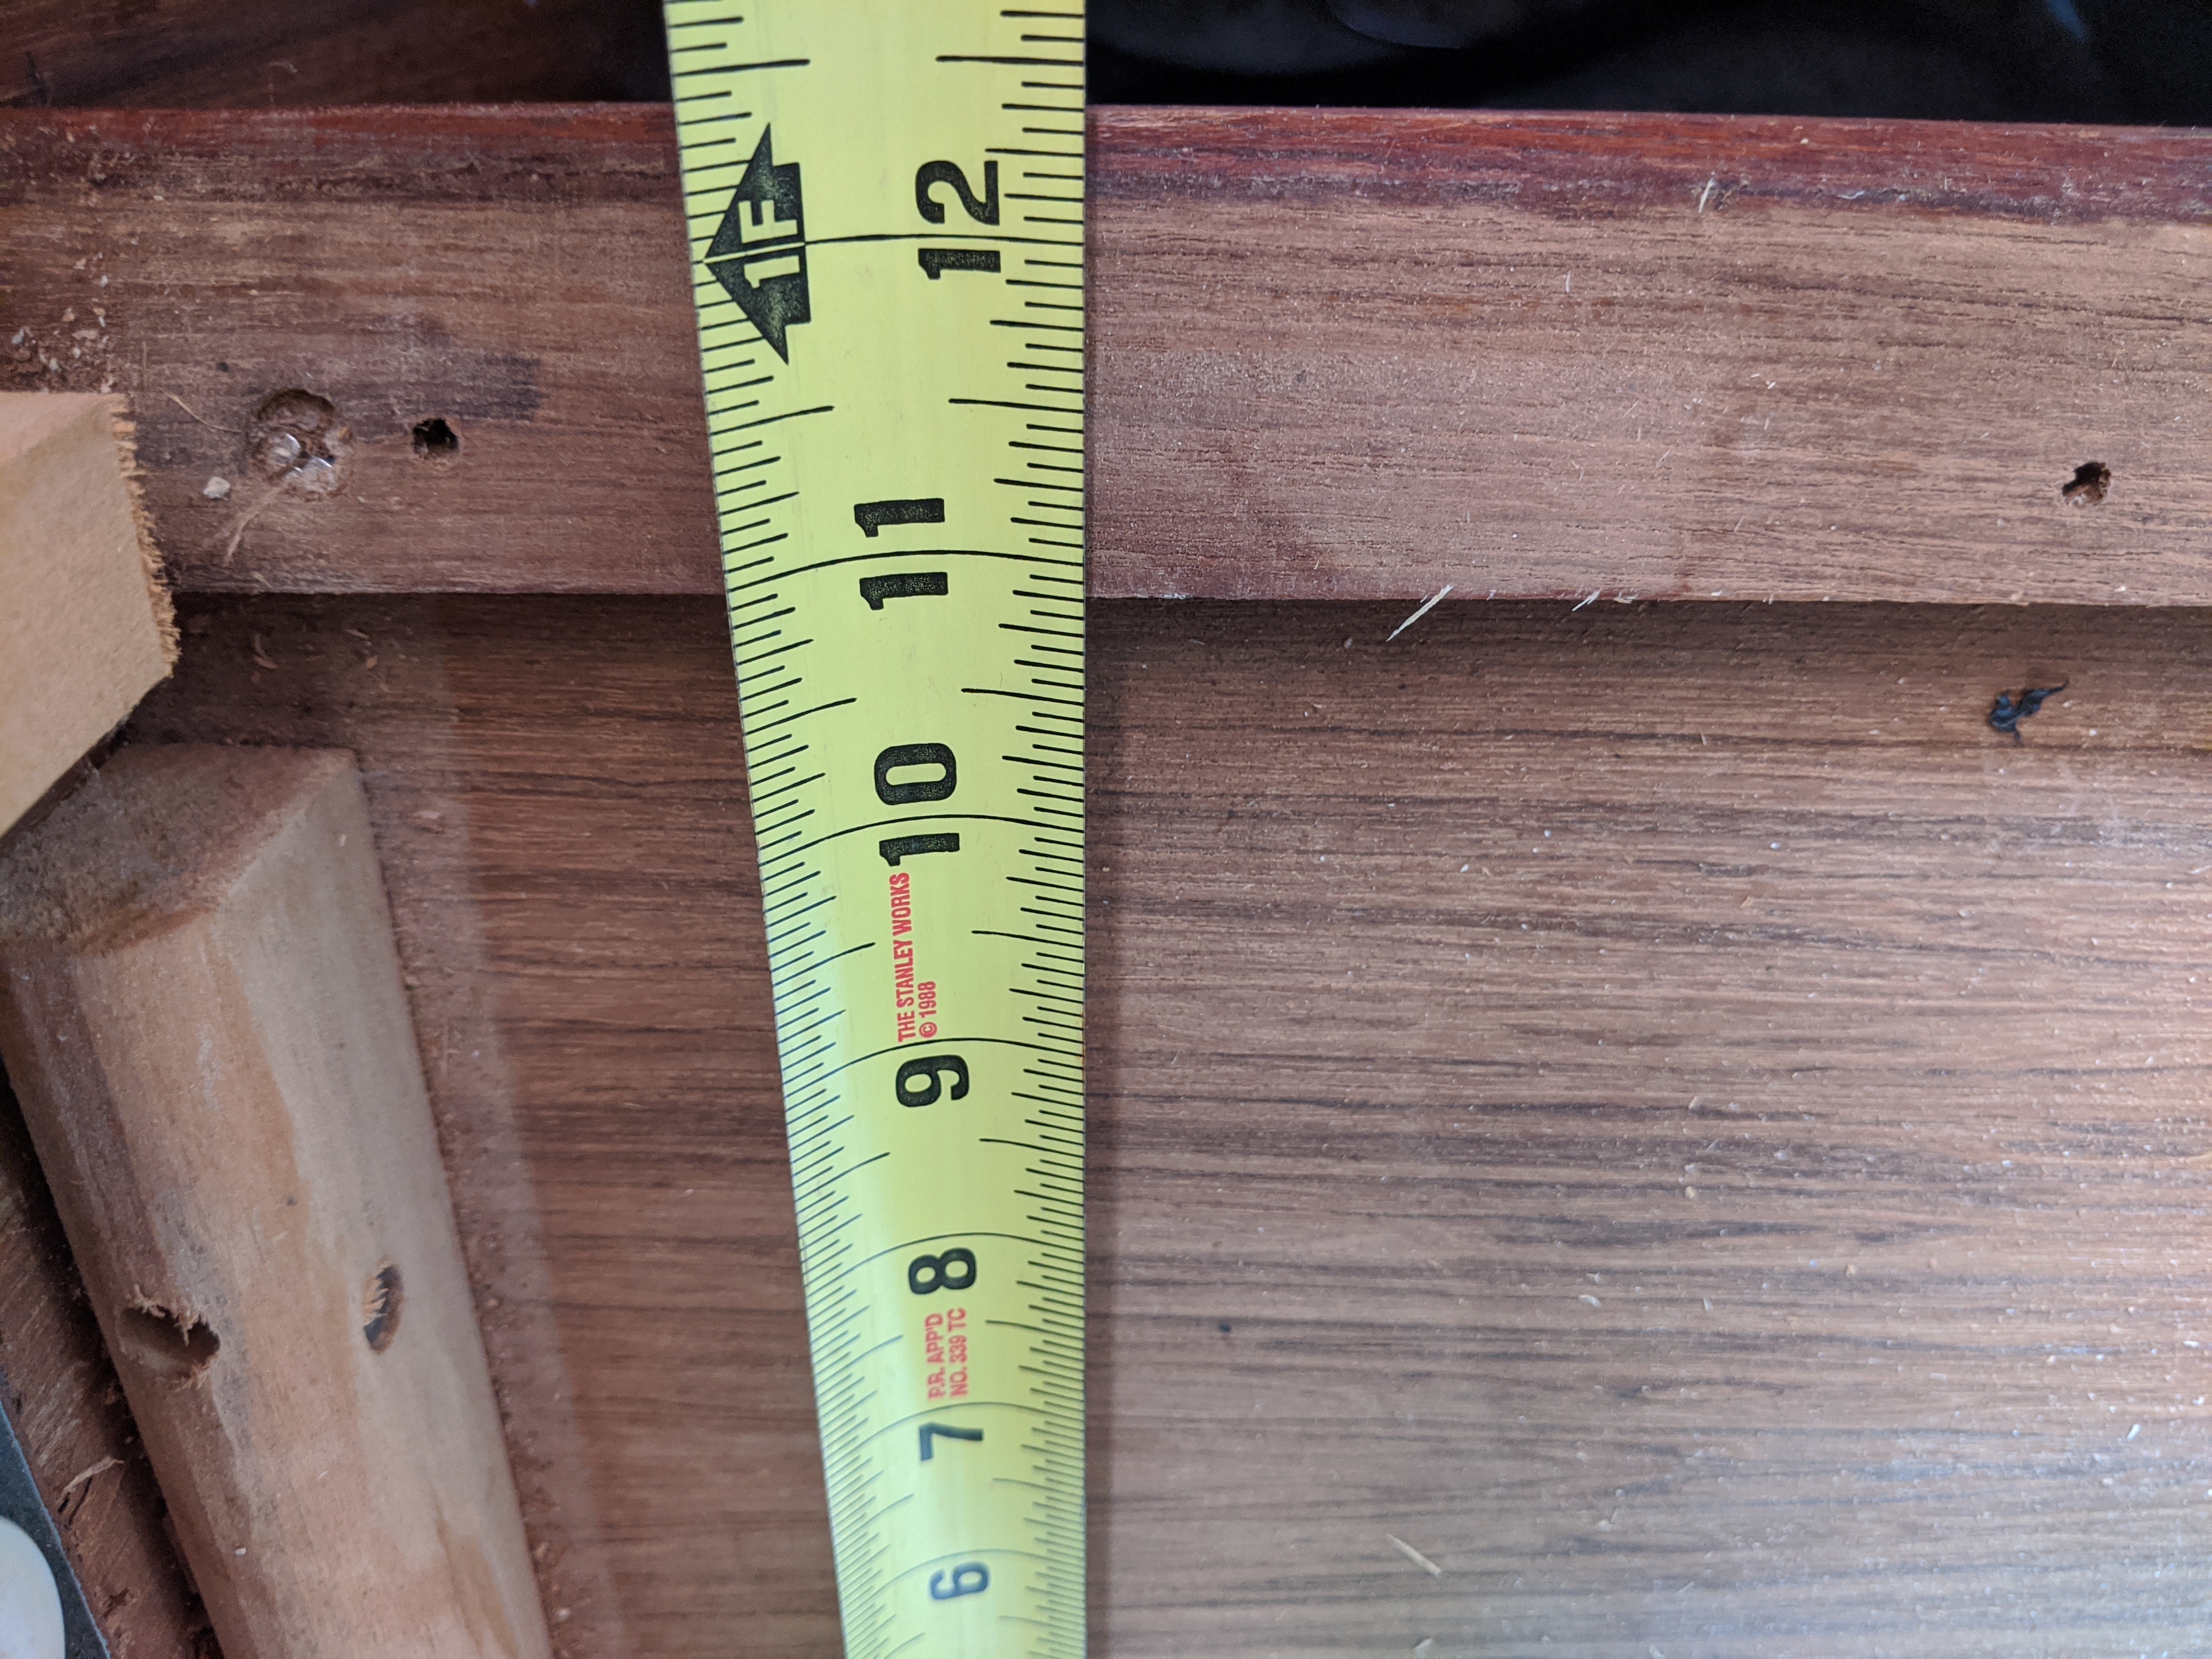
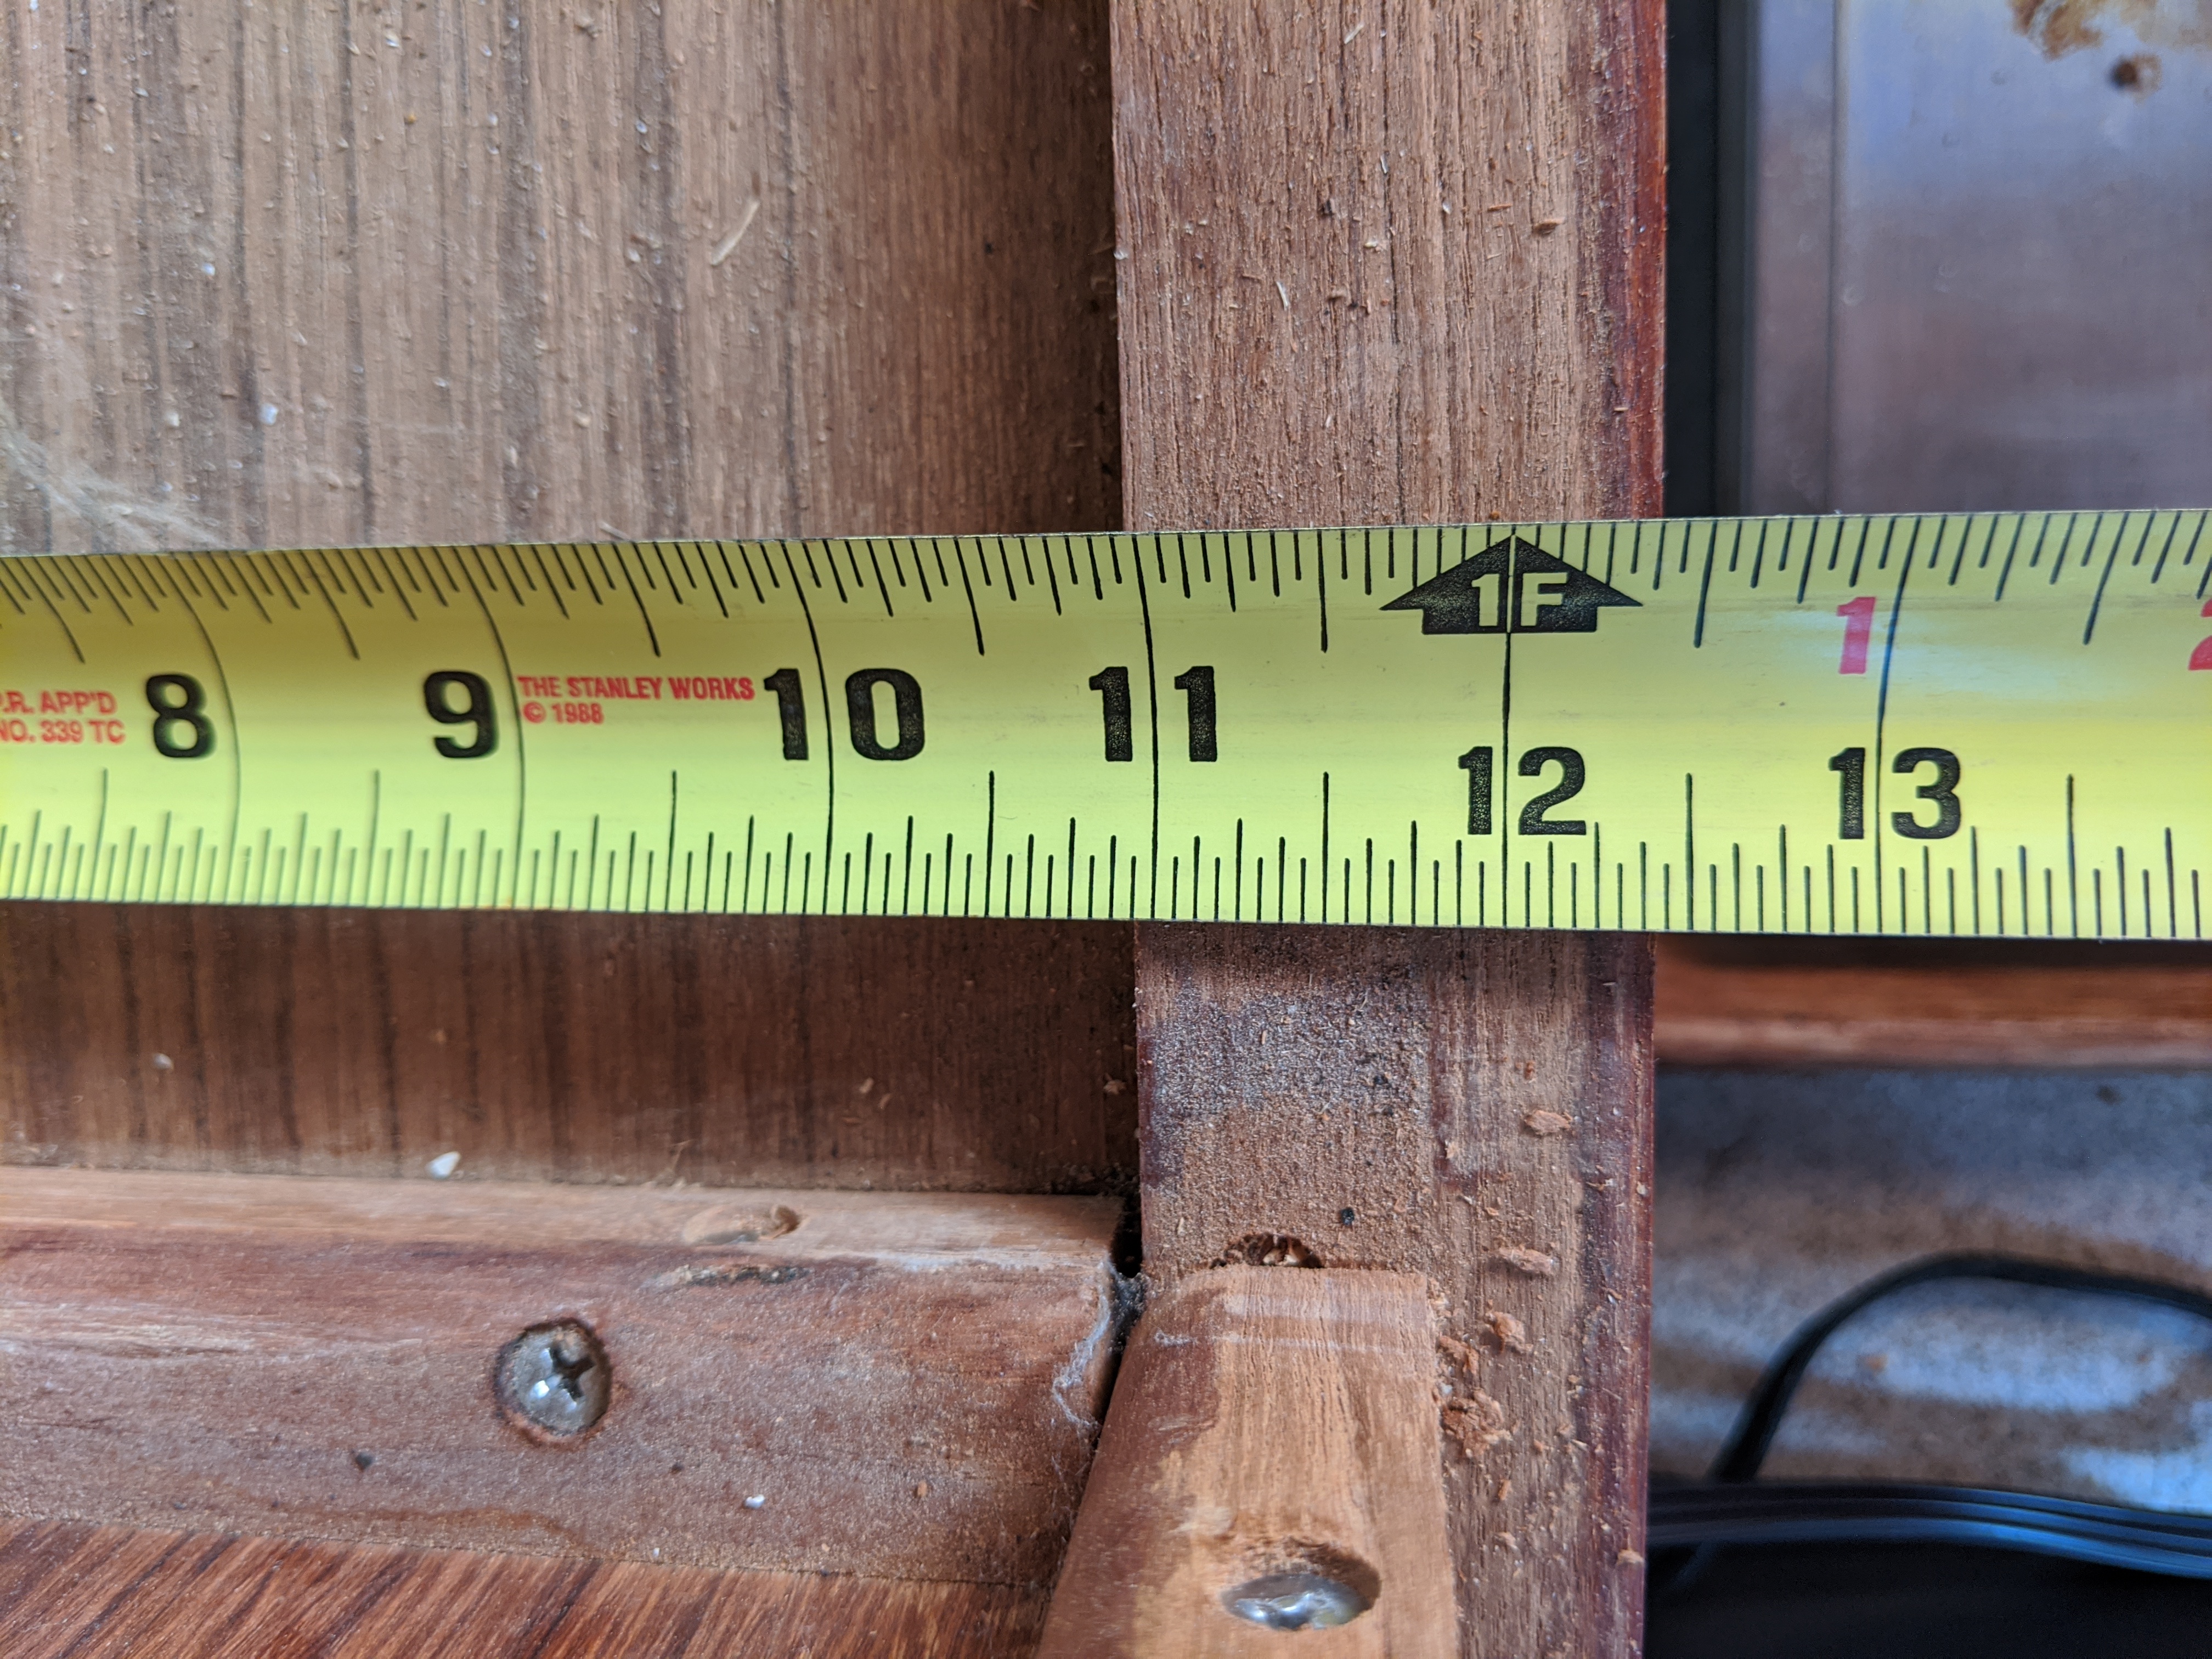
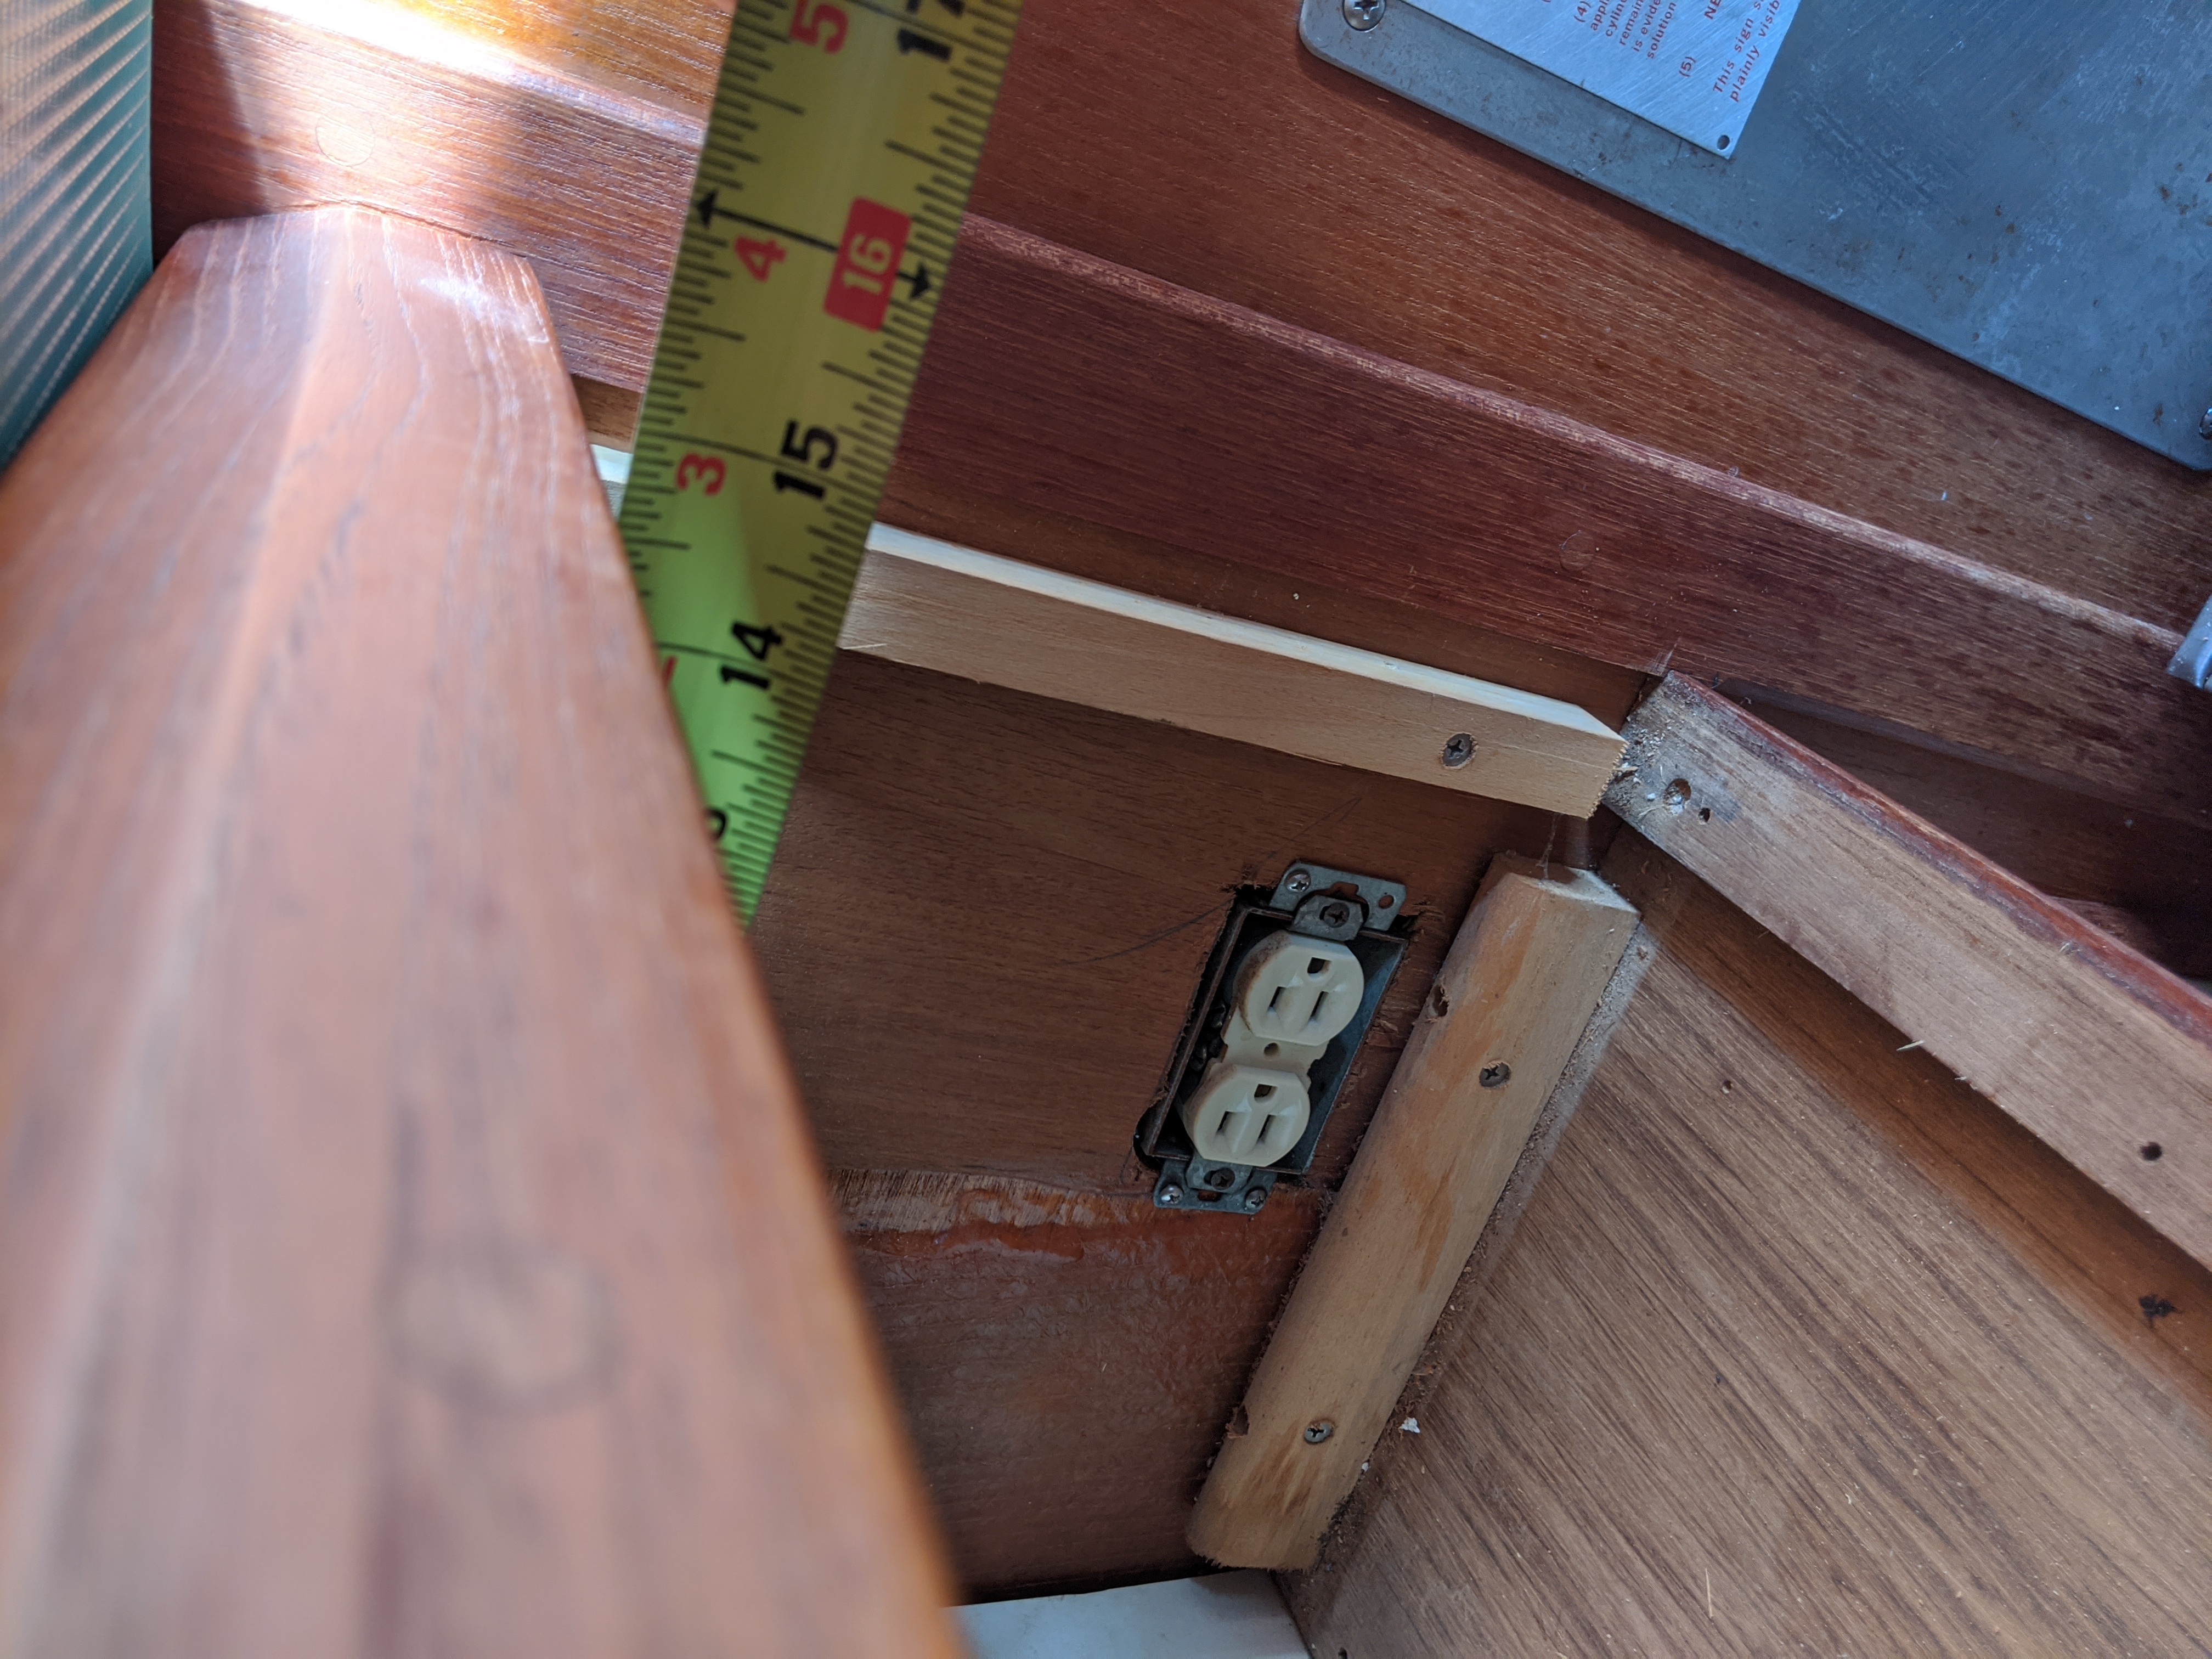
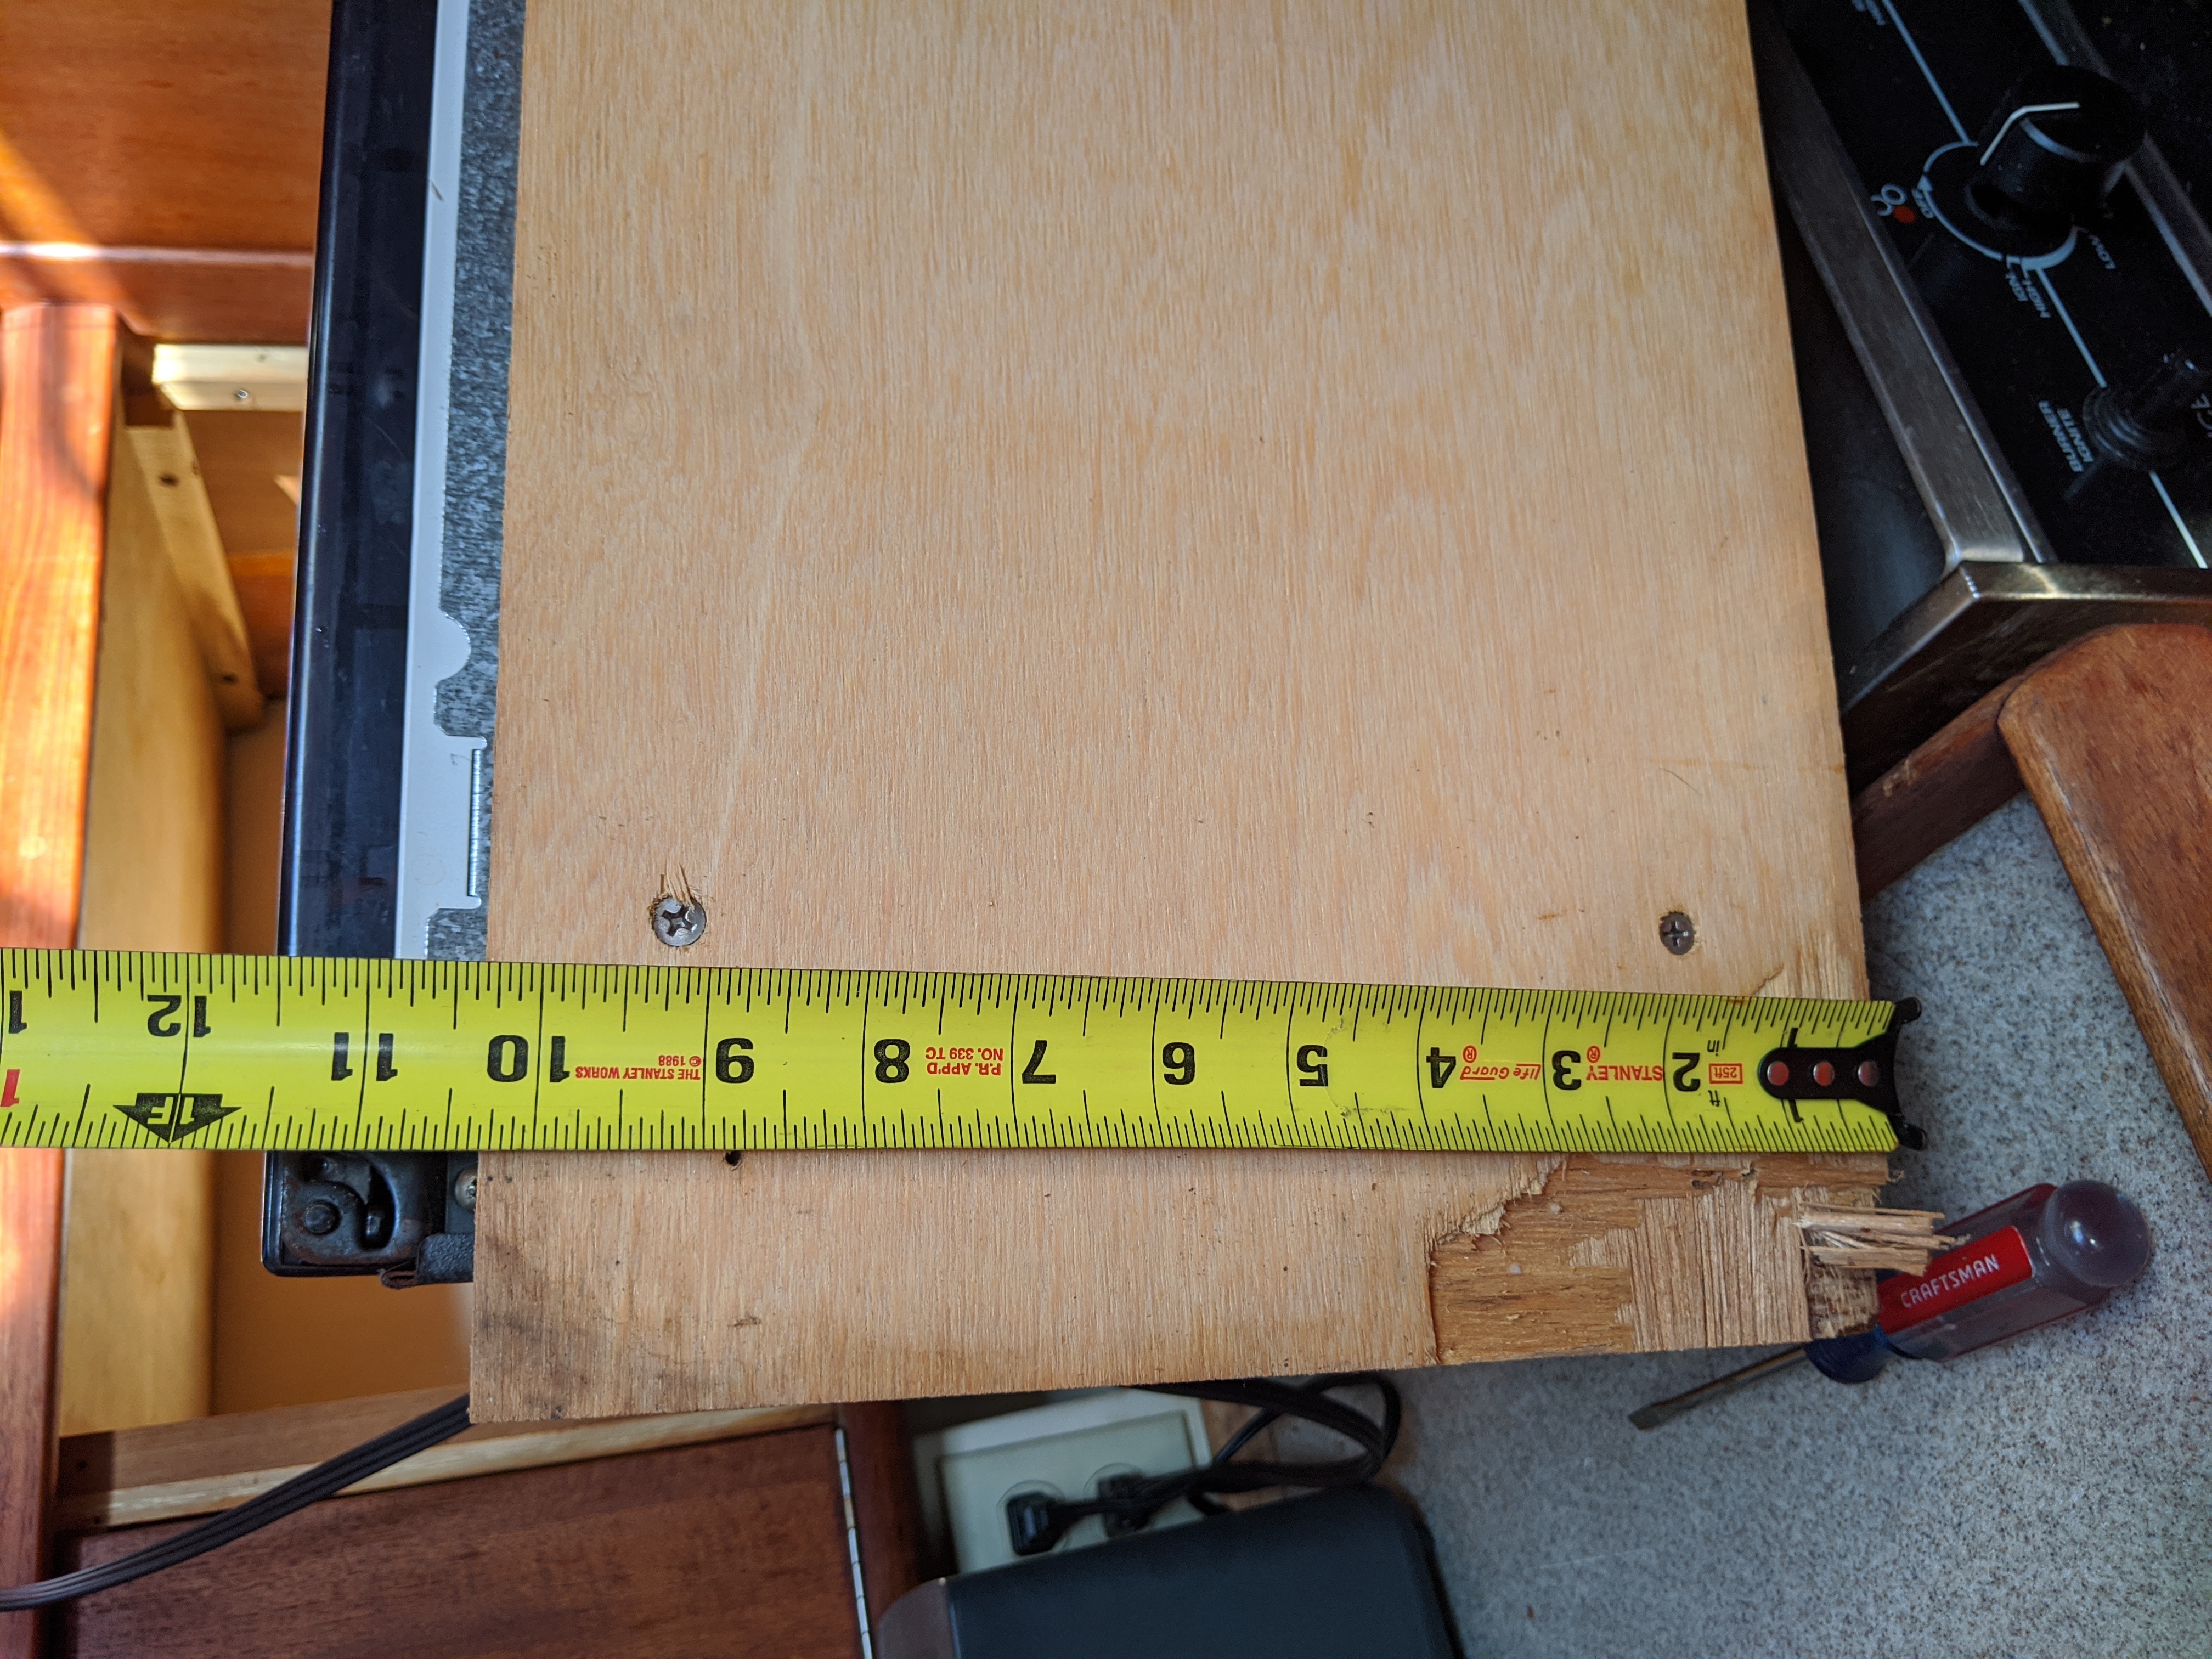
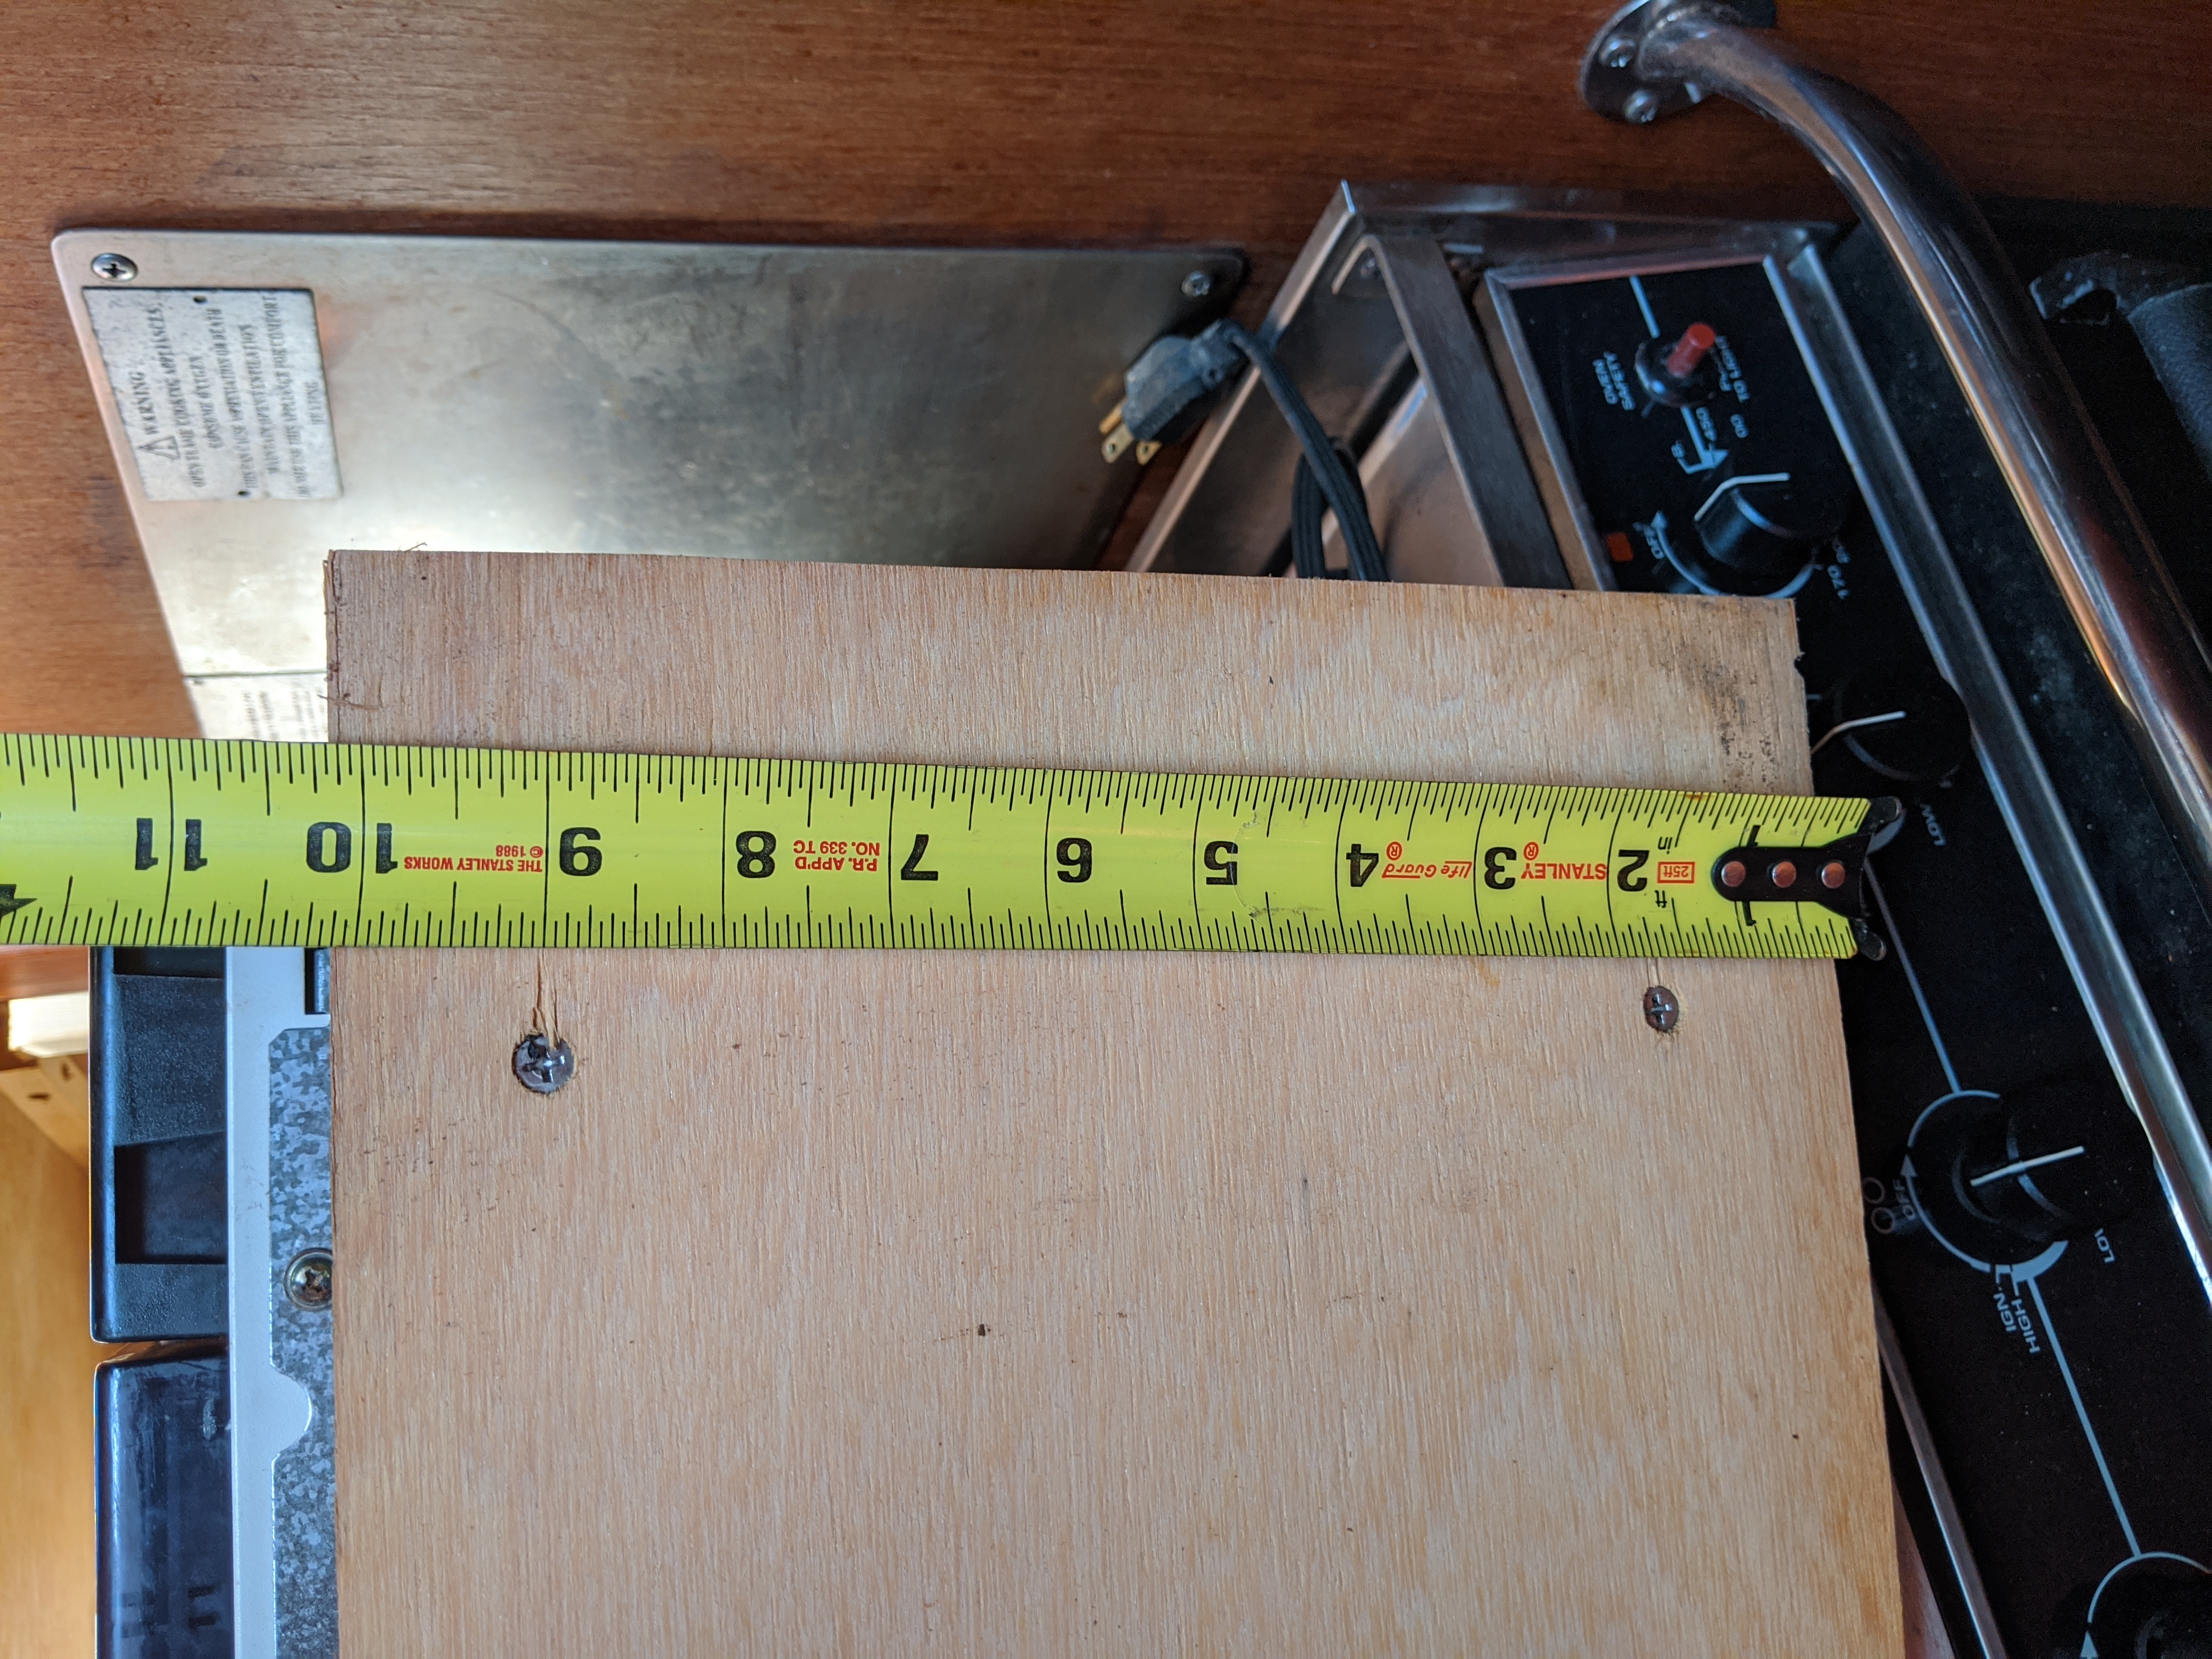
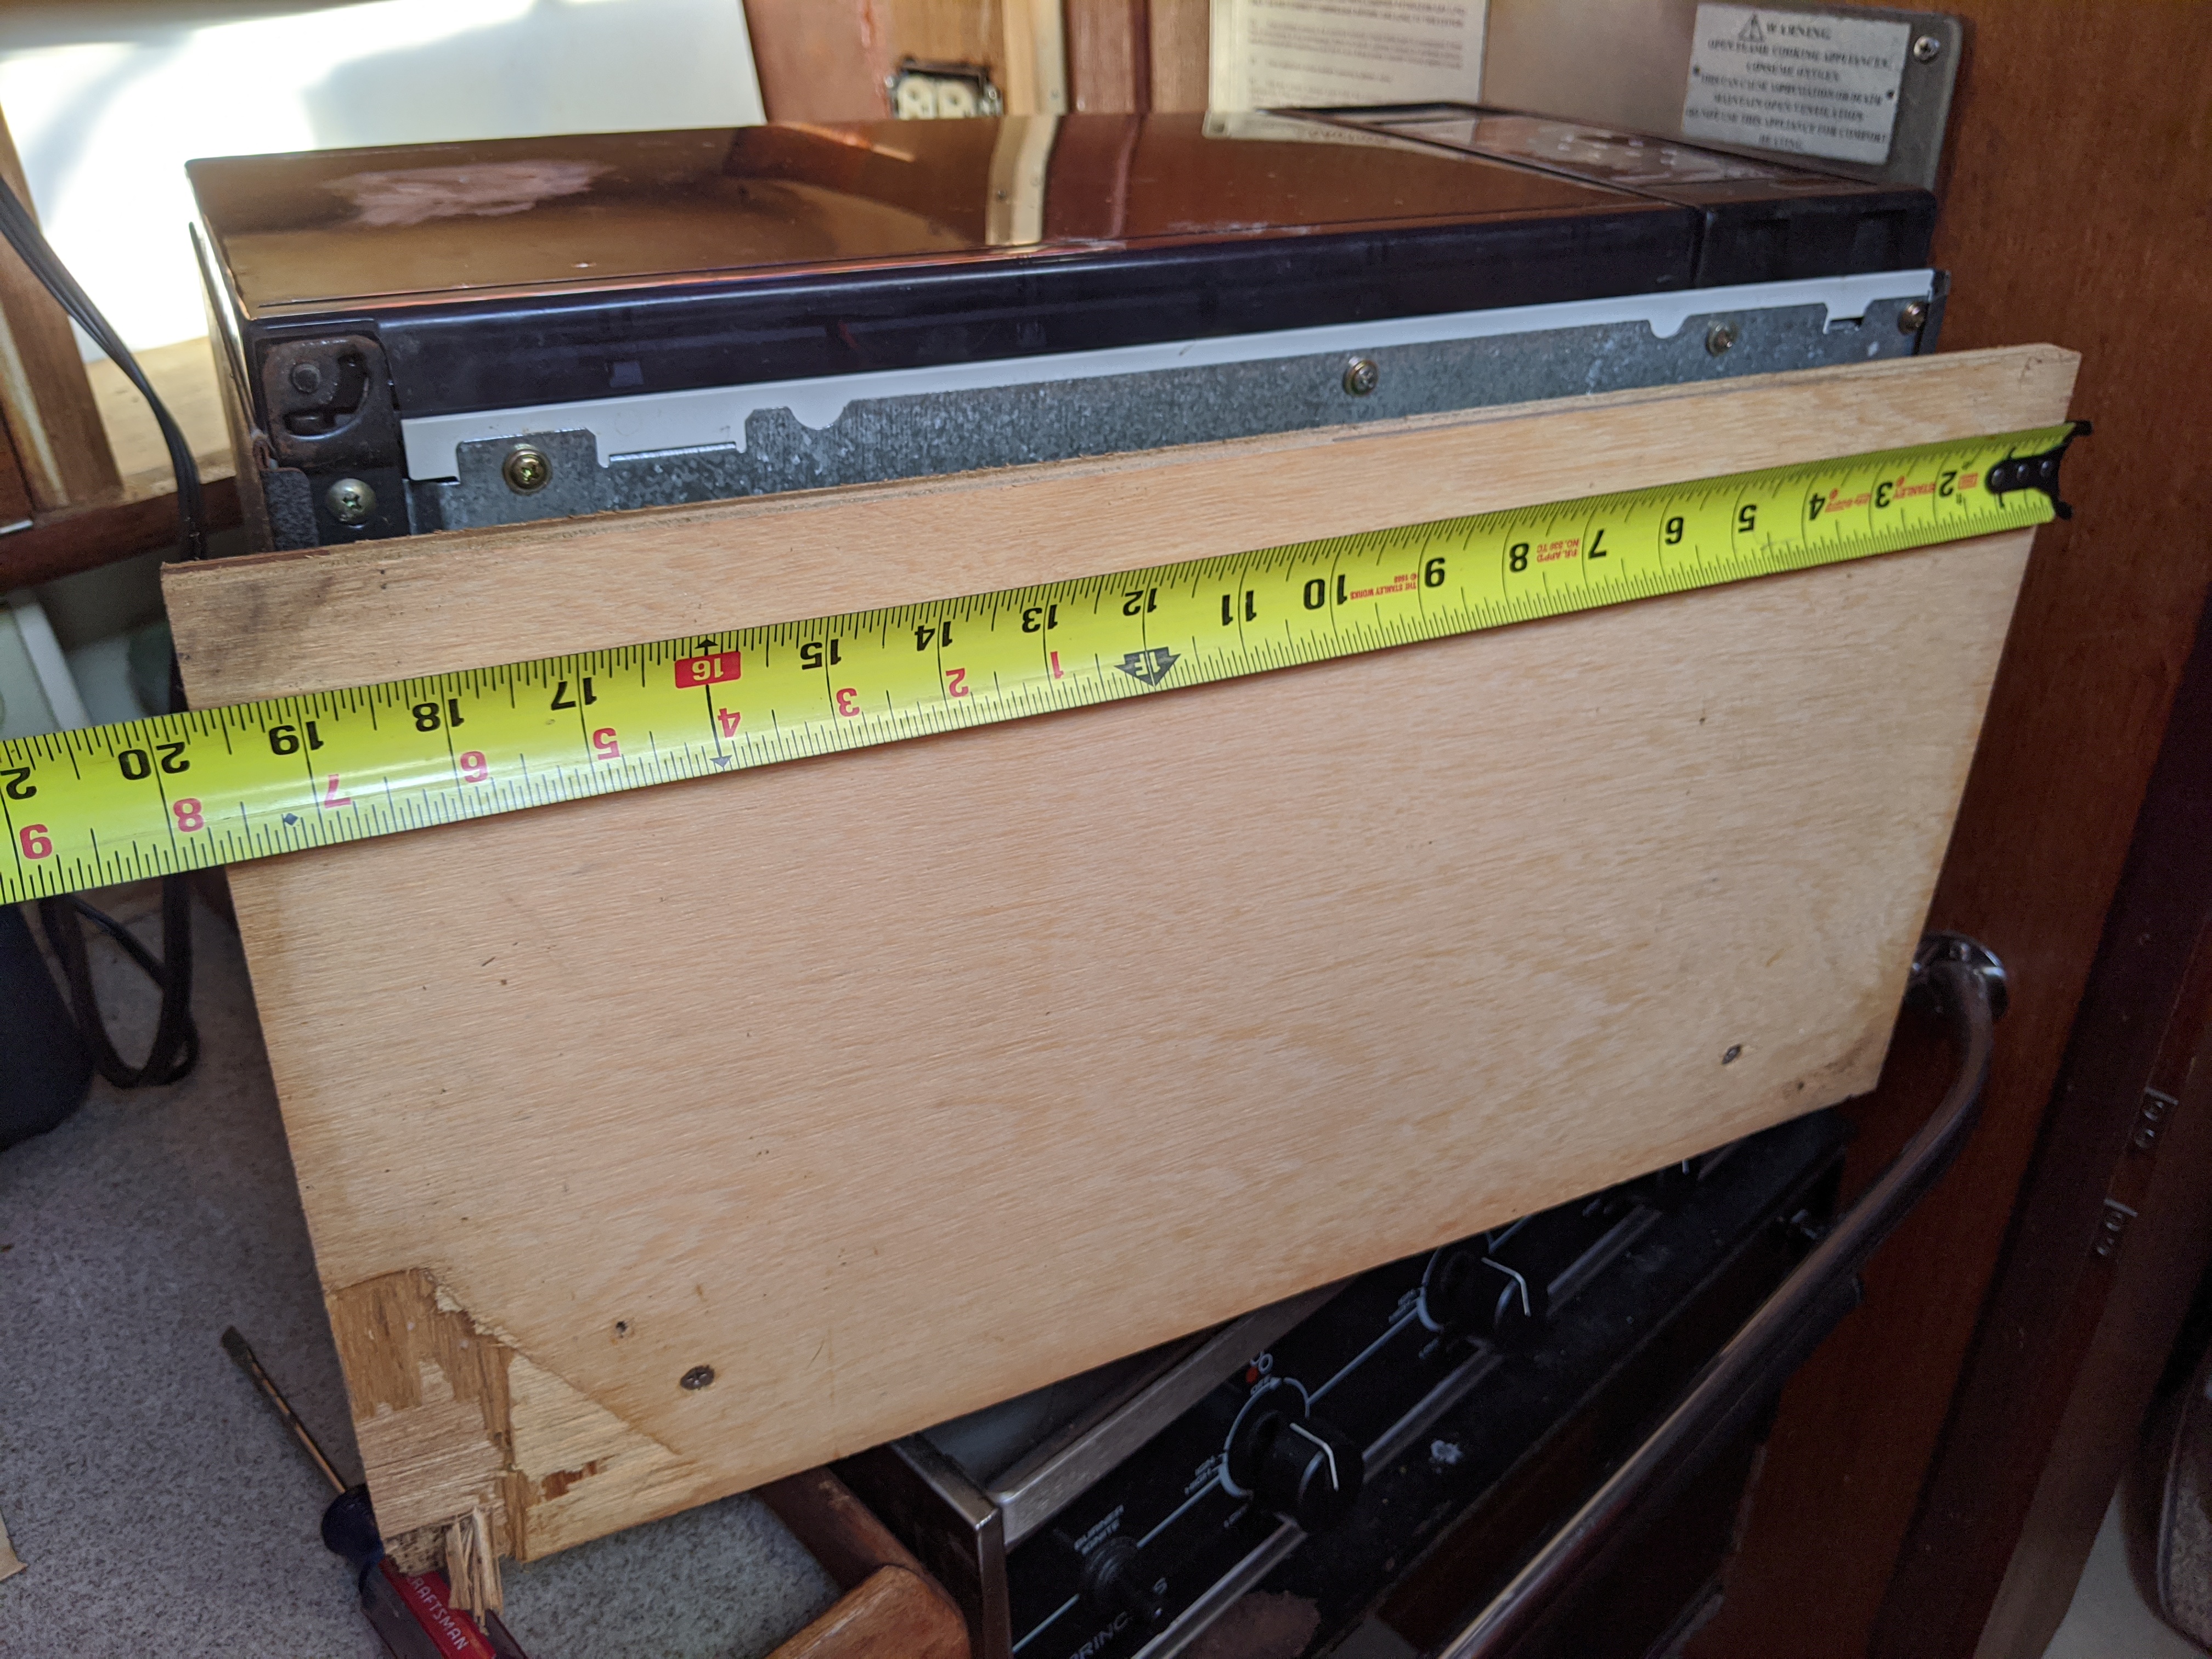
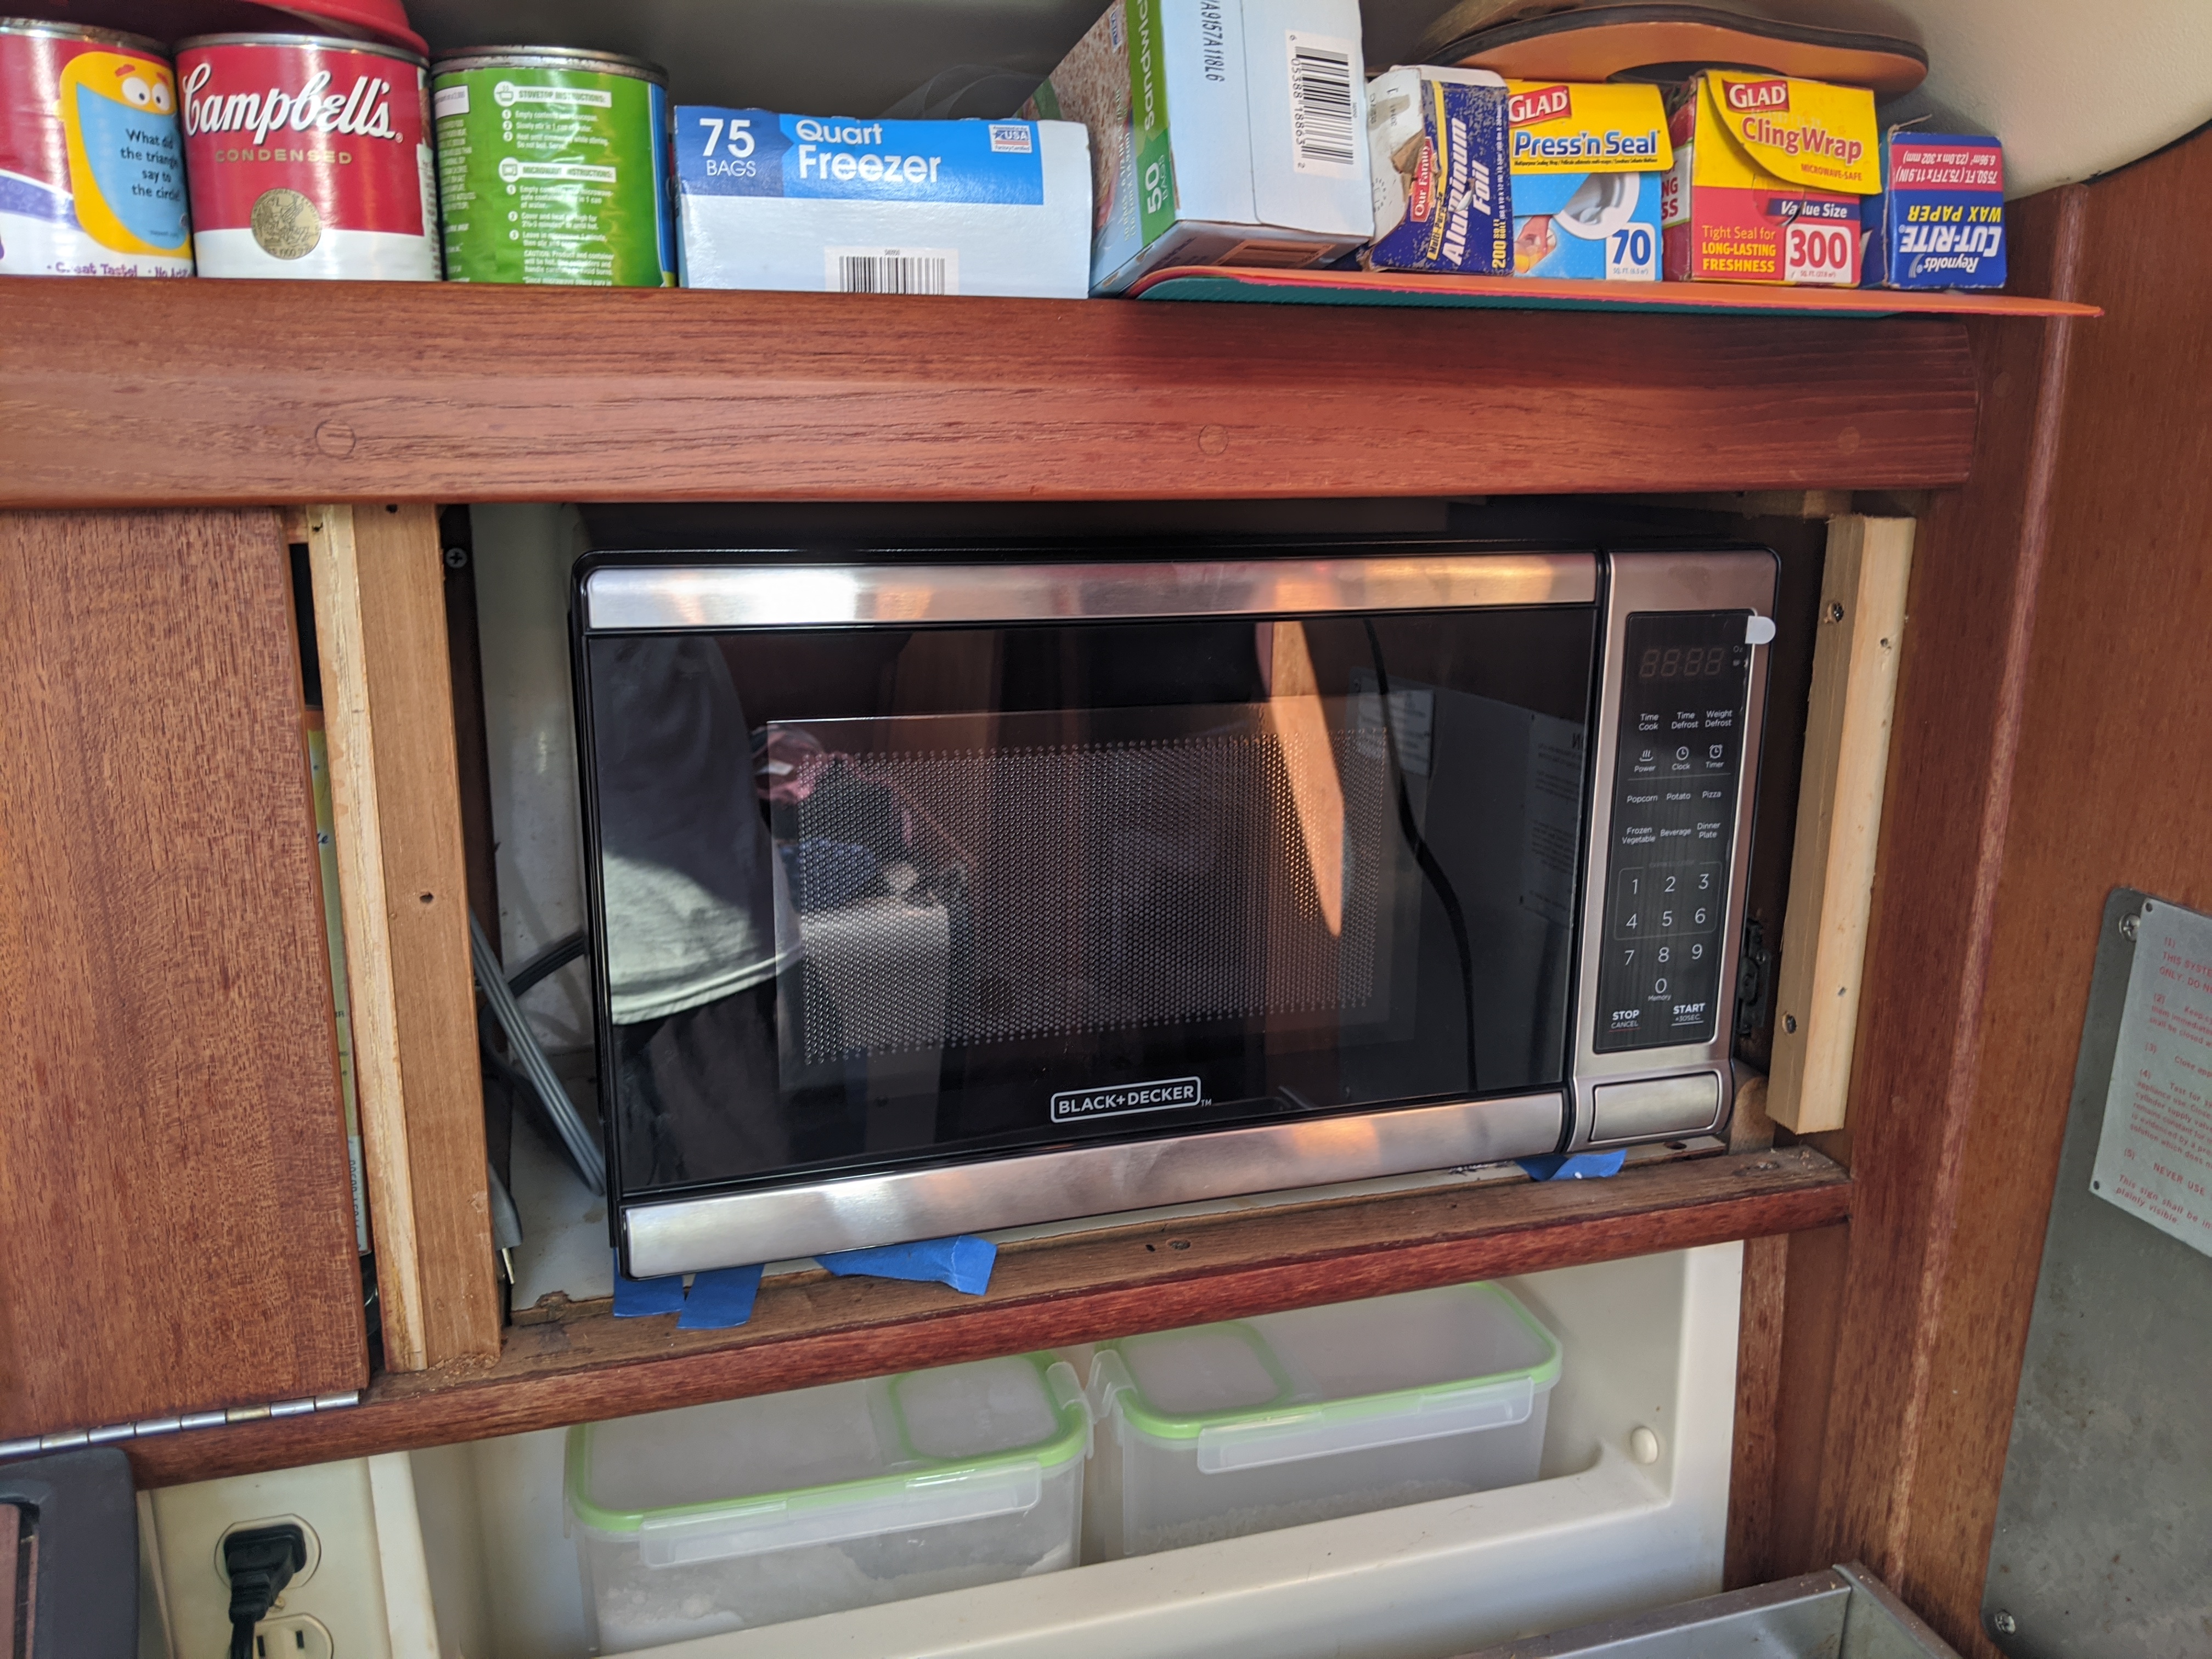
Then the microwave and the base plate that it was attached to came out easily (I had already removed the screw going through the bottom of the cabinet with its point in the base plate). I made some measurements and chose to order the BLACK+DECKER EM720CB7 from Amazon. Many measurement pictures can be found below.
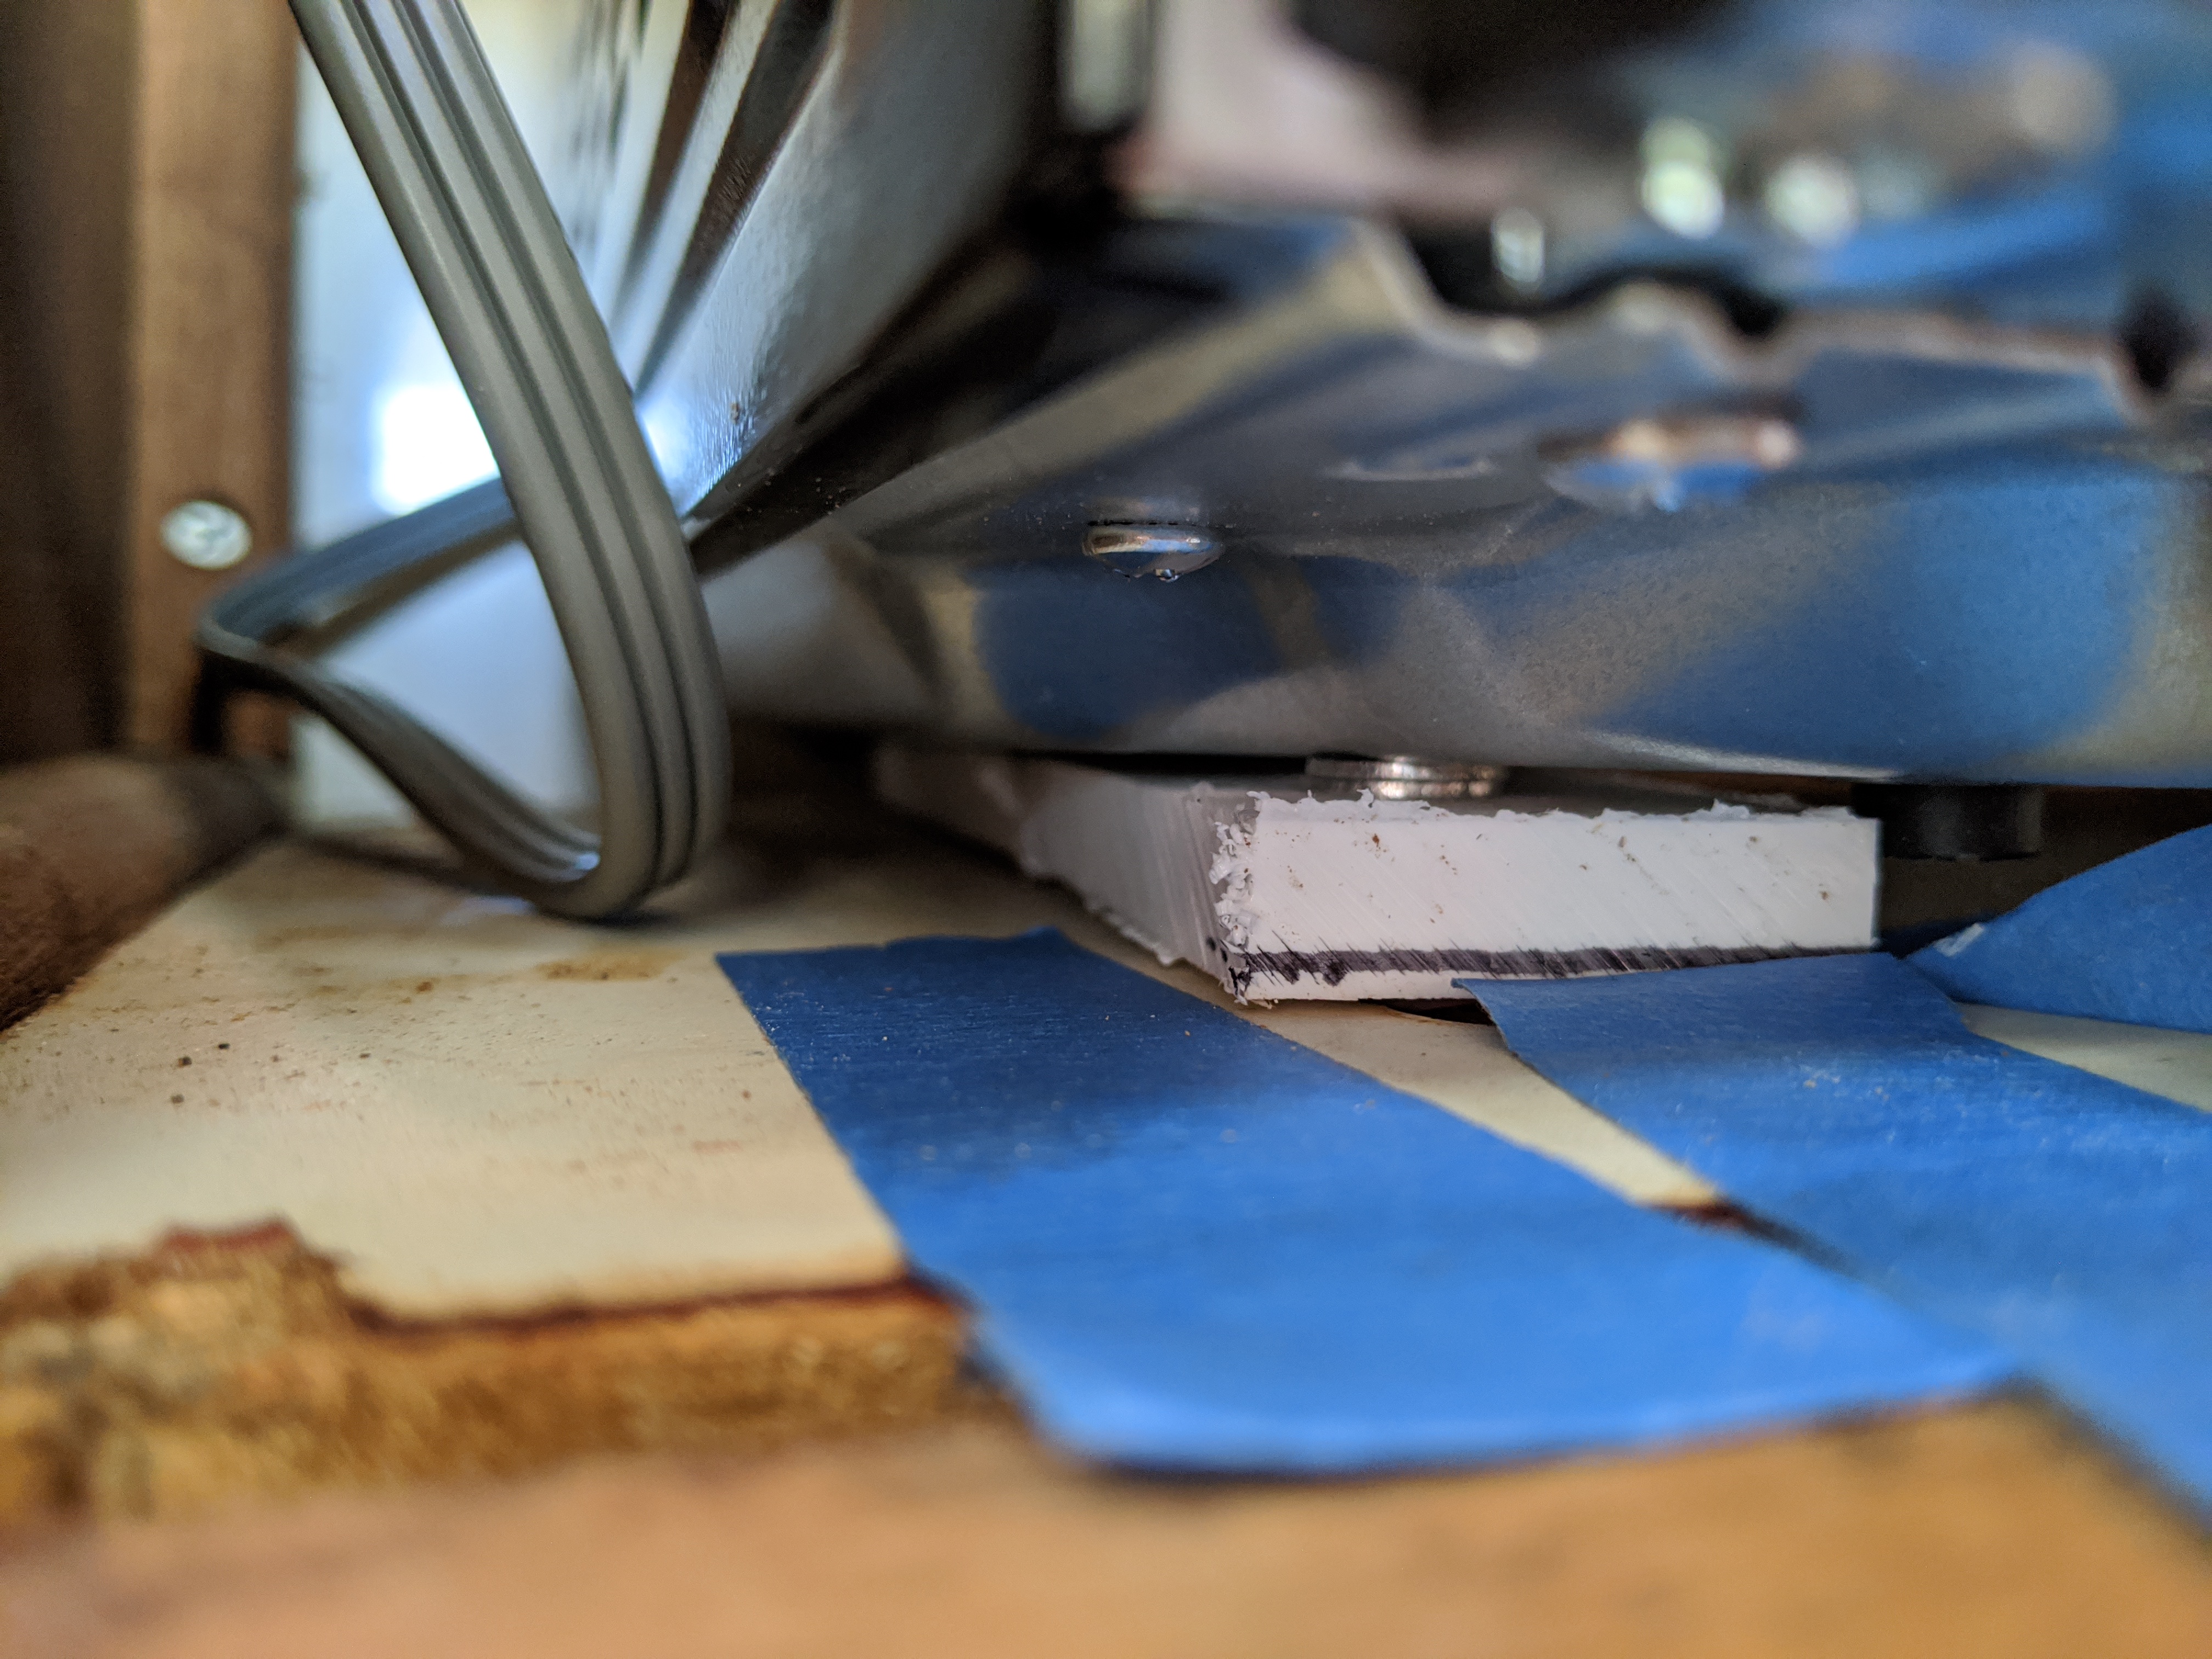
A few days later the new microwave arrived. I played around with different things for spacers to put it at the correct level so that the door would open through the existing cutout in the face plate. With the microwave and spaces attached to the base plate (see image captions below for some more details on positioning) I put it in the cabinet. Then I finagled the face plate back into place...again this would be significantly easier if the nearby cabinet door was removed. I tried to remove it but did not do it carefully and stripped a screw so did it with the door in place. They are PH1 screw heads BTW, which yes I was using but still stripped one. Anyways, a couple pounds with the cordless drill battery and the face plate popped into place. I screwed it in with the same three screws and attached the bottom reinforcing piece better than before (described in a photo caption below).
I still need to read up on how to put the teak plugs in, otherwise it is complete and working well!


- Read more about Hunter 376 microwave replacement
- Log in to post comments